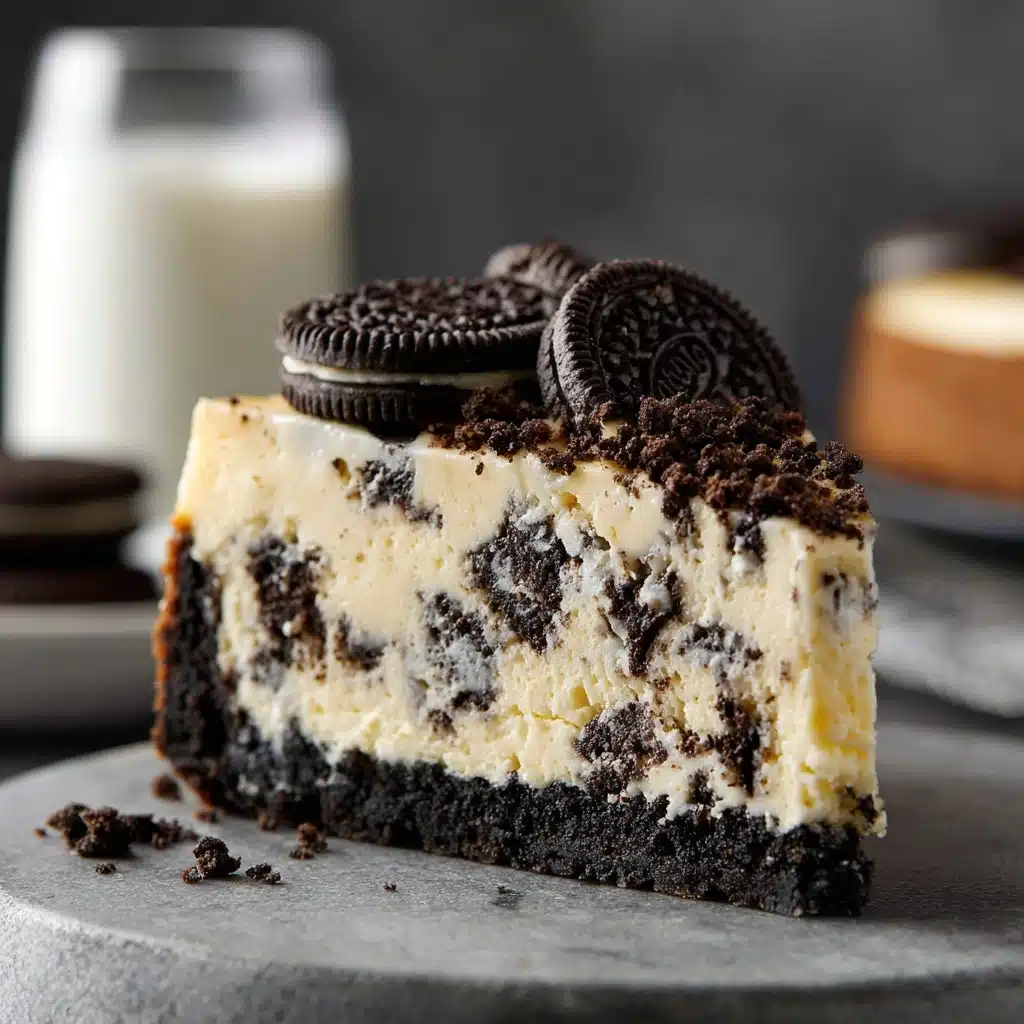
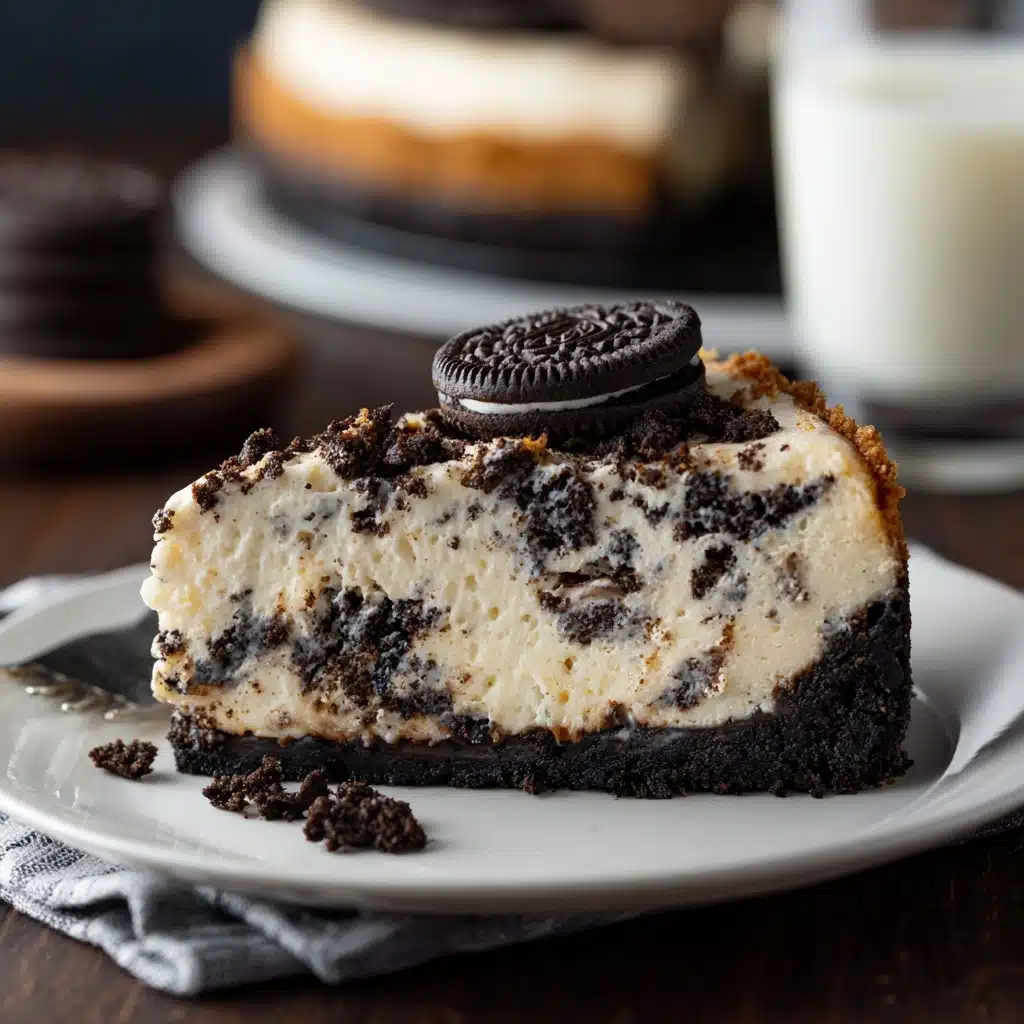
Oreo Cheesecake Recipe
If you adore the perfect blend of creamy, rich, and crunchy, then this Oreo Cheesecake is going to become your absolute favorite treat. Imagine biting into a silky, luscious cheesecake that’s baked to perfection atop a crunchy Oreo cookie crust, with bits of Oreo cookies swirled throughout the filling for an extra burst of chocolatey goodness. This dessert is a crowd-pleaser and a guaranteed way to impress both family and friends, turning any occasion into a special celebration.
Ingredients You’ll Need
This Oreo Cheesecake calls for simple, pantry-friendly ingredients that come together beautifully to create a decadent flavor and irresistible texture. Each ingredient plays a starring role, from creating the buttery crust to lending the cheesecake its creamy body and signature Oreo crunch.
- 200g Oreo cookies (crushed): These form the crunchy, chocolatey base and provide delightful texture inside the cheesecake too.
- 80g butter, melted: Acts as the glue to hold the Oreo crust together while adding richness.
- 500g cream cheese: The creamy heart of the cheesecake ensuring that smooth, silky texture you crave.
- 150g sugar: Sweetens the filling perfectly without overpowering the cookies’ flavor.
- 3 eggs: Helps to bind everything and gives the cheesecake a nice, solid yet soft consistency.
- 100ml sour cream: Adds a subtle tang that balances the sweetness, plus an extra smoothness.
- 5ml vanilla extract: Enhances the overall flavor with a warm, inviting aroma.
How to Make Oreo Cheesecake
Step 1: Prepare the Oreo Crust
Start by combining your crushed Oreo cookies with the melted butter. The mix should resemble wet sand. Press this mixture firmly and evenly into the base of a springform pan, creating a sturdy foundation that will hold the creamy cheesecake filling beautifully while adding that signature crunchy contrast.
Step 2: Mix the Cream Cheese Filling
In a large mixing bowl, beat together the cream cheese and sugar until smooth and free of lumps. Add in the eggs one at a time, incorporating each fully before adding the next to ensure a smooth texture. Mix in the sour cream and vanilla extract until well combined – this mixture will be velvety and rich, the perfect canvas for your crushed Oreos.
Step 3: Fold in the Chopped Oreos
Gently fold in the chopped Oreo pieces to evenly distribute their crunch throughout the filling. This step is key to creating that delightful surprise in every bite, where the cookies offer little bursts of intense cocoa flavor intermixed with the creamy sweetness.
Step 4: Assemble and Bake
Pour the cream cheese mixture over the prepared Oreo crust, smoothing the top with a spatula. Bake at 160°C for about 40 minutes, or until the edges are set but the center still jiggles slightly when the pan is gently shaken. This ensures your cheesecake stays moist and creamy after chilling.
Step 5: Chill Before Serving
Once baked, allow the cheesecake to cool completely at room temperature, then refrigerate it for at least 4 hours or overnight. Chilling helps the cheesecake set perfectly, making slicing easier and flavors more pronounced.
How to Serve Oreo Cheesecake
Garnishes
Elevate your Oreo Cheesecake by topping it with a dollop of whipped cream and a few whole or halved Oreo cookies for a visual and textural treat. You can also drizzle chocolate syrup or sprinkle crushed Oreos for extra flair and indulgence.
Side Dishes
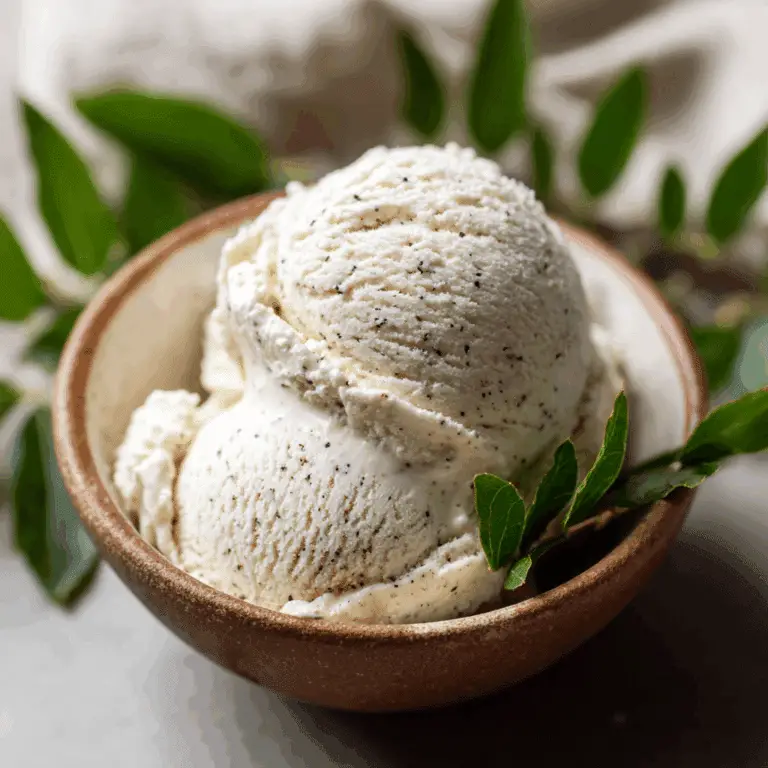
This dessert pairs wonderfully with a scoop of vanilla ice cream or fresh berries like strawberries or raspberries. The tartness of the berries complements the rich cheesecake, balancing the flavors for an extraordinary taste experience.
Creative Ways to Present
Try serving your Oreo Cheesecake in individual clear glasses layered with cookie crumbs and whipped cream for a fun, parfait-style twist. Alternatively, create mini cheesecakes in muffin tins with Oreo bases for adorable, bite-sized portions that are perfect for parties.
Make Ahead and Storage
Storing Leftovers
After enjoying your Oreo Cheesecake, place any leftovers in an airtight container and store them in the refrigerator. It will stay fresh and creamy for up to 4 days, making it easy to enjoy slices over several days without losing quality.
Freezing
You can absolutely freeze the Oreo Cheesecake to save for later. Wrap it tightly in plastic wrap and then aluminum foil to prevent freezer burn. When stored properly, it can keep for up to 2 months. To enjoy, thaw in the refrigerator overnight before serving.
Reheating
Cheesecake is best enjoyed cold or at room temperature, so reheating is not typically necessary. If your cake feels too cold, simply let it sit out for 15-20 minutes to soften slightly before slicing and serving.
FAQs
Can I use different cookies instead of Oreos?
Absolutely! While Oreos are classic, you can experiment with other chocolate sandwich cookies or even flavored varieties to change up the taste and texture of your cheesecake crust and filling.
Do I need a springform pan to make this cheesecake?
A springform pan is highly recommended because it makes removing the cheesecake much easier without damaging its edges. Regular pans might make serving tricky and can affect presentation.
Can I make this Oreo Cheesecake gluten-free?
Yes, using gluten-free Oreo-style cookies will do the trick. Just ensure all other ingredients are gluten-free, and you can enjoy this dessert without worry.
How do I prevent cracks on the cheesecake surface?
To help prevent cracks, bake the cheesecake in a water bath or place a pan of water on a lower oven rack to maintain moisture. Also, avoid overbaking by checking for that slight jiggle in the center.
Can I double this recipe for a larger crowd?
You can double the ingredients and bake in a larger pan or two standard pans. Just be mindful of baking time—it might need to be adjusted slightly for even cooking.
Final Thoughts
Making this Oreo Cheesecake is a wonderfully satisfying experience that rewards you with a delectable dessert sure to satisfy any sweet tooth. Its creamy texture combined with irresistible cookie crunch makes it a guaranteed hit. So go ahead, treat yourself and your loved ones to a slice (or two) of this luscious cheesecake—once you try it, you’ll never look back!