Sushi Rice Preparation Techniques Recipe
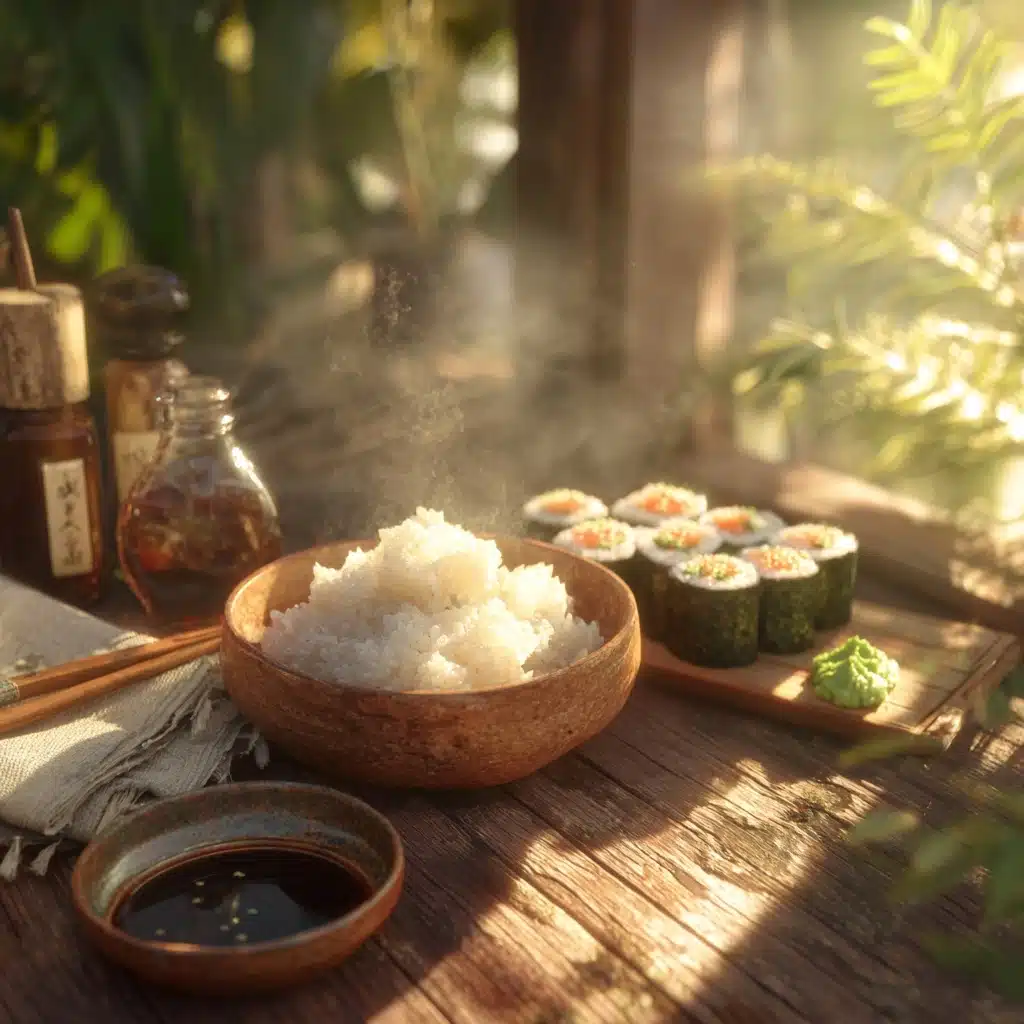
If you’ve ever wondered how to achieve that perfectly sticky, flavorful rice that makes sushi truly unforgettable, then you’re in the right place. Sushi Rice Preparation Techniques bring out the subtle sweetness and gentle tang that are essential for sushi rice to hold together beautifully while enhancing every bite of your rolls or nigiri. It’s not just about cooking rice; it’s an artful process that balances texture, flavor, and temperature for a delightful culinary experience. Trust me, once you master these techniques, you’ll never look at sushi the same way again.
Ingredients You’ll Need

Ingredients You’ll Need
These ingredients might be simple, but each plays a crucial role in creating sushi rice that’s deliciously sticky, flavorful, and just the right amount of tangy. Let’s take a look at what you’ll need and why.
- 2 cups sushi rice: The star ingredient, short-grain rice, is essential for that perfect stickiness and bite.
- 2 1/2 cups water: Provides the moisture needed for perfectly tender grains without becoming mushy.
- 1/4 cup rice vinegar: Adds a mild tang and shine, balancing the rice’s sweetness.
- 2 tablespoons sugar: Infuses just the right touch of sweetness to complement savory sushi fillings.
- 1 teaspoon salt: Enhances all the flavors and keeps the seasoning balanced.
How to Make Sushi Rice Preparation Techniques
Step 1: Rinsing the Rice
Rinsing sushi rice is a crucial step that’s often overlooked. Place your rice in a fine-mesh sieve and run cold water through it until the water runs clear. This simple act removes excess surface starch, preventing your rice from turning into a gummy mess and helping every grain stay distinct yet sticky enough for rolling.
Step 2: Cooking the Rice
Combine your rinsed rice and measured water in a saucepan. Bring the mixture to a boil, then immediately lower the heat to a gentle simmer. Cover with a tight-fitting lid and cook for about 18 to 20 minutes—no peeking! Once the time’s up, remove from heat but leave the lid on, allowing the rice to steam in its own warmth for another 10 minutes. This resting period helps the rice finish absorbing moisture and improves texture dramatically.
Step 3: Preparing the Seasoning
While the rice is cooking, mix the rice vinegar, sugar, and salt in a small bowl. Warm this mixture gently until the sugar fully dissolves, giving you a smooth, balanced seasoning that brings out the best in your sushi rice. This mix is the secret to that perfect sushi tang balanced with sweetness.
Step 4: Combining Rice and Seasoning
Transfer the warm rice into a large bowl—ideally wooden or non-metallic to avoid off-flavors. Drizzle your vinegar mixture evenly over the rice. Now, gently fold the rice using a wooden spatula, cutting through it rather than stirring, to maintain each grain’s integrity. The folding technique helps evenly distribute flavor while keeping the texture just right.
Step 5: Cooling the Rice
The final step in Sushi Rice Preparation Techniques is to let your seasoned rice cool down to room temperature. This cooling process allows the rice to firm up slightly, making it easier to handle and ideal for rolling sushi. Avoid refrigerating it as cold rice can lose its desired stickiness and texture.
How to Serve Sushi Rice Preparation Techniques
Garnishes
A sushi rice base can be elevated with a variety of garnishes. Toasted sesame seeds add a nutty crunch, while finely sliced nori strips bring an umami depth. For a fresh twist, sprinkle thinly sliced green onions or a touch of pickled ginger on top. These little touches brighten both the presentation and flavor.
Side Dishes
Serve your sushi rice alongside classic sides like miso soup, edamame, or seaweed salad to create a well-rounded Japanese-inspired meal. These dishes complement the flavors of the sushi rice and offer a delightful variety of textures and tastes with every bite.
Creative Ways to Present
Sushi rice isn’t just for traditional rolls! Use these Sushi Rice Preparation Techniques to make chirashi bowls – a colorful scattered sushi rice topped with sashimi and fresh veggies. Alternatively, mold your rice into onigiri (rice balls) filled with savory surprises or serve as a base for vibrant poke bowls that bring in fresh, tropical flair.
Make Ahead and Storage
Storing Leftovers
If you have leftover sushi rice, place it in an airtight container at room temperature for a few hours—preferably not more than 4 hours—to maintain its texture and flavor. Avoid refrigerating as the cold temperature turns sticky rice hard and less pleasant to eat.
Freezing
Freezing sushi rice is generally not recommended because the texture and moisture balance get disrupted when thawed. However, if you must, make small portions wrapped tightly and thaw gently. Keep in mind, freshly made is always best for ideal results.
Reheating
To bring leftover sushi rice back to life, steam it gently rather than microwaving to preserve moisture. You can sprinkle a few drops of water over the rice and cover it with a damp towel when reheating, which helps restore its softness without drying out.
FAQs
Can I use regular rice instead of sushi rice?
Regular long-grain rice won’t give you the sticky texture that sushi rice is known for, so it’s best to stick with short-grain sushi rice for authentic results.
Why do I need to rinse the rice before cooking?
Rinsing removes excess surface starch that can make the rice overly sticky or gluey, helping each grain stay distinct yet perfectly sticky for sushi.
Can I make sushi rice ahead of time?
While sushi rice is best fresh, you can prepare it a few hours in advance and keep it covered at room temperature. Avoid refrigerating to maintain the ideal texture.
How important is the vinegar seasoning?
The vinegar mixture adds a subtle tang and sweetness that balance the rice’s flavor and enhance your sushi’s overall taste—don’t skip it!
What’s the best way to cool sushi rice after seasoning?
Spread the rice in a shallow, wide bowl and let it cool at room temperature, fanning gently if desired to speed the process while maintaining moisture.
Final Thoughts
Mastering these Sushi Rice Preparation Techniques transforms your homemade sushi from good to absolutely fantastic. The right balance of taste, texture, and temperature makes all the difference, and with this guide, you’re set to impress every time you roll. Grab your ingredients, embrace the process, and enjoy the wonderful journey of sushi-making at home!


