Mini Chocolate Mousse Cups Recipe
If you have a soft spot for indulgent desserts that are as elegant as they are delightful, these Mini Chocolate Mousse Cups will absolutely steal your heart. Imagine rich, airy, and deeply chocolatey mousse served in perfectly sized clear cups that invite you to savor every silky spoonful. This recipe turns simple ingredients into a luxurious treat that melts effortlessly on your tongue, making each bite feel like a little celebration. Whether you’re planning a fancy dinner or just need a sweet pick-me-up, Mini Chocolate Mousse Cups bring both sophistication and pure joy to the table.
Ingredients You’ll Need
These ingredients are straightforward but incredibly powerful when combined. Each one adds a unique touch to the mousse’s creamy texture and decadent flavor, turning everyday pantry staples into something truly special.
- 100g dark chocolate: Use good quality chocolate to ensure deep flavor and smooth melting.
- 1 cup whipped cream: Light and airy, whipped cream brings the mousse its signature fluffy texture.
- 1 egg yolk: Adds richness and helps create a luscious, velvety mouthfeel.
- 1 tbsp sugar: Balances the bitterness of the chocolate and enhances sweetness without overpowering.
How to Make Mini Chocolate Mousse Cups
Step 1: Melt the Chocolate
Start by gently melting the dark chocolate until it’s perfectly smooth. You can do this in a heatproof bowl over simmering water or carefully in the microwave, stirring frequently to avoid burning. This step is the backbone of the dessert’s intense chocolate flavor, so patience pays off here.
Step 2: Whisk Egg Yolk and Sugar
While the chocolate cools slightly, whisk the egg yolk and sugar together vigorously until the mixture becomes pale and slightly thickened. This mixture will add a lovely sweetness and richness, ensuring your mousse doesn’t taste overly bitter or flat.
Step 3: Combine Chocolate with Egg Mixture
Slowly add the melted chocolate into the egg yolk and sugar mixture, stirring constantly to create a smooth blend. This careful incorporation prevents the eggs from cooking and keeps the texture silky throughout.
Step 4: Fold in the Whipped Cream
The magic happens here—gently folding the whipped cream into the chocolate mixture. Take your time and fold lightly to preserve the airy fluffiness that makes Mini Chocolate Mousse Cups so irresistible. It’s this step that transforms the rich base into an airy dream.
Step 5: Spoon into Cups and Chill
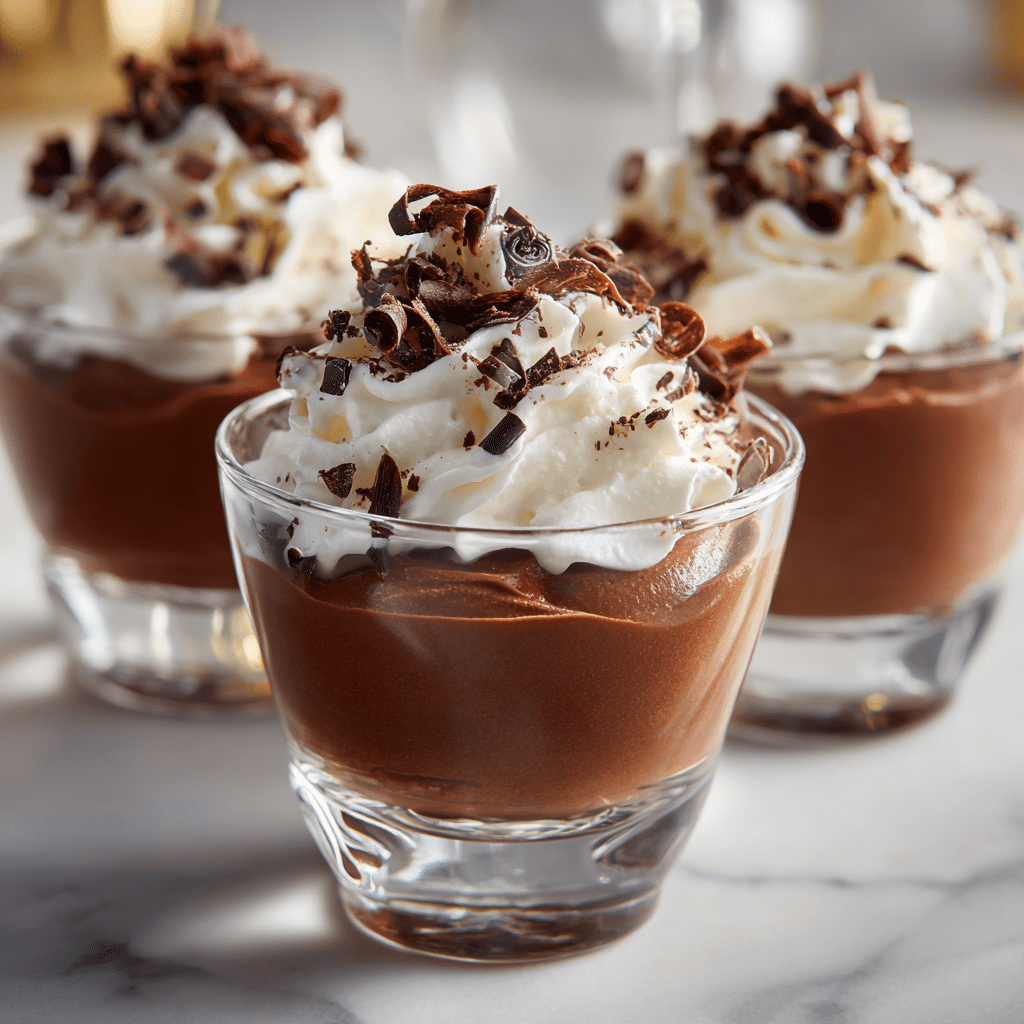
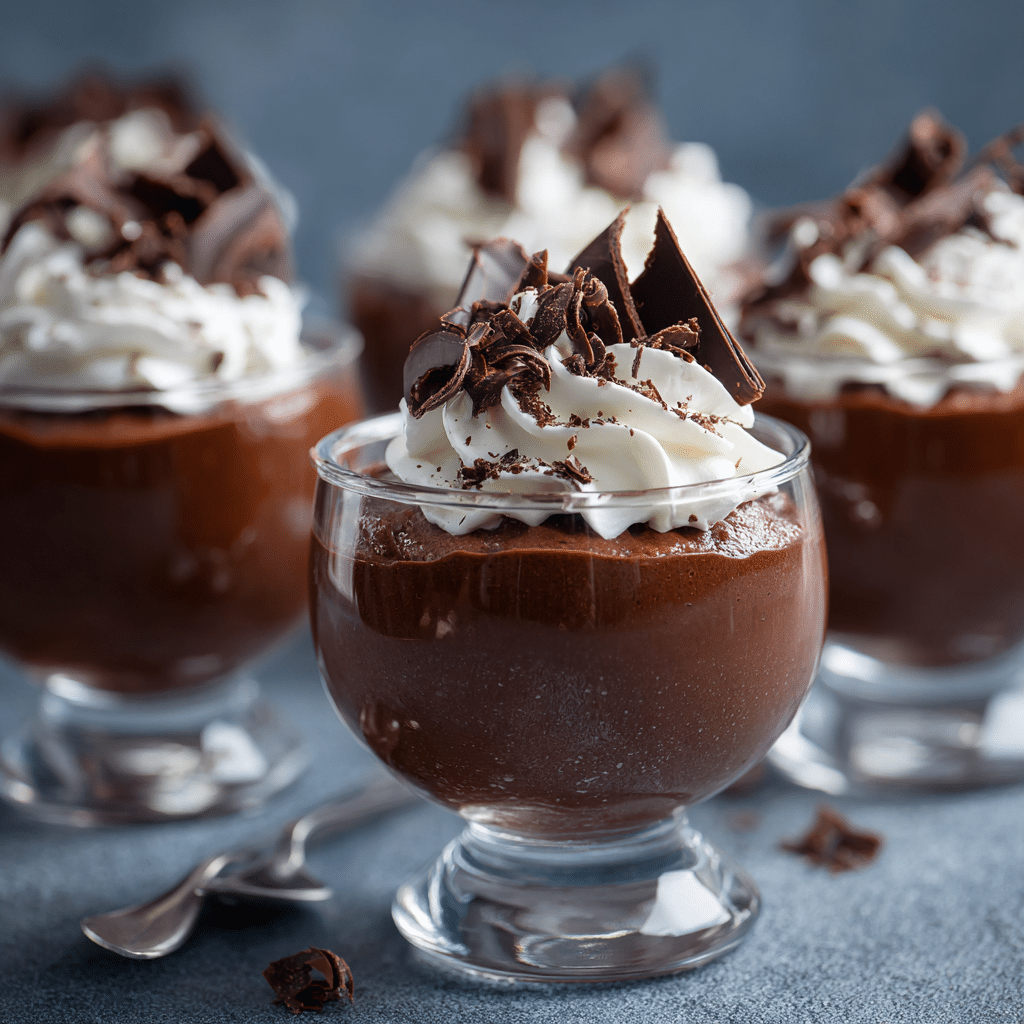
Divide the mousse evenly into small clear cups, which make the presentation both elegant and inviting. Refrigerate for at least one hour so the mousse can set beautifully, allowing the flavors to meld together and the texture to firm up just right.
Step 6: Decorate
Top each cup with whipped cream and a sprinkle of chocolate curls or shavings for a playful yet sophisticated finish. This final touch turns your mousse into a showstopper perfect for any occasion.
How to Serve Mini Chocolate Mousse Cups
Garnishes
Beyond the classic whipped cream and chocolate curls, consider fresh raspberries or a light dusting of cocoa powder to add color and a contrasting tartness. Mint leaves also work beautifully to brighten the dish while keeping it fresh.
Side Dishes
Mini Chocolate Mousse Cups shine as a solo indulgence but can also be paired with simple biscotti, crisp almond cookies, or a fresh fruit salad. These sides offer a delightful contrast in texture and a balance of flavors to round out your dessert experience.
Creative Ways to Present
To elevate your presentation, serve the mousse in small mason jars, vintage glassware, or layered with crushed cookies for added crunch. For a fun twist, place mini spoons tied with little ribbons or add edible gold leaf on top to wow your guests.
Make Ahead and Storage
Storing Leftovers
If you happen to have leftovers, keep them covered tightly in the refrigerator. Mini Chocolate Mousse Cups will stay fresh for up to three days, maintaining their creamy texture and deep chocolate flavor.
Freezing
These mousse cups freeze surprisingly well, though the texture might change slightly. Freeze in airtight containers for up to one month, then thaw in the fridge overnight before serving to preserve as much of the original creaminess as possible.
Reheating
Generally, Mini Chocolate Mousse Cups are best enjoyed chilled, so reheating isn’t recommended. If you want a warmer dessert, consider serving alongside a warm chocolate sauce or fresh baked goods instead.
FAQs
Can I use milk chocolate instead of dark chocolate?
Absolutely! Using milk chocolate will result in a sweeter and milder mousse. Just remember that it might soften the intensity, but it will still be deliciously creamy.
Is it safe to consume raw egg yolk in this recipe?
The egg yolk in Mini Chocolate Mousse Cups is raw, so using pasteurized eggs is recommended to reduce any risk. Alternatively, you could find recipes that cook the yolks gently before combining.
Can I make this dessert dairy-free?
Yes! Substitute whipped cream with coconut cream or another dairy-free alternative that whips well. Make sure to use dairy-free chocolate to keep the dessert completely plant-based.
How long does it take to prepare Mini Chocolate Mousse Cups?
The active prep for the mousse is about 15 minutes, but allow for at least one hour of chilling time to get that perfect set and texture.
What if I don’t have small clear cups?
No worries! Use any small glasses, bowls, or even sturdy ramekins you have on hand. The mousse tastes just as good regardless of the vessel, though the clear cups really show off those beautiful layers.
Final Thoughts
Making Mini Chocolate Mousse Cups is like capturing a little piece of chocolate heaven in a tiny, elegant package. They’re foolproof, luxurious, and perfect for sharing—or keeping all to yourself. I can’t recommend trying this recipe enough because once you savor that smooth, airy richness, you’ll be coming back for more again and again!