Salted Caramel Cake Recipe
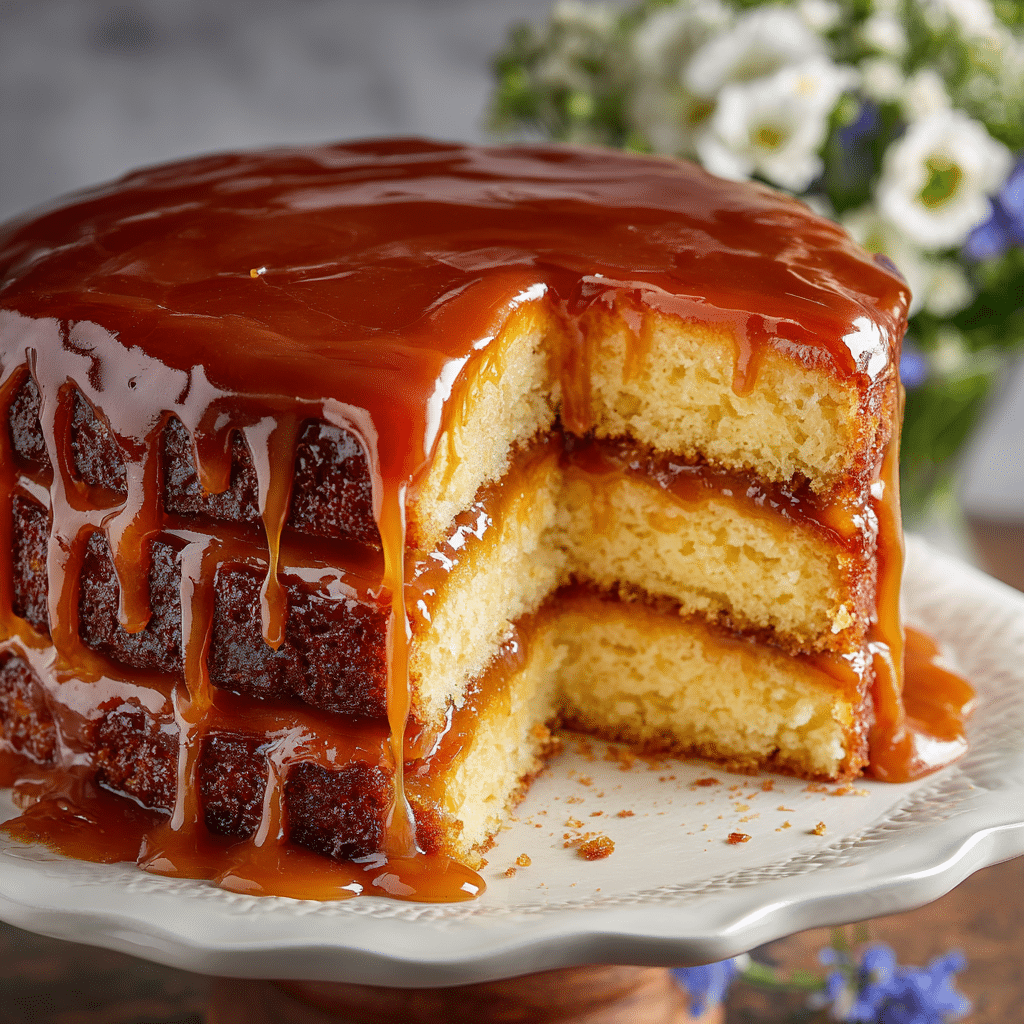
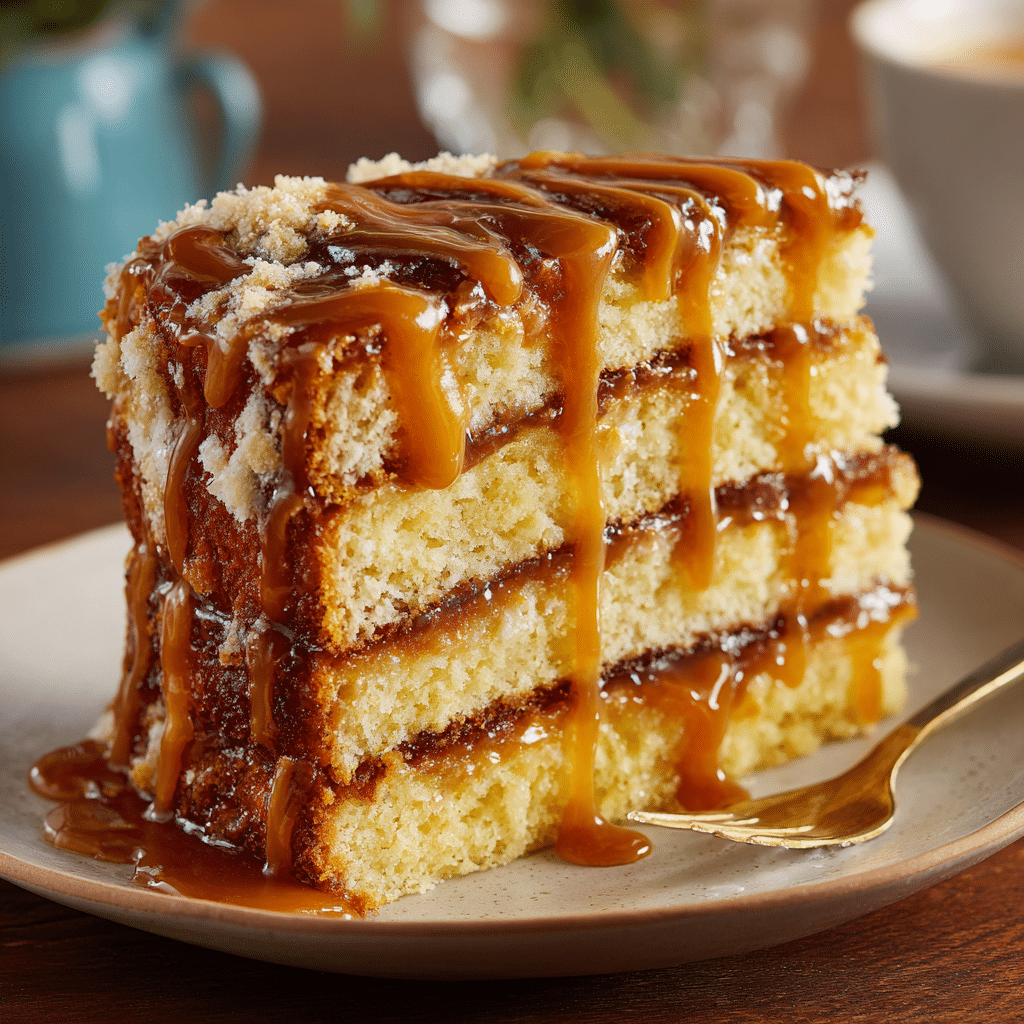
The Salted Caramel Cake is a divine celebration of flavor and texture that promises to whisk you away to dessert heaven with every bite. Imagine moist, fluffy vanilla cake layers, perfectly tender and golden, generously enveloped in a luscious homemade salted caramel sauce and topped with silky, rich salted caramel buttercream. This Salted Caramel Cake is not just a dessert; it’s a stunning showstopper that combines sweetness with a hint of saltiness for a truly unforgettable treat perfect for any special occasion or just because you deserve a little indulgence.
Ingredients You’ll Need
Gathering simple yet thoughtfully chosen ingredients is the first secret to making this Salted Caramel Cake unforgettable. Each component plays a special role in creating the perfect texture, moistness, or deep caramel flavor that makes this cake irresistible.
- Granulated sugar: Essential for creating that deep, golden salted caramel syrup with just the right amount of sweetness and caramelized depth.
- Butter: Adds richness to every layer and enriches the caramel sauce and buttercream with creamy smoothness.
- Heavy cream: Vital for mellowing the caramel, giving the sauce that velvety texture and balance between sweet and salty.
- All-purpose flour: The foundation for the vanilla cake layers, providing structure without heaviness for perfect crumb.
- Cornstarch: Helps tenderize the cake by softening the gluten, resulting in a delicate bite.
- Baking powder and baking soda: These leaveners work together to ensure your cake rises beautifully and feels light.
- Sour cream: Gives the cake a moist texture and subtle tang that complements the sweet caramel flawlessly.
- Vanilla extract: Enhances the cake’s aroma and flavor, blending harmoniously with the caramel notes.
- Powdered sugar: The sweet backbone of the buttercream, ensuring it is smooth, fluffy, and easy to spread.
- Salt: Not just a sprinkle here and there—critical in the salted caramel sauce and carefully balanced to accentuate sweetness without overpowering.
How to Make Salted Caramel Cake
Step 1: Preparing the Salted Caramel Sauce
Start by melting granulated sugar and water gently on medium-high heat until it turns golden brown and fragrant — this transformation is the magic moment that creates the deep caramel flavor. Be patient and carefully stir just enough to ensure even melting. After the sugar caramelizes, slowly whisk in butter and then heavy cream, mindful of the bubbling. The careful addition of cream tames the caramel, giving it that gorgeous, smooth texture. Finally, finish with a big pinch of salt to balance the sweetness, then let your caramel cool completely to room temperature before using. This homemade sauce will elevate your cake to a new level of deliciousness!
Step 2: Baking the Vanilla Cake Layers
Preheat your oven and prepare your cake pans lined with parchment paper to effortlessly remove the layers later. Sift your dry ingredients for the lightest, fluffiest texture, then cream butter and sugar until pale and airy before adding eggs in batches. Incorporate the dry ingredients alternately with sour cream, oil, and vanilla extract — this method keeps the batter moist and tender. Divide your batter evenly into pans and bake until a tester comes out clean, ensuring layers that are soft but sturdy enough to hold the luscious fillings.
Step 3: Crafting the Caramel Buttercream
For the buttercream, start with softened butter, whipping it until wonderfully creamy and pale. Slowly add powdered sugar and vanilla, and then mix in that luscious salted caramel you prepared earlier. The result is a rich, silky frosting that literally melts on your tongue and complements the cake beautifully. This buttercream is the perfect glue and topping that ties the entire Salted Caramel Cake experience together.
Step 4: Assembling the Salted Caramel Cake
Place your first cake layer on a serving plate, then slather it with a generous scoop of buttercream. Drizzle on the salted caramel sauce but be sure to leave enough space near the edges so your caramel stays put. Repeat this layering method for the remaining layers until your cake towers gorgeously. Cover the whole cake with a thin crumb coat and chill it to stabilize. Finally, frost the outside with the remaining buttercream and lavishly drizzle or swirl more salted caramel on the top. This finishing touch adds a stunning gloss and that inviting, oozy caramel look everyone swoons over.
How to Serve Salted Caramel Cake
Garnishes
A finishing flourish can really amplify the cake’s appeal. Consider sprinkling a tiny pinch of flaky sea salt atop the frosting for bursts of salty crunch with every bite. Edible gold leaf, chopped toasted pecans, or caramel shards can also add an elegant and textural contrast, making your Salted Caramel Cake look as decadent as it tastes.
Side Dishes
Pair this divine cake with light accompaniments like a simple fresh berry salad or a dollop of unsweetened whipped cream to balance the richness. A cup of strong coffee or a smooth dessert wine can be the perfect beverage to round out your indulgent dessert experience.
Creative Ways to Present
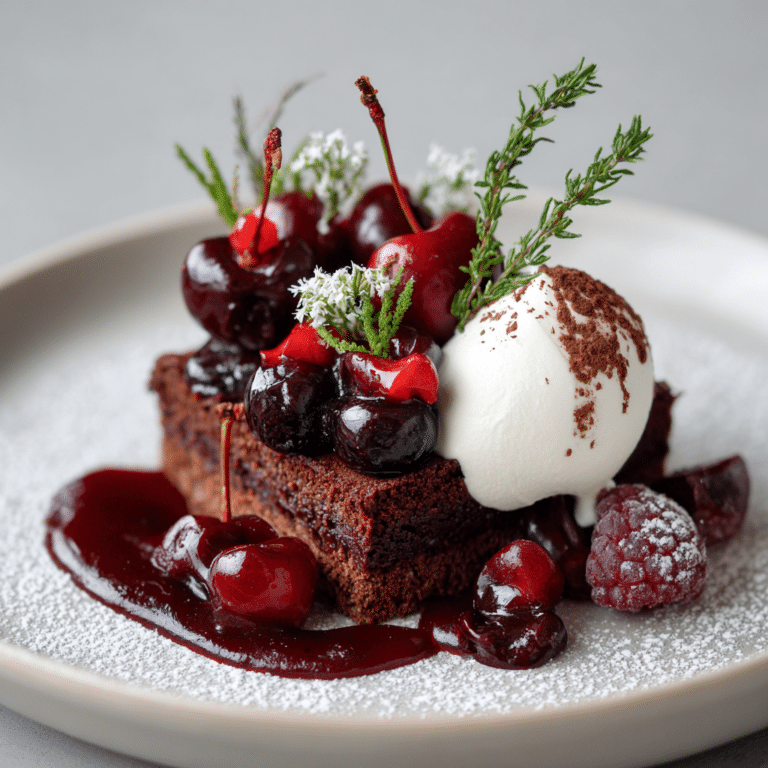
For a fun twist, serve individual slices with a scoop of vanilla bean ice cream drizzled with extra warm salted caramel. Or try creating mini versions in cupcake form using the same layers and caramel swirl for delightful party treats. Presentation is part of the joy, so feel free to get playful with plating and garnishes!
Make Ahead and Storage
Storing Leftovers
Leftover Salted Caramel Cake keeps beautifully covered with plastic wrap or in an airtight container at room temperature for up to two days, or refrigerated for up to five days. Keeping it chilled helps maintain the buttercream’s texture and the cake’s moisture. Just be sure to bring it to room temperature before serving for maximum flavor enjoyment.
Freezing
You can freeze this cake for up to two months. Wrap it tightly in plastic wrap and then foil to avoid freezer burn. When ready to enjoy, thaw it overnight in the refrigerator and then let come to room temperature before serving to restore the soft, creamy texture that makes this Salted Caramel Cake so addictive.
Reheating
The best way to gently warm a slice for that fresh-baked feel is to microwave it for about 15 seconds on low power. This warms the cake and buttercream perfectly without melting the frosting, allowing the salted caramel flavors to bloom even more luxuriously on your palate.
FAQs
Can I use store-bought caramel sauce instead of making homemade?
Absolutely! While the homemade salted caramel sauce brings extra depth and freshness, a good quality store-bought caramel sauce works well as an excellent shortcut without sacrificing too much flavor.
What type of salt is best for the salted caramel?
A flaky sea salt is your best bet because it dissolves evenly and provides those little bursts of salty crunch that make salted caramel so delightful.
How do I prevent the caramel from hardening?
Keep your caramel warm or at room temperature rather than refrigerating it to maintain its luscious, pourable consistency for assembling and drizzling on the cake.
Can I make this cake gluten-free?
With some experimentation, yes! Substitute the all-purpose flour with a high-quality gluten-free blend and ensure your baking powder and other ingredients are gluten-free for a safe alternative.
How long does the Salted Caramel Cake stay fresh?
This cake tastes best within three to five days when stored in the refrigerator. Beyond that, the texture and flavor may start to degrade, so enjoy it while it’s at its very best!
Final Thoughts
If you’re craving a dessert that’s both impressive and incredibly comforting, you simply have to try this Salted Caramel Cake. From the tender vanilla layers to the decadent salted caramel sauce and fluffy buttercream, every bite feels like a warm hug wrapped in sweetness. Trust me, once you make it, it will quickly become a treasured favorite for celebrations or any time you want to treat yourself and those you love.