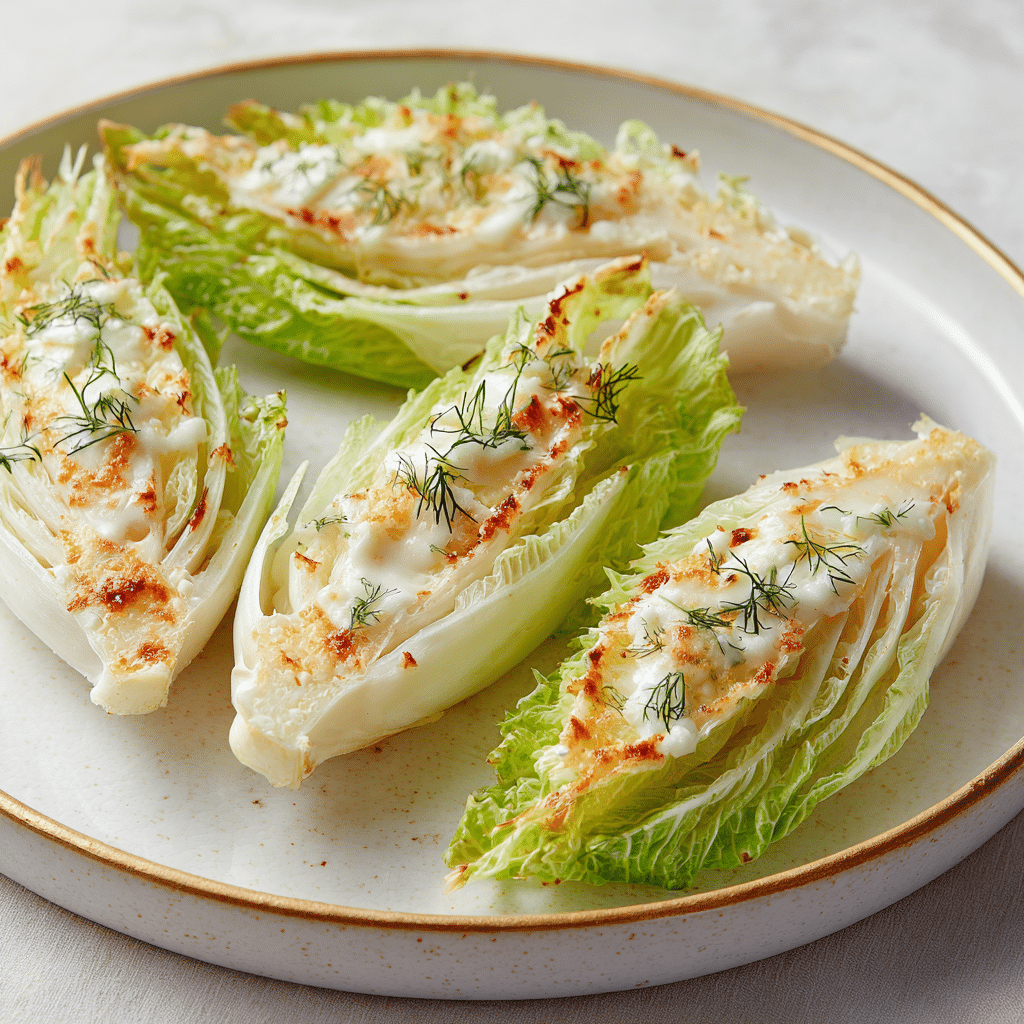
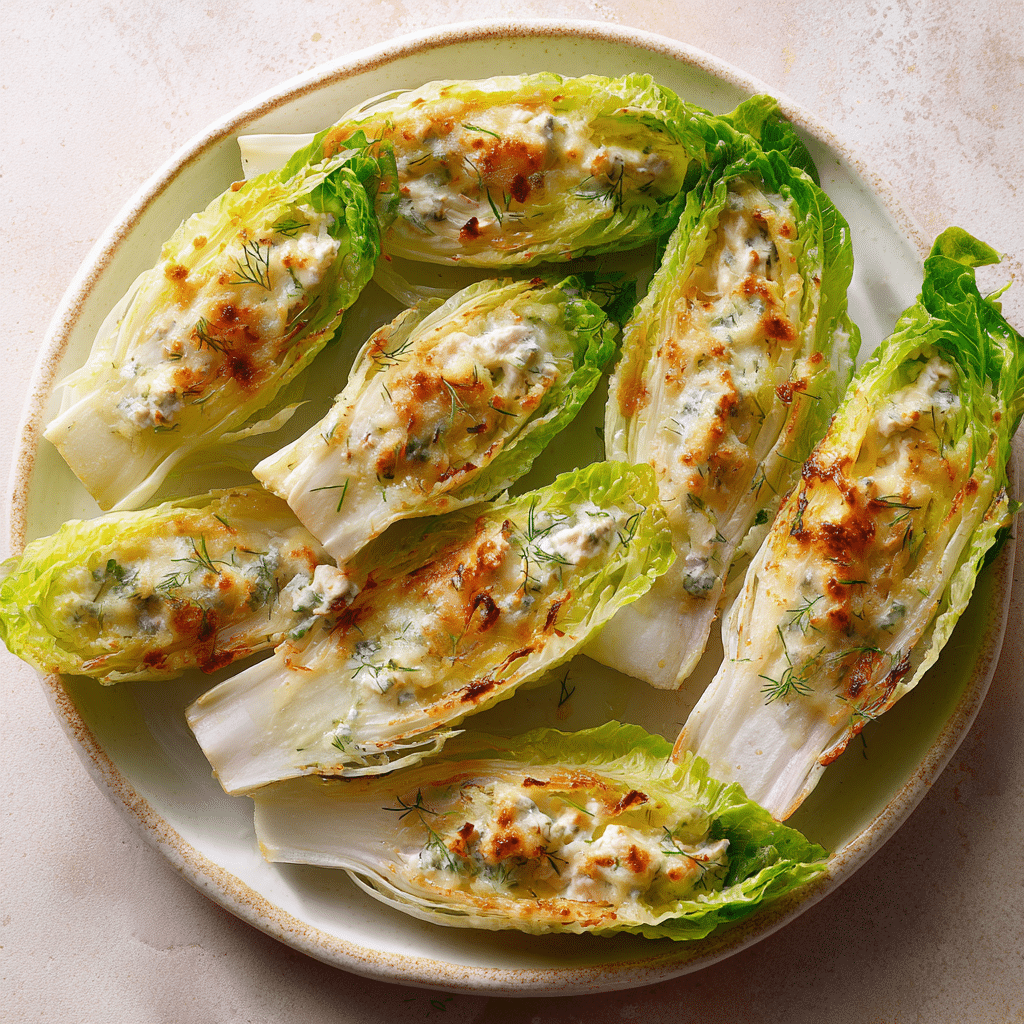
Creamy Sushi Bake-Stuffed Endive Leaves Recipe
If you’re on the hunt for an appetizer that balances freshness, elegance, and a touch of indulgence, let me introduce you to my absolute favorite: Creamy Sushi Bake-Stuffed Endive Leaves. These delightful bites bring together cool, crisp endive leaves filled with a warm, luscious sushi-inspired rice mixture that feels both comforting and sophisticated. Whether you’re planning a casual get-together or an impressive party platter, this dish instantly elevates your spread with its vibrant colors and irresistible flavors.
Ingredients You’ll Need
The beauty of this recipe lies in its simplicity; straightforward ingredients that each play a crucial role in building layers of flavor, texture, and visual appeal. You don’t need anything fancy—just a few essentials that come together like magic.
- Endive leaves: Crisp and slightly bitter, they offer the perfect sturdy vessel and contrast to the creamy filling.
- Cooked sushi rice: The foundation of the filling, wonderfully sticky to hold everything together while delivering that classic sushi base.
- Cream cheese: Adds a rich, smooth creaminess that balances the tang of the soy and the fresh crunch of the endive.
- Cooked seafood or vegetables: Choose your favorite—shrimp, crab, or even sautéed mushrooms—to add a savory, protein-packed touch.
- Soy sauce: Provides umami depth and a savory punch that ties the flavors seamlessly.
How to Make Creamy Sushi Bake-Stuffed Endive Leaves
Step 1: Prepare the Endive Leaves
Gently separate the endive into individual leaves, washing and thoroughly drying them. The leaves should be intact and sturdy to hold your sushi bake filling without tearing. Set these aside on a serving platter or baking tray if you plan to warm the final dish.
Step 2: Mix the Creamy Sushi Filling
In a bowl, combine the cooked sushi rice with softened cream cheese, mixing until the texture is smooth and creamy. Fold in your choice of cooked seafood or sautéed vegetables, then add a splash of soy sauce to bring everything together with that signature savory depth.
Step 3: Stuff the Endive Leaves
Using a spoon, carefully fill each endive leaf with a generous amount of the creamy sushi mixture. Distribute evenly so every bite delivers the perfect balance of crispness and creamy warmth.
Step 4: Bake or Serve Fresh
You have two delicious options here: lightly bake the stuffed leaves in a preheated oven at 350°F for about 5-7 minutes to warm the filling and soften the endive just slightly, or serve immediately for a fresher, cooler bite. Both ways are fantastic depending on your mood or occasion.
How to Serve Creamy Sushi Bake-Stuffed Endive Leaves
Garnishes
For a final flourish, sprinkle with toasted sesame seeds or finely chopped scallions. A drizzle of spicy mayo or a small dollop of wasabi-infused cream cheese takes these bites to the next level, adding color and an exciting flavor kick that guests will love.
Side Dishes
Complement your Creamy Sushi Bake-Stuffed Endive Leaves with light sides such as a crisp seaweed salad or pickled ginger. These sides enhance the sushi-inspired theme while keeping the overall meal balanced and refreshing.
Creative Ways to Present
Arrange the leaves artfully on a long platter with edible flowers or microgreens scattered around for an eye-catching presentation. You can also serve them individually in mini spoons or small appetizer cups to wow guests with a modern twist on finger foods.
Make Ahead and Storage
Storing Leftovers
If you have any leftover Creamy Sushi Bake-Stuffed Endive Leaves, store the filling separately in an airtight container in the refrigerator for up to 3 days, and keep the endive leaves dry and wrapped overnight to preserve their crispness.
Freezing
The filling itself freezes well; transfer it to a freezer-safe container for up to 1 month. When ready, thaw in the refrigerator overnight and reassemble the bites with fresh endive leaves for the best texture.
Reheating
To reheat, warm the filling gently in a microwave or stovetop until just heated through, then stuff into fresh endive leaves. Baking the assembled bites for a few minutes also works beautifully to warm the mixture without losing the endive’s natural crunch.
FAQs
Can I use other greens instead of endive leaves?
Absolutely! While endive gives a perfect crunch and slight bitterness, you can experiment with bibb lettuce, romaine hearts, or even sturdy kale leaves, though these will slightly alter the flavor and texture.
Is this sushi bake filling served cold or hot?
It’s versatile! You can serve the filling warm right after a brief bake for a comforting bite or chilled for a refreshing appetizer. Both options taste incredible in the Creamy Sushi Bake-Stuffed Endive Leaves.
What seafood works best in this recipe?
Cooked shrimp, crab meat, or canned imitation crab are popular choices, but you can also try cooked scallops or even lightly cooked salmon flakes. For veggie lovers, sautéed mushrooms or finely diced cucumbers add great texture and flavor.
Can I make this recipe vegan-friendly?
Yes! Swap out cream cheese for a vegan alternative, use seasoned tofu or cooked mushrooms instead of seafood, and choose soy sauce or tamari that’s vegan. The endive leaves remain the star blank canvas for endless plant-based creativity.
How long do the assembled bites last?
Once stuffed, it’s best to serve Creamy Sushi Bake-Stuffed Endive Leaves within a few hours to enjoy the crispness of the leaves and freshness of the filling. If needed, keep them covered in the fridge but expect some softening.
Final Thoughts
There’s something so incredibly satisfying about the way Creamy Sushi Bake-Stuffed Endive Leaves come together—each bite bursting with creamy, savory goodness contrasted by crisp, fresh leaves. Whether you’re serving them at an intimate dinner or a bustling party, they never fail to impress. I promise, once you try this recipe, it’ll quickly become one of your favorite go-to appetizers. So grab those ingredients, have fun making it your own, and enjoy every flavorful moment!