Lotus Biscoff Lava Cups Recipe
If you love that perfect combination of a soft-centered cake with a rich, gooey surprise inside, then you are going to absolutely adore these Lotus Biscoff Lava Cups. This irresistible dessert takes the beloved lotus dessert concept and elevates it with molten Biscoff spread hidden inside each cup, creating a magical lava effect when you dive in. These Lotus Biscoff Lava Cups aren’t just pretty to look at—they’re a warm hug of caramelized spice and sweetness in every bite, perfect for impressing friends or indulging yourself after a long day.
Ingredients You’ll Need
This recipe relies on just a handful of simple ingredients, each playing a crucial role in delivering that delightful texture and flavor. The Lotus Biscoff Spread gives the iconic caramelized flavor, eggs add structure and richness, sugar sweetens just right, butter lends a tender crumb, and flour provides the necessary backbone to hold it all together.
- Lotus Biscoff Spread: This luscious spread is the star of the show, providing that signature spicy caramel flavor and gooey center.
- Eggs: Eggs help bind the batter and give the lava cups their soft, tender texture.
- Sugar: Adds just the right amount of sweetness without overpowering the delicate flavors.
- Butter: Melted butter enriches the batter and ensures a moist, melt-in-your-mouth finish.
- Flour: The foundation of the batter, flour gives shape and structure to the lava cups.
How to Make Lotus Biscoff Lava Cups
Step 1: Prepare the Batter
Start by gently whisking your eggs and sugar together until the mixture is pale and creamy. This creates a light texture in your cakes. Next, melt the butter and fold it into the egg mixture to add richness. Finally, sift in the flour little by little, folding it gently to create a smooth, luscious batter that’s ready to delight your taste buds.
Step 2: Fill the Cups
Divide the batter evenly between your baking cups, filling each about halfway. This is a critical step because it allows room for the molten Biscoff center, which will ooze out during baking. Be sure not to overfill so those lava cups bake perfectly.
Step 3: Add the Biscoff Center
Next, add a generous dollop of Lotus Biscoff Spread right in the middle of each cup. This dollop will melt into the luscious lava core that makes these cups so special. Carefully cover the spread with the remaining batter, sealing in that molten treasure inside.
Step 4: Bake Until Edges Set
Place your filled cups into a preheated oven and bake for about 12 minutes, or until the edges are set but the center remains deliciously soft. This is where the magic happens—the centers stay gooey while the outside forms a tender cake shell.
How to Serve Lotus Biscoff Lava Cups
Garnishes
Elevate these Lotus Biscoff Lava Cups by lightly dusting them with powdered sugar for a snowy touch. Alternatively, a small sprinkle of crushed Lotus Biscoff cookies adds an irresistible crunch and complements the rich center perfectly. A few fresh berries or a dollop of whipped cream also make charming garnishes to balance sweetness with freshness.
Side Dishes
These lava cups shine brilliantly on their own, but if you want to turn your dessert into a spread, vanilla ice cream is a dream pairing that contrasts beautifully with the warm, molten centers. For a more indulgent experience, serve alongside a drizzle of chocolate sauce or a cup of espresso to bring out all the caramel and spice notes.
Creative Ways to Present
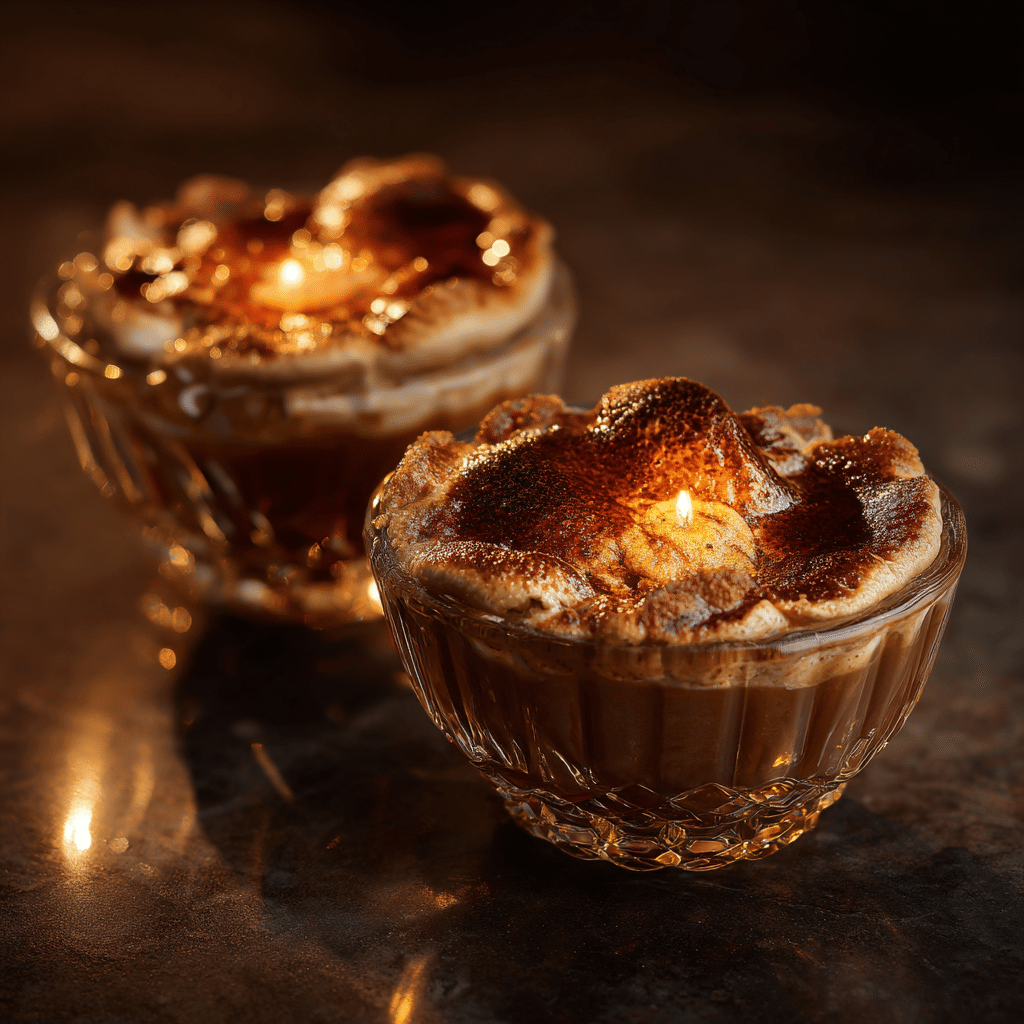
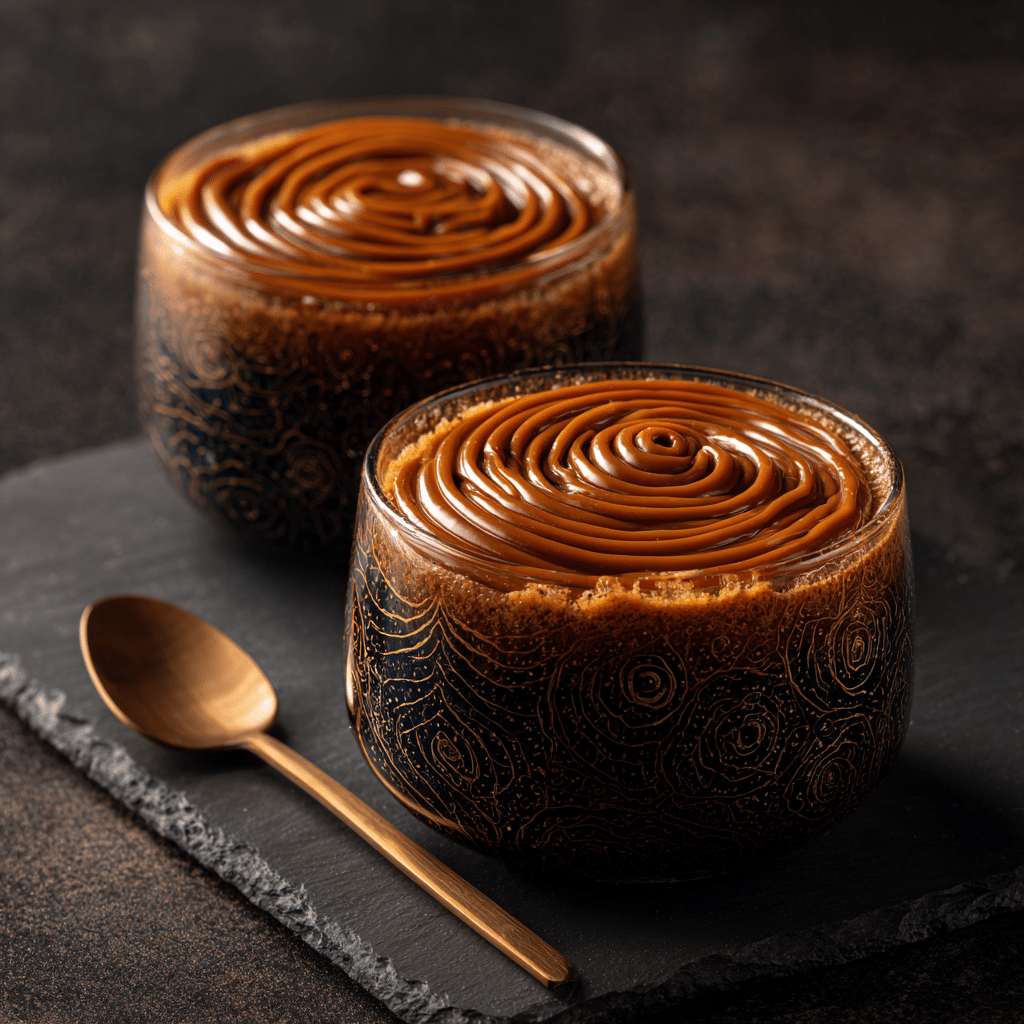
Take your Lotus Biscoff Lava Cups to the next level by serving them in mini ramekins or pretty glass jars for an elegant yet cozy vibe. You could even top each cup with a tiny edible flower or a sprinkle of edible gold glitter for a sparkle that’s sure to wow your guests. Individual dessert plates with a smear of Biscoff spread make every serving feel like a gourmet treat.
Make Ahead and Storage
Storing Leftovers
If you happen to have leftovers (though rare with these!), store your Lotus Biscoff Lava Cups in an airtight container in the refrigerator. They should stay fresh for up to 2 days, though their gooey center is best enjoyed warm and fresh.
Freezing
You can freeze the baked cups by wrapping them individually in plastic wrap and placing them in a freezer-safe container. For best results, consume within a month. When you’re ready, thaw them overnight in the fridge before reheating gently to bring back that molten magic.
Reheating
To enjoy your Lotus Biscoff Lava Cups warm again, pop them in a 300°F (150°C) oven for about 5-7 minutes. This method will help the center loosen up without overcooking the cake, recreating that soft, molten texture perfectly.
FAQs
Can I use regular peanut butter instead of Lotus Biscoff spread?
While peanut butter will create a molten center, it won’t capture the unique caramelized spiced flavor that makes Lotus Biscoff Lava Cups so special. For best results, stick with Lotus Biscoff Spread.
How do I know when the lava cups are done baking?
The edges should be set and spring back lightly to the touch while the center remains soft. Overbaking will cause the molten center to firm up, losing that delightful gooeyness.
Can I make this recipe vegan?
You can experiment with plant-based butter and egg substitutes, but the texture and flavor might change slightly. The molten quality depends heavily on real eggs and butter for best results.
What’s the best type of flour to use?
All-purpose flour works perfectly here, providing just the right structure for delicate yet sturdy lava cups. Cake flour can be used for an even softer crumb.
Can these be made into a larger cake instead of cups?
While you can try baking this batter in a larger pan, the signature molten center effect is best achieved by baking in smaller individual portions so the heat surrounds each cup evenly.
Final Thoughts
There’s something incredibly comforting and celebratory about unwrapping the secret molten goodness inside a warm dessert, and these Lotus Biscoff Lava Cups deliver exactly that. Whether you’re baking for friends, family, or just indulging yourself, they’re bound to become a beloved go-to recipe. So grab your ingredients and dive into this cozy world of caramelized spice and soft cake—you won’t regret it. Happy baking!