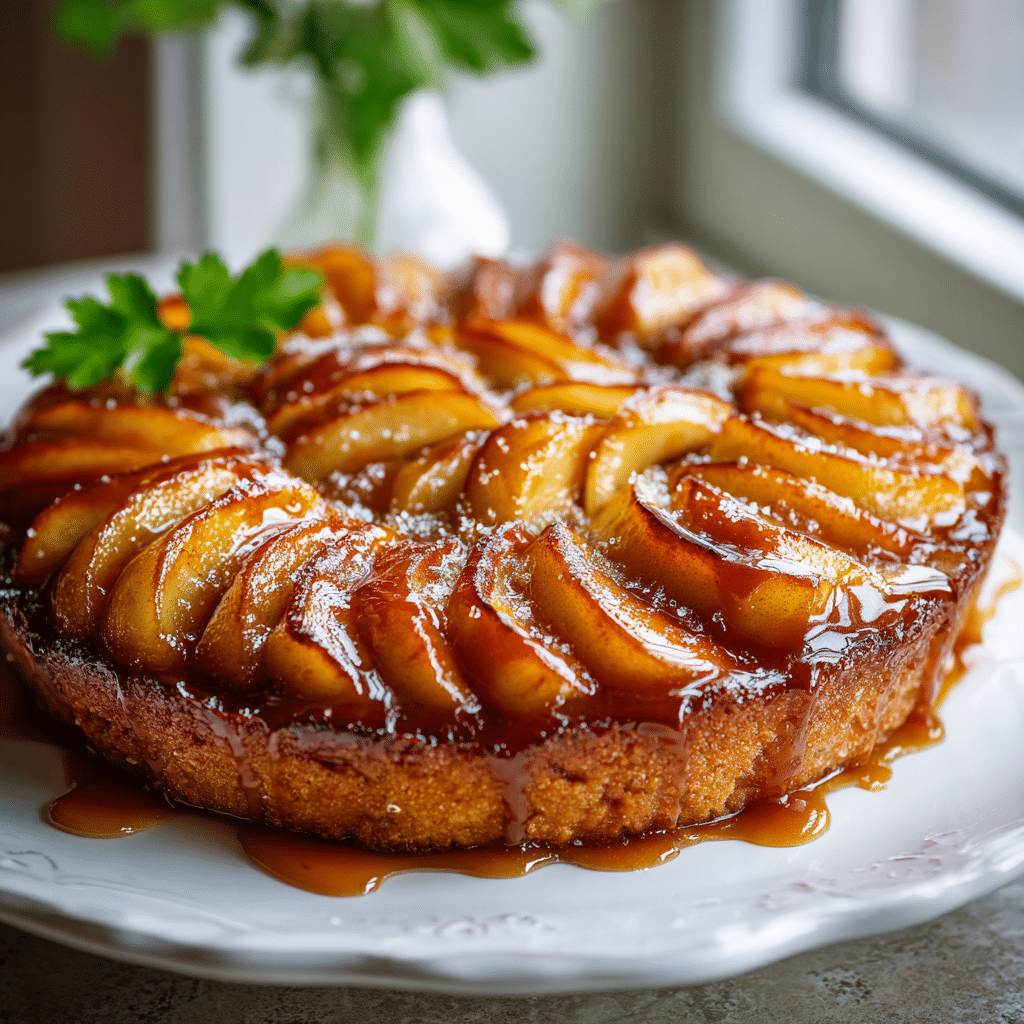
Upside Down Apple Tart Recipe
If you’re looking to impress yourself and your friends with a dessert that’s both simple and stunning, this Upside Down Apple Tart is your go-to recipe. It takes the beloved flavors of spiced apples and caramelized sugar, and transforms them into a golden, flaky puff pastry treat that’s irresistibly delicious. Inspired by viral TikTok recipes, this tart combines a crisp texture with sweet, warm apple slices baked right into a caramelized base, making it the perfect anytime snack or dessert that feels special without being complicated.
Ingredients You’ll Need
This recipe keeps it delightfully straightforward, focusing on a handful of ingredients that each bring something important to the table. From the buttery puff pastry creating that flaky crust to the fragrant apple pie spice enhancing the natural sweetness of the apples, every component matters.
- 1 sheet puff pastry (thawed): The foundation for a perfect, flaky crust that crisps beautifully in the oven.
- ½ apple (Envy, Honeycrisp, Granny Smith): Choose a crisp variety to ensure your apple slices hold up during baking without getting mushy.
- 4 tablespoons light brown sugar: Adds a rich caramel flavor that works magic once baked.
- ¼ teaspoon apple pie spice: A warm blend that brings depth, spice, and that classic apple pie aroma.
- 1 egg (beaten, optional for egg wash): Gives the pastry a gorgeous golden finish and shine.
- Turbinado sugar (optional for topping): Sprinkled on top for extra crunch and sparkle.
How to Make Upside Down Apple Tart
Step 1: Prepare Your Ingredients
Start by preheating your oven to 400°F (205°C) and lining a large sheet pan with parchment paper – this makes cleanup a breeze. Peel and core your apple, then slice it thinly into about 24 even slices from half an apple. Mixing your light brown sugar with the apple pie spice ahead of time lets those warm flavors infuse perfectly during baking.
Step 2: Cut and Assemble the Pastries
Next, take your puff pastry sheet and cut it into six equal rectangles, roughly 3 by 4.5 inches. If the pastry feels too stiff, gently roll it out and dust off any excess flour. On your lined baking sheet, spoon a teaspoon of the spiced brown sugar mixture for each tart. Layer four slices of apple over the sugar, fanning them slightly for a beautiful look, then sprinkle another teaspoon of the sugar mix on top. Press a puff pastry rectangle on top of each mound, pinching edges down and using a fork to crimp them for a lovely, finished edge.
Step 3: Add Finishing Touches and Bake
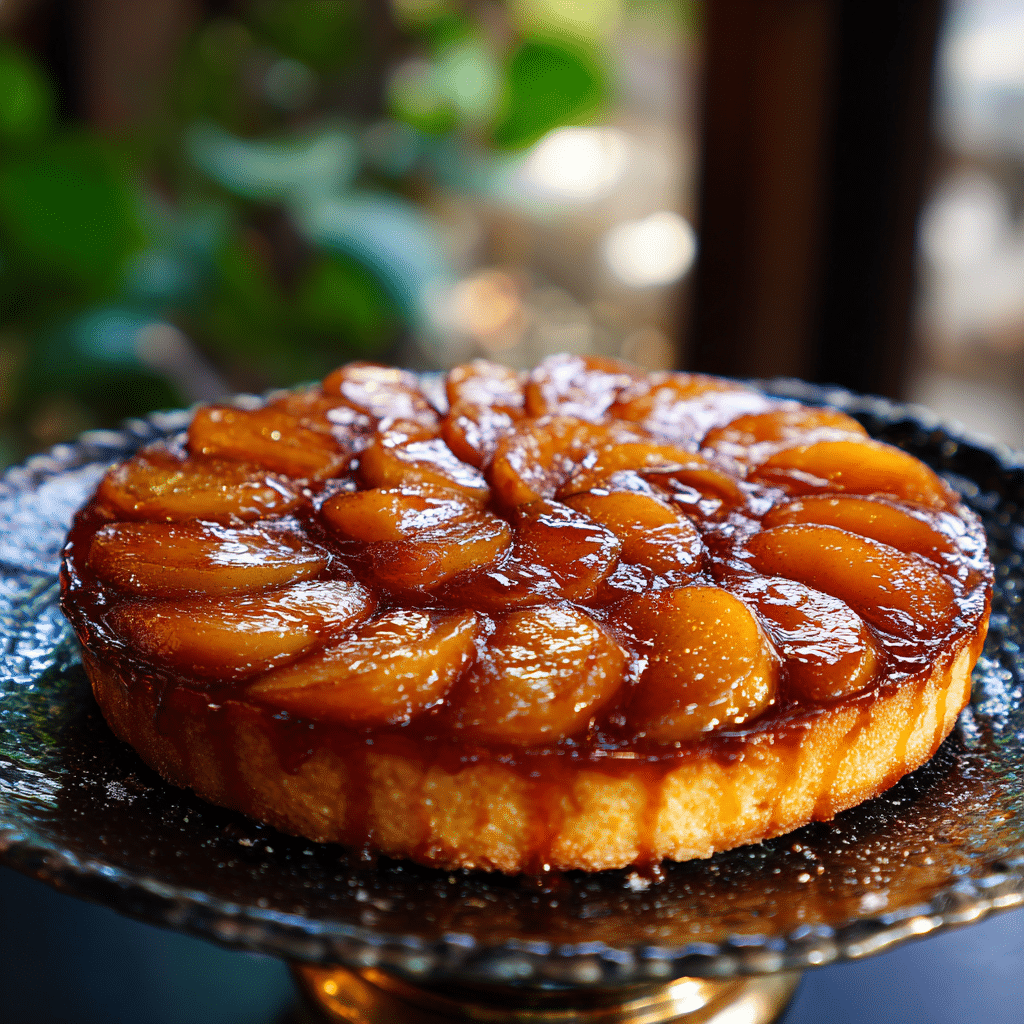
If you’re looking for that picture-perfect crust, brush the tops of the pastries with beaten egg wash. For a touch of sparkle and crunch, dust with turbinado sugar. Now they’re ready to bake! Slip them in the oven and let those little tarts bake for 18 to 20 minutes until the puff pastry has puffed up and turned a golden brown. Once baked, give them a moment to cool before flipping and serving for that classic upside down presentation.
How to Serve Upside Down Apple Tart
Garnishes
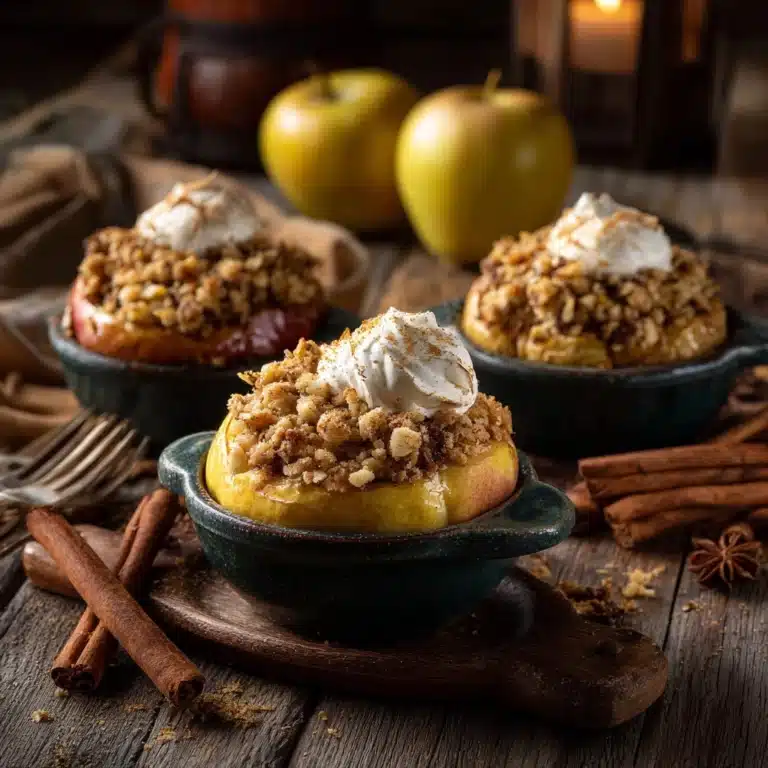
A scoop of vanilla ice cream or a dollop of whipped cream instantly elevates the warm tart. Freshly chopped nuts like pecans or walnuts can add a lovely crunch contrast, while a light dusting of cinnamon or powdered sugar can enhance its visual appeal and flavor dimensions.
Side Dishes
Serve your Upside Down Apple Tart alongside a fresh green salad dressed in a simple vinaigrette for a balanced meal that highlights both savory and sweet flavors beautifully. Cup of hot tea or freshly brewed coffee pairs wonderfully to complement the spices in the tart.
Creative Ways to Present
For a special occasion, try serving each tart on a small slate or wooden board with drizzles of caramel sauce or a thin line of fruit coulis around the plate. Adding edible flowers or fresh mint leaves can bring garden-fresh vibes to your presentation. Alternatively, deconstruct the tart to showcase the layers in a parfait glass with whipped cream and caramel sauce for a playful twist.
Make Ahead and Storage
Storing Leftovers
Keep any leftover Upside Down Apple Tarts in an airtight container at room temperature for up to two days. This helps maintain the puff pastry’s crispness while allowing the apples to stay tender and flavorful. For best taste, enjoy them within this time frame.
Freezing
If you want to enjoy these tarts later, freezing is a great option. Wrap each baked tart tightly in plastic wrap and place in a freezer-safe container. They will keep well for up to a month. When ready to eat, thaw overnight in the refrigerator before reheating.
Reheating
To revive that fresh-from-the-oven feel, gently reheat in a preheated oven at 350°F (175°C) for about 5 to 7 minutes. This brings back the flakiness of the puff pastry and warms the spiced filling beautifully. Avoid the microwave to keep the crust crisp.
FAQs
Can I use other fruits instead of apples for the Upside Down Apple Tart?
Absolutely! Pears, peaches, or even plums can be delicious alternatives, offering their unique sweetness and texture. Just adjust the spice blend to complement the fruit you choose.
What if I don’t have apple pie spice?
No worries. You can easily make your own with a mix of cinnamon, nutmeg, and allspice. Or simply use cinnamon alone for a classic, cozy flavor.
Is puff pastry the only dough option for this tart?
Puff pastry is preferred here for its flaky texture and ease of use, but you could experiment with pie dough if you prefer a denser crust. Keep in mind the baking time and texture will vary.
How thin should the apple slices be?
Thin slices, about 1/8 inch thick, work best. They cook evenly and caramelize nicely without turning mushy, giving you that perfect tender bite.
Can I make these tarts vegan?
Yes! Use vegan puff pastry and substitute the egg wash with a plant-based milk or simply skip it. For sweetness, maple syrup can replace brown sugar if preferred.
Final Thoughts
This Upside Down Apple Tart is a delightful way to bring warmth and sweetness into your kitchen with minimal effort. It’s stunning, tasty, and such a satisfying treat whether for a cozy snack or a charming dessert. I encourage you to try this recipe soon—it’s guaranteed to become a beloved favorite that you’ll want to make again and again.