Peanut Butter Chocolate Bars Recipe
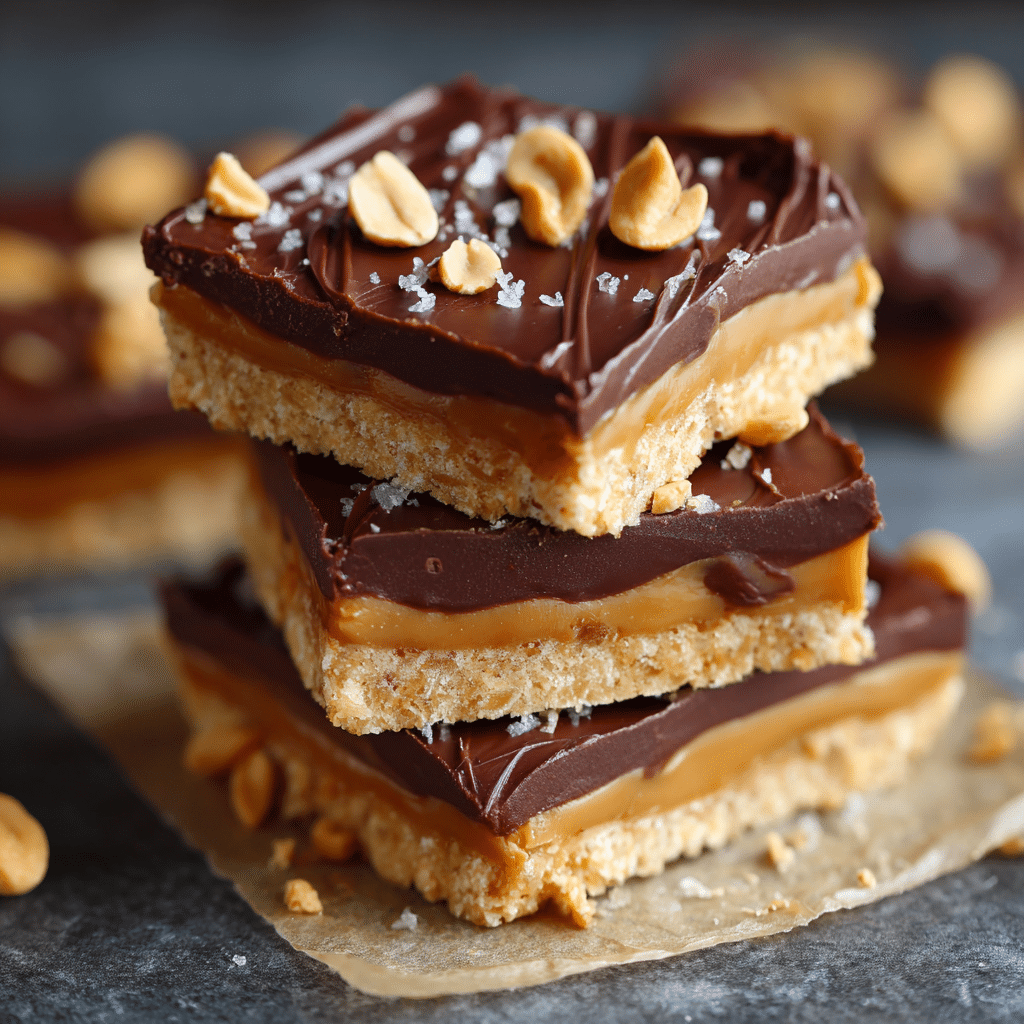
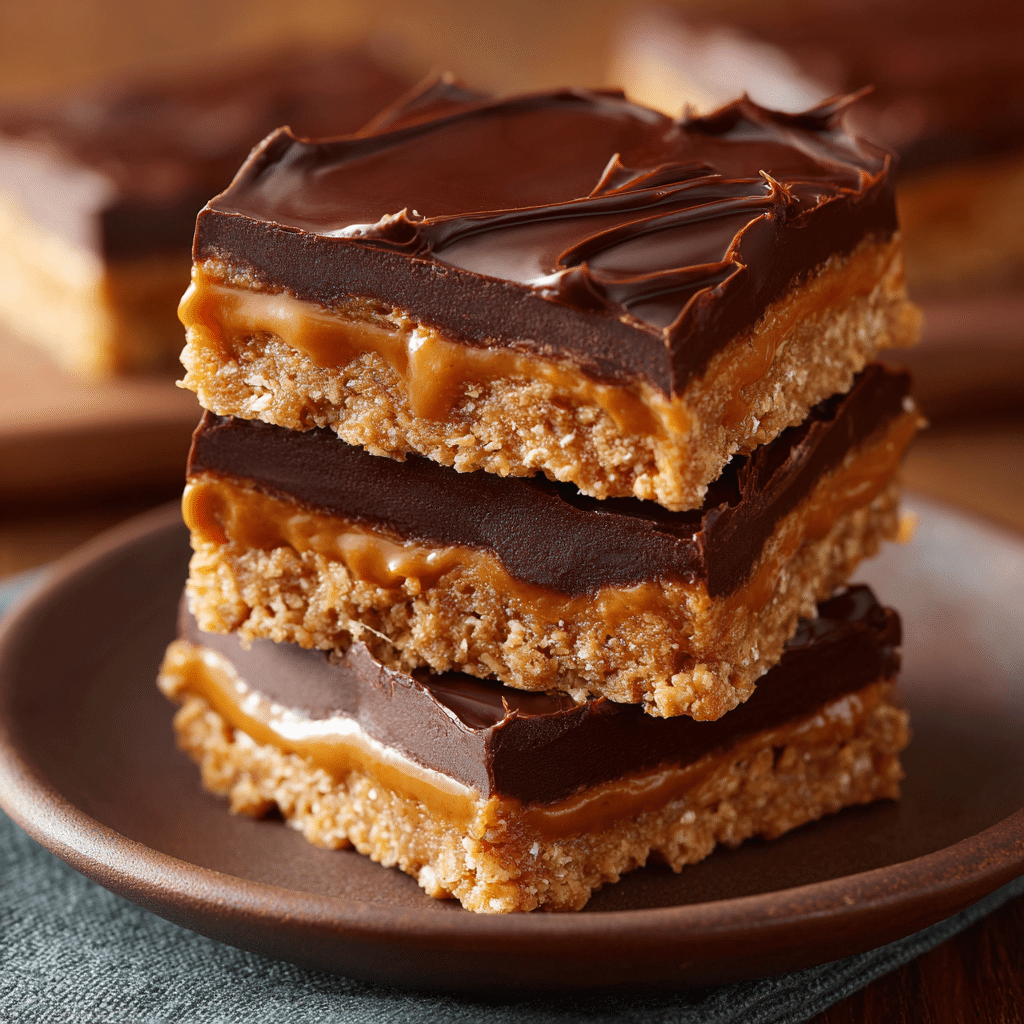
There is something truly irresistible about Peanut Butter Chocolate Bars that captures the heart of anyone with a sweet tooth. These no-bake bars boast a rich, crunchy biscuit base, a luscious creamy peanut butter filling, and a glossy chocolate topping that sets into a perfect sliceable treat. Whether you’re looking for a quick dessert to impress guests or a snack to satisfy your cravings, these bars combine the beloved duo of peanut butter and chocolate in a way that’s effortless yet indulgent. Trust me, once you try this recipe, Peanut Butter Chocolate Bars will become your go-to comfort dessert.
Ingredients You’ll Need
Gathering simple, pantry-friendly ingredients is all it takes to create these delightful bars. Each one plays a crucial role in balancing flavors and textures—from the buttery crunch, creamy peanut butter richness, to the smooth chocolate finish.
- 200 g crushed biscuits: These provide the essential crunchy base that holds everything together.
- 100 g butter: It binds the biscuits and adds a rich, silky mouthfeel to the crust.
- 150 g peanut butter: Creamy and nutty, peanut butter gives the filling its signature luscious flavor and texture.
- 200 g melted chocolate: The smooth chocolate topping adds a decadent finish and balances the peanut flavor with its sweet bitterness.
How to Make Peanut Butter Chocolate Bars
Step 1: Create the Crunchy Biscuit Base
Start by crushing the biscuits into fine crumbs—feel free to put them in a zip bag and give them a few hearty whacks with a rolling pin. This base is what gives the bars their satisfying crunch and structure. Melt the butter gently and mix it thoroughly with the crushed biscuits until they hold together like damp sand.
Step 2: Press Into the Pan
Next, press this biscuit and butter mixture firmly into a lined or greased pan. Use the back of a spoon or your fingertips to get the base even and compact. This layer will harden into a sturdy foundation that supports the creamy filling and silky topping.
Step 3: Spread the Peanut Butter Layer
Once the base is set, warm the peanut butter slightly if needed to make spreading easier. Generously and evenly spread the peanut butter over the biscuit crust, creating a smooth and thick middle layer. This peanut butter filling brings that unmistakable rich flavor that makes these bars extraordinary.
Step 4: Top with Melted Chocolate and Chill
Pour the melted chocolate over the peanut butter layer, smoothing it out to cover the entire surface. This chocolate topping not only looks stunning but gives a wonderful bittersweet contrast. Place the pan in the refrigerator for at least two hours to allow everything to set perfectly before slicing.
How to Serve Peanut Butter Chocolate Bars
Garnishes
Enhance the natural beauty of Peanut Butter Chocolate Bars by sprinkling chopped peanuts or a pinch of sea salt on top before the chocolate hardens. This adds delightful texture and an extra pop of flavor that complements the sweet and salty interplay.
Side Dishes
These bars pair wonderfully with a scoop of vanilla ice cream or a dollop of whipped cream for a classic combo. For a refreshing touch, serve alongside fresh berries or a simple berry compote to cut through the richness and add vibrant color.
Creative Ways to Present
Cut the bars into bite-sized squares and serve them on a rustic wooden board for casual gatherings. You can also wrap individual bars in parchment paper tied with twine for charming homemade gifts. Getting creative with plating really amps up the fun and appeal of these Peanut Butter Chocolate Bars.
Make Ahead and Storage
Storing Leftovers
Store any leftover bars in an airtight container in the refrigerator. They will keep well for up to a week, maintaining their perfect texture without becoming soggy or losing flavor.
Freezing
You can freeze Peanut Butter Chocolate Bars by wrapping them individually in plastic wrap and placing them in a freezer-safe container. When properly stored, they’ll stay delicious for up to two months. Just thaw in the fridge before serving.
Reheating
Since these are no-bake bars meant to be enjoyed chilled, reheating is not necessary. If you want to soften them slightly, leaving them at room temperature for 10–15 minutes works perfectly without compromising their texture.
FAQs
Can I use crunchy peanut butter instead of creamy?
Yes, you can! Crunchy peanut butter will add an extra layer of texture to the filling, making the bars even more interesting. Just make sure to spread it evenly to avoid lumps.
Is there a substitute for the biscuits in the base?
Absolutely! Graham crackers or digestive biscuits work great as alternatives, offering slightly different flavors but the same sturdy crunch that the base needs.
Do I have to bake these bars?
No baking required! That’s one of the best parts of this recipe. The bars set perfectly in the fridge thanks to the butter and chocolate solidifying and holding all the layers together.
Can I use peanut butter powder instead of regular peanut butter?
Using peanut butter powder is possible, but you’ll need to reconstitute it with a bit of oil or water to get the creamy consistency needed for the filling. Pure peanut butter works best for the richest flavor and texture.
How long do these bars last at room temperature?
Since they contain butter and peanut butter, it’s best to keep these bars refrigerated. At room temperature, they can soften and lose their firm texture after a few hours, especially if it’s warm.
Final Thoughts
Peanut Butter Chocolate Bars are truly one of those magical desserts that feel like a special treat but are incredibly simple to make. With just four wholesome ingredients and minimal effort, you get rich layers of flavor and texture that everyone will love. I heartily encourage you to give this recipe a try and watch how quickly these bars disappear from your kitchen because they’re just that good!