Cheesy Garlic Breadsticks Recipe
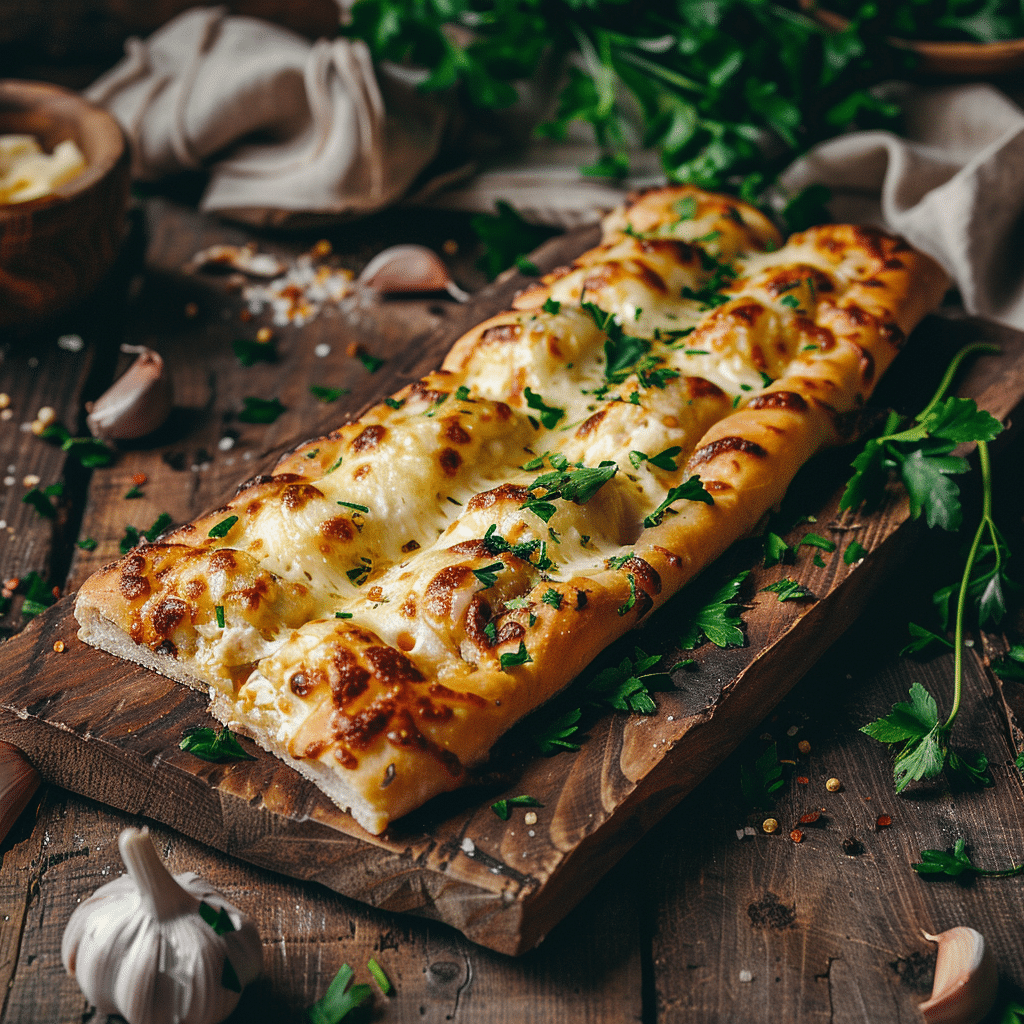
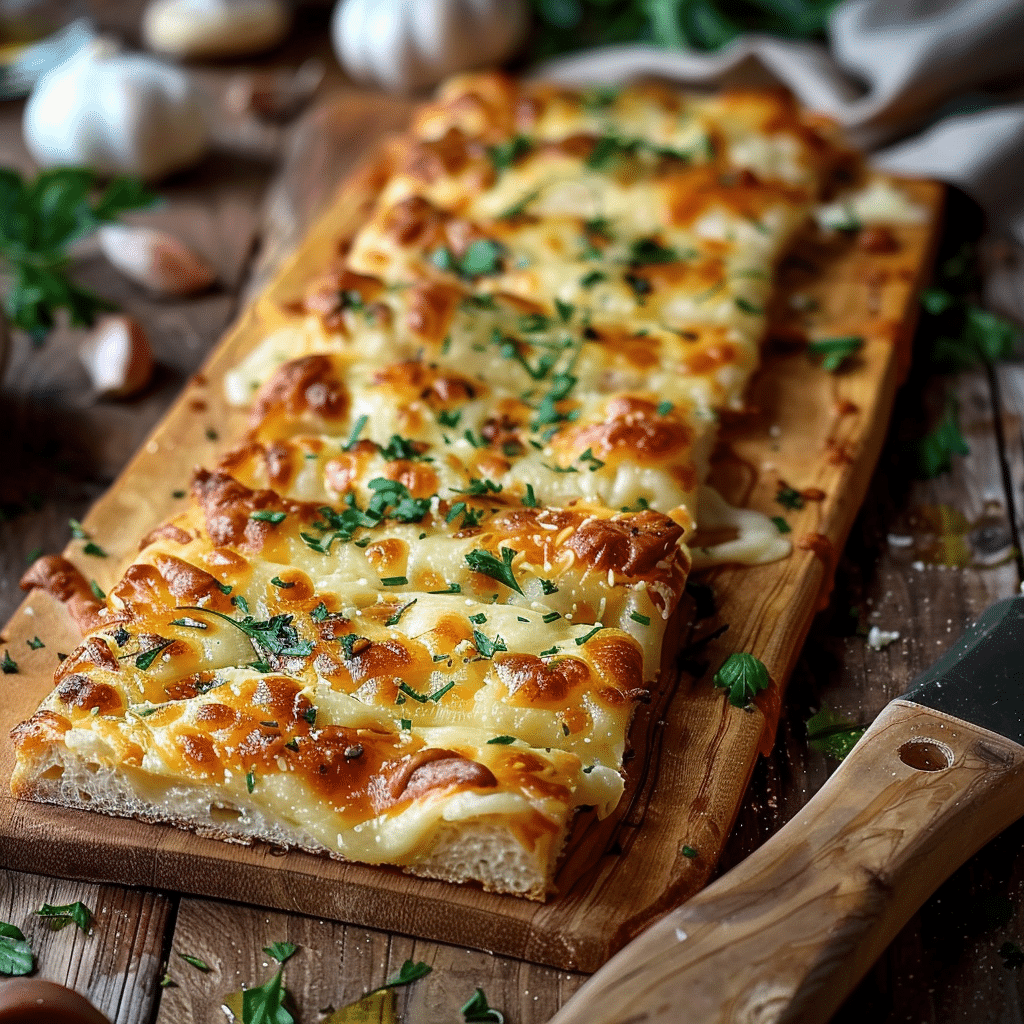
If you are searching for the ultimate comfort snack that brings people together, look no further than these Cheesy Garlic Breadsticks. With a golden crust, rich buttery garlic aroma, and ooey-gooey mozzarella melted on top, every bite delivers a perfect harmony of cheesy indulgence and garlicky goodness. Whether you serve them as a quick appetizer, a side, or an irresistible snack, these breadsticks are quick to prepare and guaranteed to brighten up any mealtime or gathering.
Ingredients You’ll Need
Getting started with Cheesy Garlic Breadsticks is delightfully simple, thanks to a handful of everyday ingredients that pack big flavor. Each item plays a special role, from the soft pre-made pizza dough forming the base to the butter and garlic infusing a fragrant richness, while mozzarella and oregano provide that irresistible cheesy and herby finish.
- Pre-made pizza dough: A convenient base that gives a soft and chewy texture without fussing over dough prep.
- Butter, melted: Adds a luscious richness and helps the garlic flavor infuse the breadsticks perfectly.
- Garlic, minced: Provides the signature punch of flavor that makes these breadsticks stand out.
- Shredded mozzarella: The melty, creamy cheese that creates that iconic, gooey topping.
- Dried oregano: A fragrant herb that adds a subtle hint of earthiness and depth to the final touch.
How to Make Cheesy Garlic Breadsticks
Step 1: Preparing the Oven and Dough
Start by preheating your oven to 200°C to ensure it’s nice and hot by the time your breadsticks are ready to bake. While that’s heating up, roll out your pre-made pizza dough on a lightly floured surface and cut it into evenly sized strips. This simple step sets the stage for perfectly crisp yet tender breadsticks.
Step 2: Brushing with Garlic Butter
Mix your melted butter and minced garlic together to create an irresistible garlic butter blend. Generously brush this over each dough strip so every bite sings with buttery garlic goodness, which will also help the cheese stick beautifully on top.
Step 3: Adding Cheese and Herbs
Sprinkle shredded mozzarella over each dough strip like a blanket of melt-in-your-mouth comfort, then dust with dried oregano to add an aromatic herbal note that complements the richness perfectly. These toppings will elevate the breadsticks beyond ordinary to absolutely crave-worthy.
Step 4: Baking to Golden Perfection
Place the breadsticks on a baking tray and pop them into your preheated oven. Bake for about 12 minutes, watching eagerly as the mozzarella bubbles up and the dough turns a beautiful golden brown. The aroma wafting through your kitchen will make waiting feel impossible.
Step 5: Serving Warm
Once baked, transfer the hot Cheesy Garlic Breadsticks to a serving plate immediately. These are best enjoyed piping hot when the cheese is gooey and the garlic butter aroma is at its peak, making each bite an absolute delight.
How to Serve Cheesy Garlic Breadsticks
Garnishes
Fresh herbs like finely chopped parsley or basil can add a lovely splash of color and a fresh, bright flavor that contrasts beautifully with the richness of the cheese and garlic. A light sprinkle of red pepper flakes also offers an exciting hint of heat if you love a little kick.
Side Dishes
Cheesy Garlic Breadsticks pair wonderfully with a crisp green salad or a vibrant tomato soup. They also make a fantastic accompaniment to pasta dishes, creating a balanced meal full of texture and flavor that everyone will appreciate.
Creative Ways to Present
For parties, serve your Cheesy Garlic Breadsticks in a basket lined with parchment paper for a rustic, inviting look. You can even arrange the breadsticks in a circle around a small bowl of marinara or ranch dressing for dipping—a fun and shareable snack that everyone can grab.
Make Ahead and Storage
Storing Leftovers
If you have any leftover breadsticks, store them in an airtight container at room temperature for up to 2 days. To retain their softness and flavor, avoid refrigerating as it can dry them out quickly.
Freezing
You can freeze baked Cheesy Garlic Breadsticks by wrapping them tightly in aluminum foil and placing them in a freezer-safe bag. They will keep well for up to 2 months, making it easy to enjoy this delicious treat anytime you like.
Reheating
To reheat, place your breadsticks on a baking tray and warm them in a preheated oven at 180°C for about 5-7 minutes until warmed through and the cheese is bubbly again. This method helps maintain their delightful texture and flavor far better than a microwave.
FAQs
Can I use fresh garlic instead of minced garlic?
Absolutely! Using freshly minced garlic will give you a stronger, more pronounced garlic flavor, so adjust the amount to your taste. Fresh garlic adds vibrant aroma and is a fantastic upgrade to the recipe.
Is it possible to make this recipe vegan?
Yes, you can swap the butter with a plant-based alternative and use vegan mozzarella to enjoy a dairy-free version of these Cheesy Garlic Breadsticks without sacrificing that crave-worthy texture and flavor.
What can I substitute for oregano if I don’t have any?
Italian seasoning, thyme, or basil all work well as alternatives. These herbs will keep the breadsticks fragrant and savory while complementing the cheesy garlic profile beautifully.
Can I bake these breadsticks on a pizza stone?
Definitely! A preheated pizza stone can help create a crispier crust, enhancing the texture of your Cheesy Garlic Breadsticks. Just be careful transferring the breadsticks and adjust baking time slightly if needed.
How do I prevent the breadsticks from becoming soggy?
Make sure to brush the dough with butter instead of oil, and bake them hot and fast. Avoid overcrowding the baking tray to let the heat circulate properly and create that perfect golden exterior without sogginess.
Final Thoughts
There is something incredibly satisfying about homemade Cheesy Garlic Breadsticks — they bring warmth, comfort, and a smile every time you bite into that cheesy, garlicky goodness. Whether it’s a quick snack or a side to round out your meal, I encourage you to try this recipe and experience just how easy and fantastic these breadsticks are. Trust me, you’ll want to keep this one in your regular rotation!