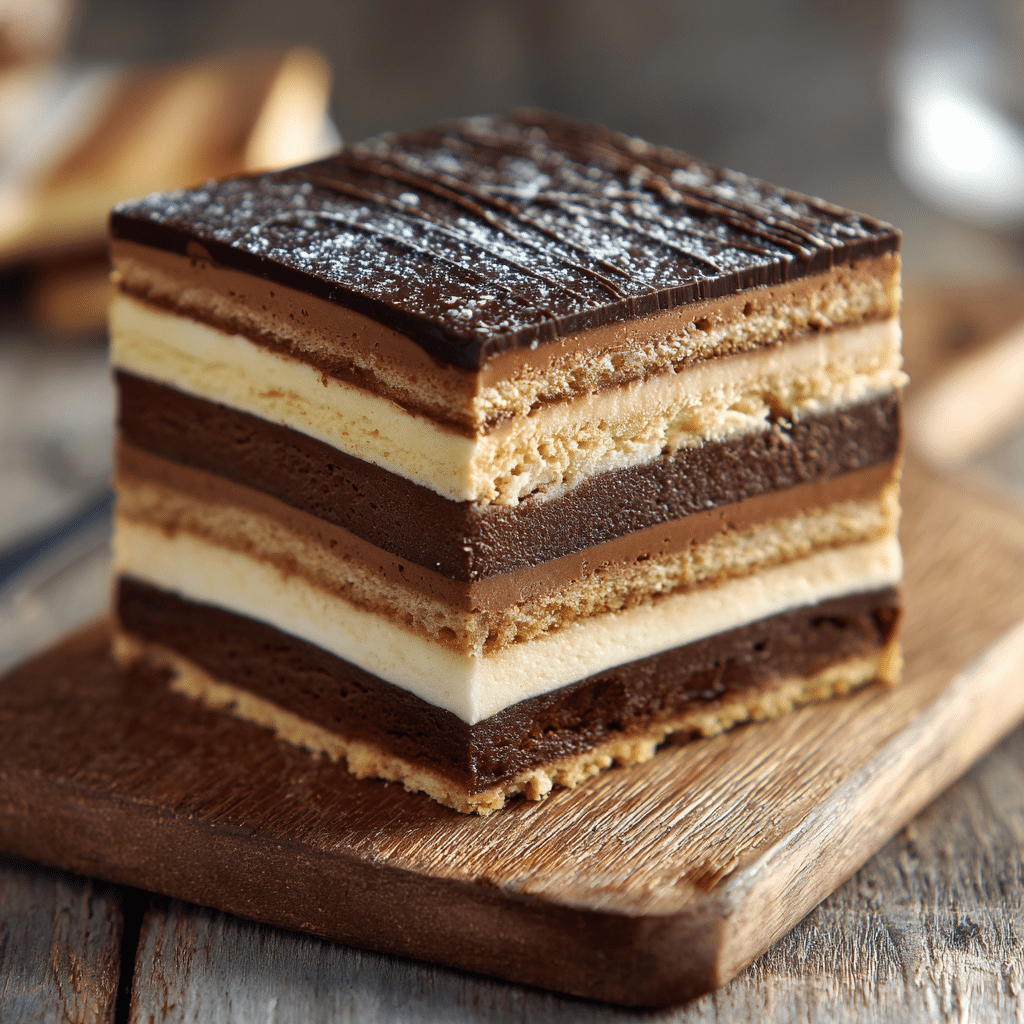
Chocolate Biscuit Icebox Cake Recipe
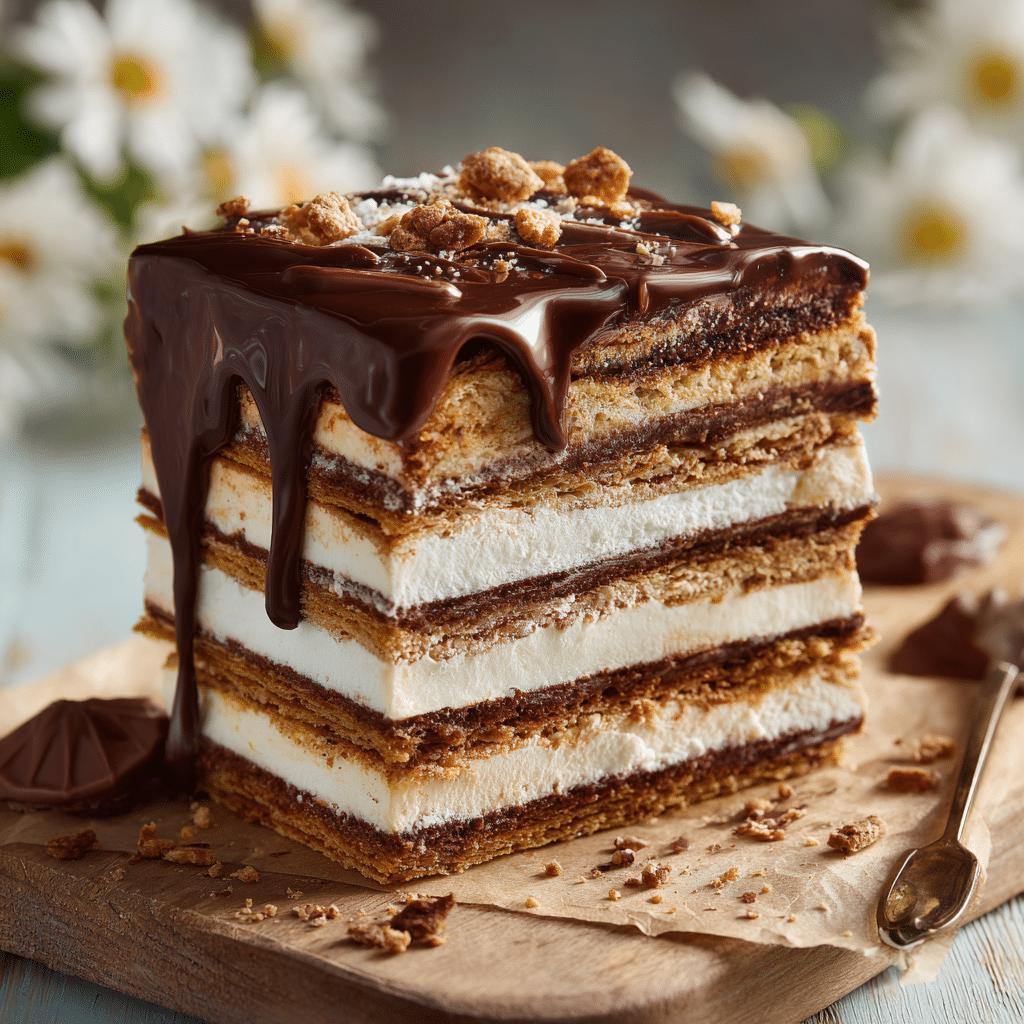
If you’re on the hunt for a dessert that’s both stunning and incredibly easy to pull together, the Chocolate Biscuit Icebox Cake is your new best friend. This no-bake delight layers crisp biscuits with luscious chocolate cream, creating a harmonious texture combo that’s rich, creamy, and satisfyingly crunchy. Every bite melts in your mouth while teasing your taste buds with just the right balance of sweetness and cocoa goodness. Whether you’re aiming to impress guests or simply treat yourself after a long day, this cake brings joy with minimal fuss and maximum flavor.
Ingredients You’ll Need
The beauty of the Chocolate Biscuit Icebox Cake lies in its simplicity. With just a few essential ingredients, you create a dessert that’s greater than the sum of its parts. Each element plays a key role — the biscuits provide structure and crunch, while the chocolate cream delivers that dreamy, velvety finish.
- Biscuits: Opt for crisp tea biscuits or graham crackers for the perfect crunch and structure.
- Chocolate cream: Rich, silky, and smooth, this is the heart of the cake that infuses each layer with intense cocoa flavor.
How to Make Chocolate Biscuit Icebox Cake
Step 1: Prepare Your Chocolate Cream
Start by whipping your chocolate cream until it reaches a smooth, fluffy consistency. This ensures it spreads easily between the biscuit layers and sets nicely once chilled.
Step 2: Layer the Biscuits and Cream
Begin by laying a neat row of biscuits at the bottom of your chosen dish. Next, generously spread a layer of chocolate cream over the biscuits, making sure every biscuit gets its share of luscious topping.
Step 3: Repeat the Layers
Continue layering biscuits and chocolate cream alternately, building up a stack of luscious layers. The goal is to create a tall, even cake with enough cream between to soften the biscuits.
Step 4: Chill Until Firm
Once all layers are assembled, cover the dish and place it in the refrigerator for several hours or overnight. This chilling step is where the magic really happens — the biscuits soften slightly, melding with the chocolate cream to create a dessert that slices beautifully.
How to Serve Chocolate Biscuit Icebox Cake
Garnishes
To elevate your Chocolate Biscuit Icebox Cake visually and flavor-wise, consider sprinkling grated dark chocolate or a few fresh raspberries on top. A light dusting of cocoa powder or a drizzle of chocolate syrup adds an elegant finishing touch that’s sure to wow.
Side Dishes
While this cake is indulgent on its own, pairing it with a scoop of vanilla ice cream or a spoonful of lightly whipped cream complements the rich chocolate layers perfectly, balancing the dessert’s sweetness with creamy freshness.
Creative Ways to Present
Serve the cake in a glass trifle bowl for a dramatic layer reveal or create individual parfait-style servings in clear cups. Adding a sprig of fresh mint or a dusting of edible gold glitter makes it party-perfect and delightfully festive.
Make Ahead and Storage
Storing Leftovers
Leftover Chocolate Biscuit Icebox Cake keeps beautifully wrapped in the refrigerator for up to three days. Be sure to cover it tightly to preserve moisture and prevent the cake from absorbing other fridge odors.
Freezing
If you want to save the cake for longer, freezing is an option. Wrap it carefully in plastic wrap and then foil, and freeze for up to one month. Thaw it overnight in the fridge before serving to maintain the best texture.
Reheating
This cake is best enjoyed cold, so reheating is not recommended. Instead, simply allow it to sit at room temperature for 10 to 15 minutes before serving if it feels too cold straight from the fridge.
FAQs
Can I use any type of biscuit for the Chocolate Biscuit Icebox Cake?
While many biscuits work, look for ones that are dry and crisp like tea biscuits or graham crackers to get the right texture after chilling. Avoid overly soft or flavored biscuits that might clash with the chocolate cream.
How long should I chill the cake?
Chilling for at least 4 to 6 hours is ideal to allow the biscuits to soften and the flavors to meld. Overnight chilling often yields the best texture and taste.
Is there a substitute for chocolate cream?
You can experiment with whipped cream and melted chocolate folded together or use a chocolate mousse to maintain the creamy, firm layers essential for this icebox cake.
Can I make this cake gluten-free?
Absolutely! Simply swap regular biscuits for gluten-free ones. Just ensure they have a similar crunch to keep the texture balanced with the chocolate cream.
What occasions are best for serving this cake?
The Chocolate Biscuit Icebox Cake shines at summer gatherings, informal dinner parties, or anytime you want a fuss-free and impressive dessert. Its no-bake nature makes it a perfect make-ahead option for busy days.
Final Thoughts
There is something so effortlessly charming about the Chocolate Biscuit Icebox Cake that makes it a must-try for anyone who loves chocolate and easy desserts. It’s a recipe that invites creativity and promises gratification with every bite. So go on, grab those biscuits and chocolate cream — your next favorite dessert is waiting in the fridge!