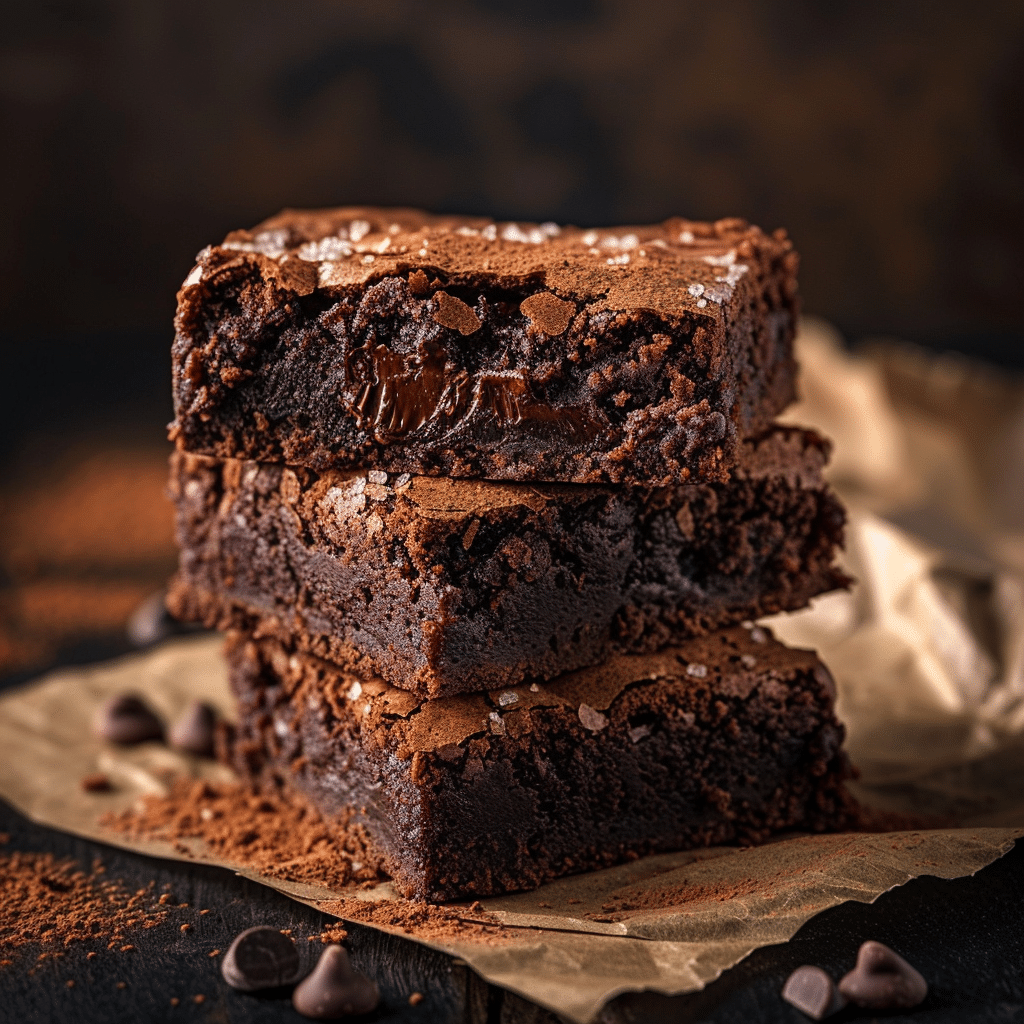
Brownies Recipe
Brownies are a timeless chocolate treat that never fail to bring joy with their rich, dense texture and delightfully crackly tops. This classic brownie recipe delivers that perfect balance between fudgy centers and a slightly crisp crust, making every bite melt-in-your-mouth delicious. Whether you’re a seasoned baker or just starting out, these Brownies are straightforward to make and guaranteed to become a crowd favorite for any occasion.

Ingredients You’ll Need
The magic of these Brownies comes from a handful of simple yet essential ingredients, each playing a key role in creating that irresistible chocolate flavor and fudgy consistency. Here’s what you’ll need:
- Dark chocolate (200 g): Use good quality dark chocolate for a rich, deep cocoa taste.
- Butter (150 g): Adds moisture and a velvety texture that makes the Brownies wonderfully fudgy.
- Sugar (200 g): Provides sweetness and helps create that characteristic crackly top.
- Eggs (3): Essential for structure and a glossy finish when whisked properly.
- Flour (100 g): Gives just enough body for the mixture without drying the Brownies out.
- Cocoa powder (30 g): Enhances the chocolate intensity and deepens the color.
- Vanilla (1 teaspoon): Adds a subtle aroma that complements the chocolate perfectly.
How to Make Brownies
Step 1: Melt the Chocolate and Butter
Start by gently melting the dark chocolate and butter together. This creates a glossy, smooth base that sets the foundation for your Brownies’ fudgy texture. Use a double boiler or microwave in short bursts to avoid burning the chocolate.
Step 2: Whisk Sugar and Eggs
Next, combine the sugar and eggs in a bowl and whisk vigorously until the mixture is pale, thick, and glossy. This step is crucial as it incorporates air, helping create that irresistible crackly surface on your Brownies.
Step 3: Combine Chocolate Mixture with Eggs and Sugar
Pour in the melted chocolate and butter mixture into the whipped eggs and sugar. Stir gently until fully combined. The batter should be luscious and smooth, promising that perfect fudgy bite.
Step 4: Fold in Dry Ingredients
Sift together the flour and cocoa powder to avoid lumps, then carefully fold them into the wet mixture. This gentle folding ensures the delicate texture stays intact, resulting in dense but tender Brownies.
Step 5: Bake to Perfection
Transfer your batter to a lined baking pan and bake at 350°F (175°C) for 25 to 30 minutes. Keep an eye on them – the Brownies are done when the edges are set but the middle still looks slightly soft. This guarantees that fudgy center everyone dreams about.
How to Serve Brownies
Garnishes
Brownies are fantastic on their own, but a little garnish can elevate them into a showstopper. Try dusting powdered sugar for a snowy finish, or sprinkle chopped nuts for added crunch and flavor contrast. A drizzle of caramel or raspberry sauce brings a fruity, indulgent twist that complements the rich chocolate beautifully.
Side Dishes
Serve these Brownies alongside a scoop of vanilla ice cream or a dollop of whipped cream to balance the dense chocolate with creamy, cool texture. Fresh berries or a simple fruit salad can add a refreshing pop to the dessert plate.
Creative Ways to Present
Think outside the box by turning your Brownies into decadent brownie sundaes layered with your favorite toppings. Alternatively, cut them into small bite-sized squares for a party platter or sandwich them with marshmallow fluff for gooey brownie s’mores. The possibilities are endless and fun to explore!
Make Ahead and Storage
Storing Leftovers
Wrap leftover Brownies tightly in plastic wrap or store them in an airtight container to keep them moist and fresh. They will stay delightful at room temperature for up to 3 days, perfect for enjoying a quick sweet fix anytime.
Freezing
These Brownies freeze beautifully. Slice them before freezing, then place the pieces in a sealed bag or container with parchment paper between each layer. They’ll keep well for up to 2 months, so you can always have the perfect treat on hand for unexpected chocolate cravings.
Reheating
To enjoy brownies warm, simply microwave a piece for about 10 to 15 seconds or warm them briefly in an oven at low heat. This brings back that fresh-baked softness and makes the chocolate even more decadent.
FAQs
Can I use milk chocolate instead of dark chocolate?
Absolutely! Milk chocolate will make the Brownies sweeter and less intense in cocoa flavor, which some people prefer. Just keep in mind that the texture might be a little softer.
How do I know when the Brownies are done baking?
The edges should look set and slightly pulling away from the pan, while the center should still be a bit gooey. Overbaking will dry them out, so it’s better to err on the side of underbaking for that fudgy delight.
Can I add nuts or chocolate chips to this recipe?
Yes! Adding chopped walnuts, pecans, or chocolate chips is a great way to incorporate texture and extra bursts of flavor. Fold them in with the dry ingredients to distribute evenly.
Is it necessary to line the baking pan?
Lining your pan with parchment paper makes removing the Brownies easier and helps prevent any sticking. It’s a simple step that saves time and keeps the edges intact.
Can I make these Brownies gluten-free?
To make gluten-free Brownies, substitute the flour with a gluten-free all-purpose blend. Be sure to check that your cocoa powder is gluten-free as well for a safe and delicious treat.
Final Thoughts
If you’re craving a deeply satisfying chocolate dessert, I can guarantee these Brownies will hit the spot every time. They’re remarkably easy to whip up, and the result is always a crowd-pleaser with their fudgy texture and shiny tops. So grab your ingredients, have some fun in the kitchen, and treat yourself or your loved ones to this classic comfort food—you’ll be so glad you did!