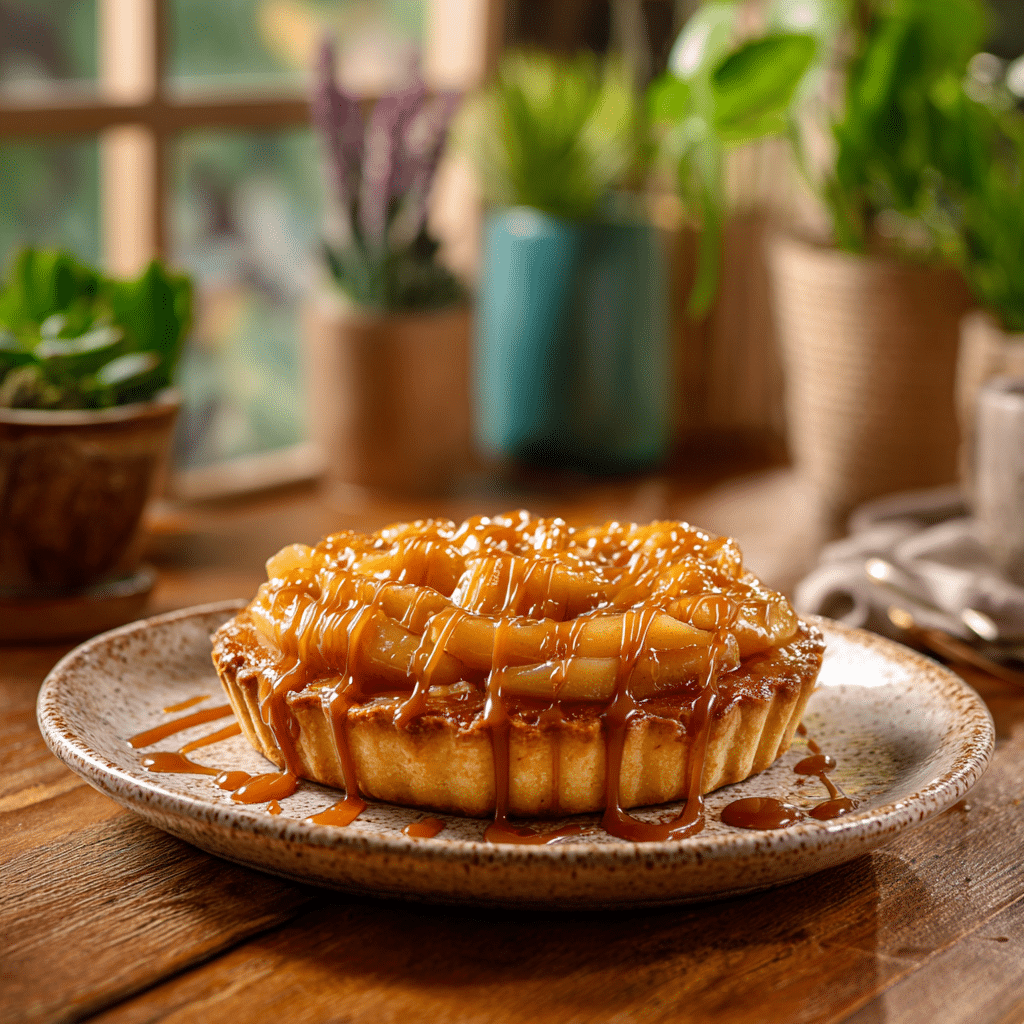
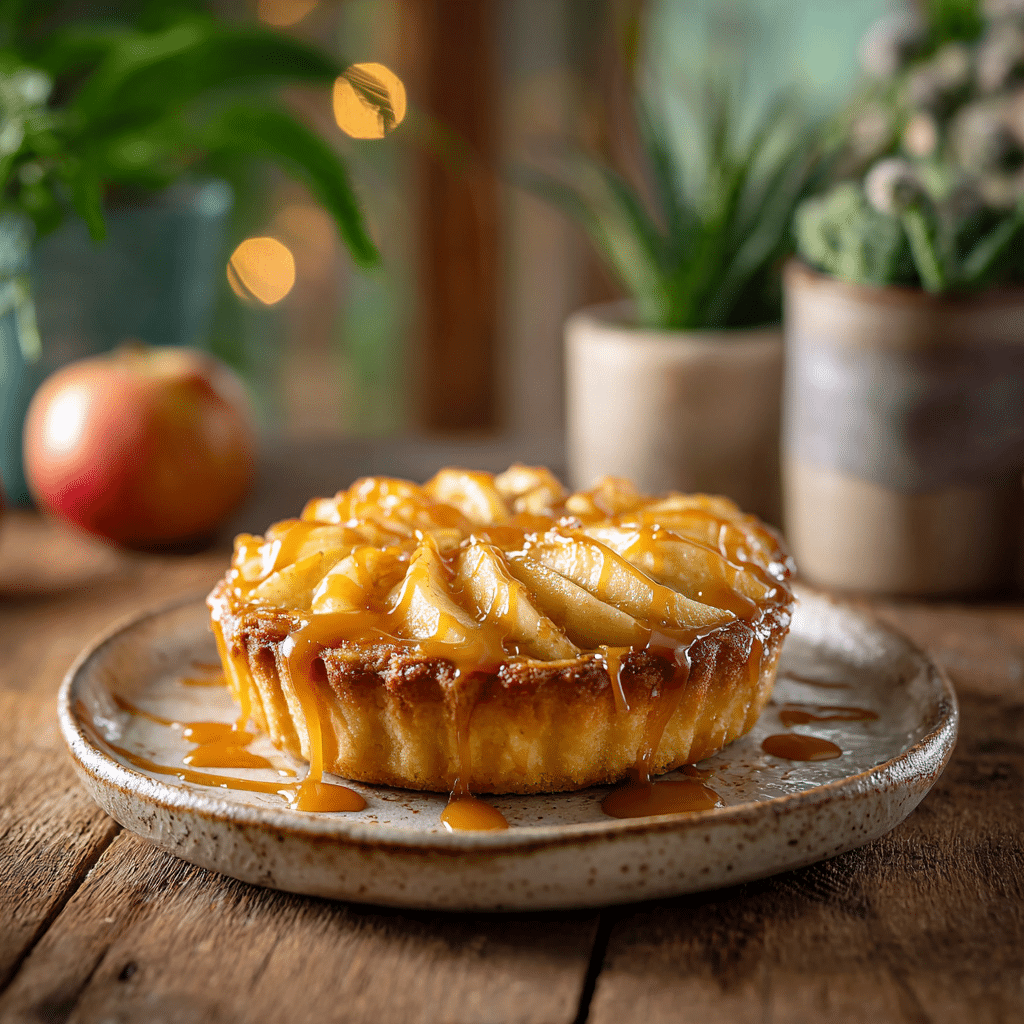
Caramel Apple Tart
If you’re looking for a dessert that feels like a warm hug wrapped in buttery, flaky goodness, then you’ve absolutely got to try this Caramel Apple Tart. Imagine a golden pastry base filled with tender, cinnamon-kissed apples, all brought together by a luscious drizzle of sticky caramel sauce. It’s a wonderful balance of sweet and tart, crisp and soft—a treat that tastes as cozy as it looks and is simple enough to whip up any day of the week. Whether you’re hosting friends or simply craving a homemade delight, this Caramel Apple Tart is sure to become a beloved staple in your dessert repertoire.
Ingredients You’ll Need
These ingredients are straightforward but packed with purpose, working harmoniously to give you that perfect balance of texture, flavor, and visual appeal in each bite of your Caramel Apple Tart.
- Pie crust: The flaky foundation that gives the tart its signature buttery crunch and holds all the delicious fillings perfectly.
- Apples (2, sliced): Choose crisp, tart apples like Granny Smith to add a fresh, tangy contrast to the sweetness.
- Caramel sauce (2 tbsp): Adds a rich, gooey sweetness that melts into the warm apples and crust for that irresistible finishing touch.
- Sugar (1 tbsp): A light sprinkle to enhance the natural sweetness of the apples and create a lovely caramelized top layer while baking.
How to Make Caramel Apple Tart
Step 1: Prepare the Pie Crust
Start with a store-bought pie crust or homemade if you’re feeling adventurous. Gently roll it out and fit it into your tart pan or baking dish. The crust should be evenly pressed to ensure it bakes up golden and crisp, providing the perfect base to showcase your apples and caramel.
Step 2: Arrange the Apples
Peel and thinly slice your apples for uniform cooking. Layer the slices beautifully over the crust, overlapping slightly to cover the whole surface in an inviting pattern. This not only looks stunning but ensures every bite has that mouthwatering apple goodness.
Step 3: Sprinkle with Sugar
Lightly dust the surface of the apples with sugar—it’s a simple step that caramelizes during baking, adding a hint of crunch and sweetness that elevates the natural flavor of the fruit.
Step 4: Bake the Tart
Place your tart in a preheated oven at 200°C (about 400°F) and bake for 25 minutes. The apple slices will soften perfectly while the crust turns a glorious golden brown. Keep an eye on it to prevent burning and get that ideal balance of tender and crisp.
Step 5: Drizzle with Caramel
Once your tart is out of the oven and slightly cooled, generously drizzle the caramel sauce over the top. The heat from the tart will help the caramel melt slightly into the apples, delivering that rich, glossy finish that makes the dish irresistible.
How to Serve Caramel Apple Tart
Garnishes
Finish your Caramel Apple Tart with a dusting of powdered sugar or a few delicate fresh thyme leaves for an herbal twist. A scoop of vanilla ice cream or a dollop of whipped cream also adds a creamy contrast that’s simply heavenly.
Side Dishes
This tart pairs beautifully with a warm cup of coffee or tea, making it a fantastic afternoon treat. For a more substantial dessert spread, serve alongside spiced nuts or a crisp green salad with vinaigrette to balance sweetness with a refreshing bite.
Creative Ways to Present
Consider slicing the tart into smaller, bite-sized portions and serving on mini dessert plates for a party. Or, create a stunning presentation by placing tart slices on a rustic wooden board, garnished with caramel drizzles and apple slices fanned out beside them.
Make Ahead and Storage
Storing Leftovers
Cover any leftover Caramel Apple Tart with plastic wrap or store in an airtight container in the refrigerator. It’s best enjoyed within 2 days to maintain its flaky crust and fresh apple texture.
Freezing
You can freeze the baked tart by wrapping it tightly in plastic wrap and then aluminum foil. Thaw overnight in the refrigerator before reheating—this helps preserve the flavor and texture once again.
Reheating
Warm any leftover slices gently in a low oven at 150°C (300°F) for 10 minutes. This refreshes the crust’s crispness and softens the apples while keeping the caramel luscious but not burnt.
FAQs
Can I use frozen apples for the Caramel Apple Tart?
While fresh apples provide the best texture and flavor, you can use frozen apples if needed. Just be sure to thaw and drain them well to avoid excess moisture making the crust soggy.
What type of apples work best in this tart?
Firm, tart apples like Granny Smith or Honeycrisp are ideal since they hold their shape during baking and balance the sweetness of the caramel beautifully.
Can I make the pie crust from scratch?
Absolutely! A homemade pie crust adds an extra layer of personal touch and flavor. Just ensure the dough is chilled before rolling to get that perfect flaky texture.
Is it okay to prepare the tart ahead of time?
You can assemble the tart a few hours in advance and keep it refrigerated, then bake it fresh. This is a great way to save time without sacrificing flavor or texture.
How do I prevent the apples from browning before baking?
To keep apple slices looking fresh if you need to prep early, toss them in a little lemon juice or soak them briefly in cold water before arranging on the crust.
Final Thoughts
There’s something so wonderfully comforting and indulgent about this Caramel Apple Tart that makes it feel like a true labor of love. It’s simple enough to make any day but impressive enough for special occasions, and once you try it, I think you’ll find it hard to resist making it again and again. So go ahead—slice yourself a generous piece, savor every bite, and enjoy the sweet, crisp magic of this delightful treat.