Cheese Foam Burnt Cake Recipe
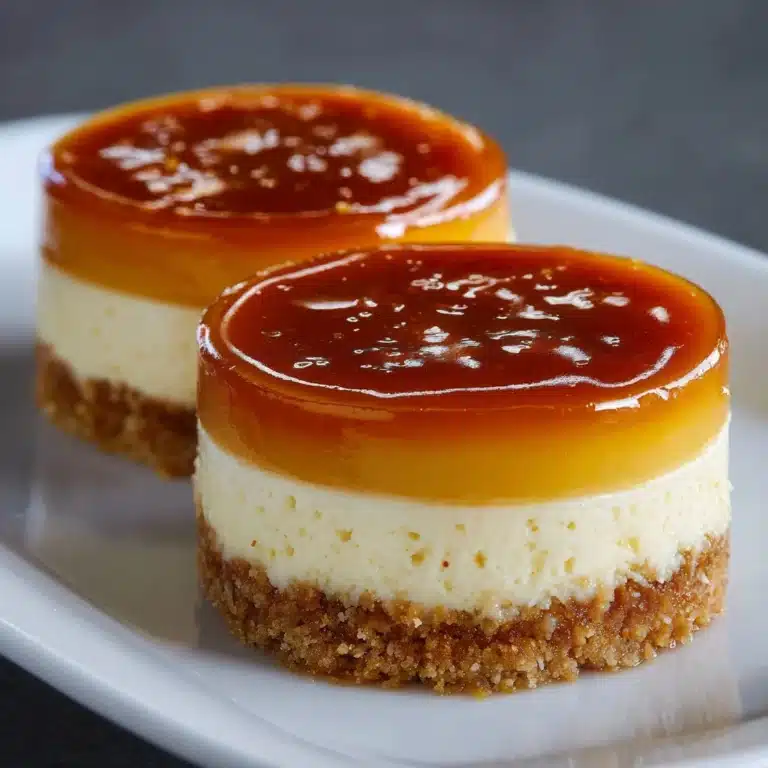
If you’ve been eyeing the newest café trend or craving a dessert that balances bold flavors with airy textures, let me introduce you to the irresistible Cheese Foam Burnt Cake. This cheese foam dessert dazzles with its caramelized, slightly charred surface and a thick, salty cheese foam topping that beautifully contrasts a soft and tender sponge base. It’s a perfect treat that combines that trendy burnt cake vibe with the creamy indulgence of cheese foam, creating an experience that feels both luxurious and delightfully comforting.
Ingredients You’ll Need
The magic of Cheese Foam Burnt Cake lies in its simplicity. Each ingredient plays a crucial role in building its unique texture and flavor, from the lightness of the sponge to the rich tang of the cheese foam.
- Sponge cake base: Provides a soft and airy foundation that soaks up the flavors beautifully.
- Cream cheese: The star ingredient in the foam, lending a creamy, tangy richness.
- Heavy cream: Whipped to add lightness and volume to the cheese foam.
- Sugar: Balances the savory cheese with just enough sweetness.
- Salt: Enhances all the flavors and creates that irresistible contrast in the foam.
How to Make Cheese Foam Burnt Cake
Step 1: Prepare the Soft Sponge Base
Begin by baking a soft and fluffy sponge cake. The sponge acts as the perfect canvas for the cheese foam, so aim for a light texture with a hint of sweetness. This base will soak up the creamy topping, creating a delightful balance between airy and rich.
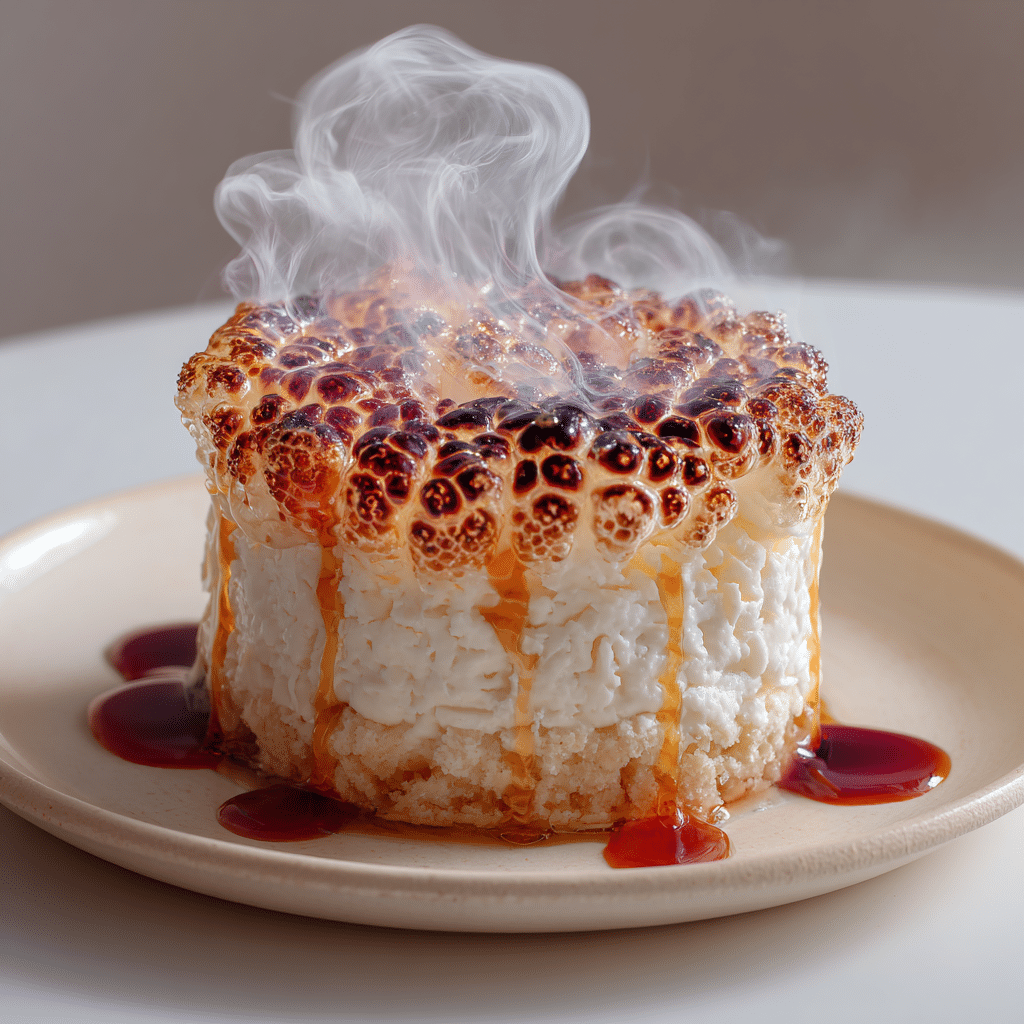
Step 2: Whip the Cheese Foam
Next, combine cream cheese, heavy cream, sugar, and a pinch of salt. Whip these ingredients together until you achieve a thick, silky foam that holds soft peaks. This whipped cheese foam is what sets this cake apart — thick yet airy, sweet yet salty — crafting a flavor profile that dances on your tongue.
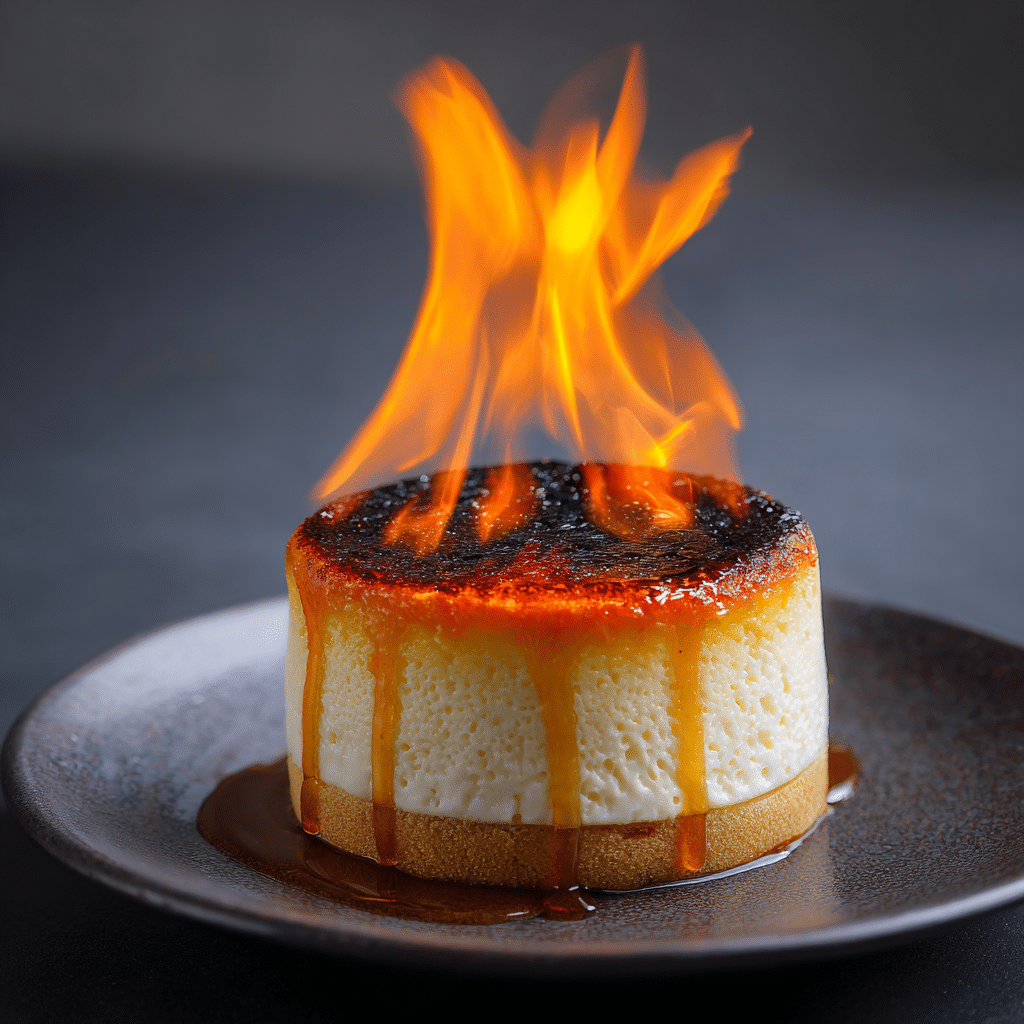
Step 3: Apply and Caramelize the Foam
Spread the luscious cheese foam evenly over the cooled sponge cake. Using a kitchen torch, lightly caramelize the surface of the foam to create a beautiful burnt cake finish. This step not only enhances the flavor with a smoky note but also adds a gorgeous golden-brown crust that invites you to dig in.
Step 4: Chill Before Serving
Allow the cake to chill briefly in the refrigerator. This helps the cheese foam set perfectly and makes the entire cake more refreshing to enjoy. The contrasting temperatures and textures will elevate your tasting experience.
How to Serve Cheese Foam Burnt Cake
Garnishes
Adding a touch of garnish can bring the Cheese Foam Burnt Cake to life visually and flavor-wise. Consider sprinkling a few crushed nuts like pistachios or almonds for crunch, or a light dusting of cocoa powder to complement the caramelized surface with a subtle bitterness.
Side Dishes
This cheese foam dessert pairs beautifully with fresh berries or a drizzle of berry coulis. The bright acidity cuts through the rich foam, creating a perfect harmony. A cup of strong coffee or a subtly sweet tea also balances the cake’s boldness beautifully, making it perfect for afternoon indulgence.
Creative Ways to Present
For a stunning presentation, serve the Cheese Foam Burnt Cake on sleek white plates that showcase the golden burnt surface. Add a few edible flowers or fresh mint leaves for a pop of color. Alternatively, assemble mini versions for an elegant dessert buffet that will wow your guests.
Make Ahead and Storage
Storing Leftovers
If you happen to have leftovers (though it’s unlikely!), store the cake in an airtight container in the refrigerator. This will keep the cheese foam fresh and the sponge moist for up to two days, maintaining that delightful balance of textures.
Freezing
Freezing Cheese Foam Burnt Cake is not recommended as the delicate foam topping can lose its texture and become watery when thawed. For best results, enjoy the cake fresh or refrigerated.
Reheating
Since the cake features a delicate foam topping, reheating is best avoided. However, if you prefer your cake at room temperature, simply take it out of the fridge about 20 minutes before serving for the flavors to mellow beautifully.
FAQs
What makes Cheese Foam Burnt Cake different from regular burnt cake?
The addition of thick, whipped cheese foam on top gives this cake its signature tangy creaminess, setting it apart from standard burnt cakes that typically focus just on the caramelized surface without the luxurious creamy topping.
Can I use other types of cheese for the foam?
Cream cheese works best because of its smooth texture and balanced flavor. Stronger cheeses might overpower the dessert, but experimenting with mascarpone can also be delicious if you want a milder alternative.
Is this cake very sweet?
Not at all! The Cheese Foam Burnt Cake cleverly balances sweetness with saltiness, making it mildly sweet and incredibly satisfying without being overpowering.
Do I need a kitchen torch to make the burnt cake effect?
A kitchen torch is the best tool to achieve the perfect caramelized surface, but if you don’t have one, you can use a very hot broiler for a short time. Just be sure to watch carefully to avoid burning too much.
Can this dessert be made gluten-free?
Yes! Simply substitute the sponge cake base with a gluten-free version, and all other steps remain the same. This way, everyone can enjoy the trendy cheese foam dessert!
Final Thoughts
Cheese Foam Burnt Cake is such a delightful treat that brings together trendy flavors and textures in the most charming way. Whether you’re impressing friends or indulging on a cozy afternoon, this cake will quickly become a beloved favorite. Dive into making this cheese foam dessert and enjoy every creamy, caramelized bite—you’ll be so glad you did!