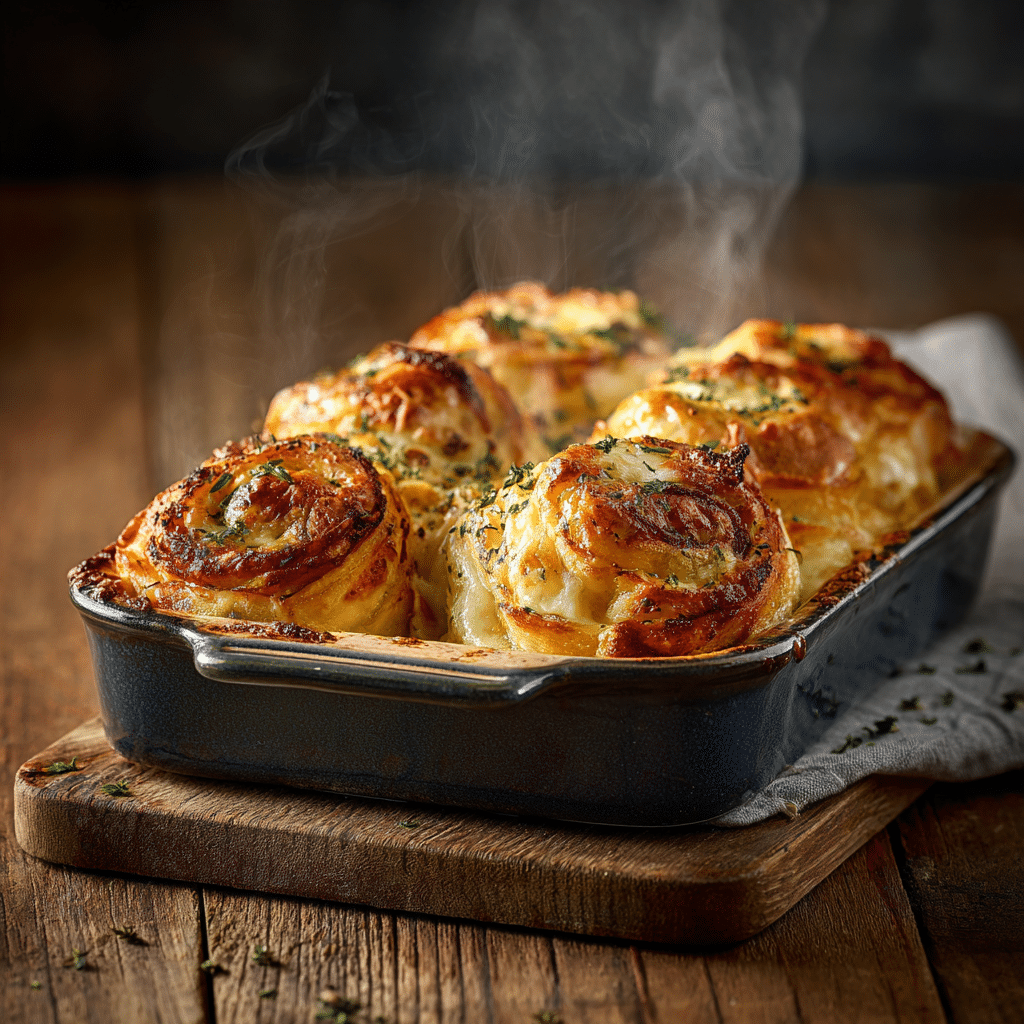
Cheesy Baked Chicken Rolls Recipe
If you’re craving something that’s both comforting and bursting with flavor, these Cheesy Baked Chicken Rolls will quickly become your new favorite. Imagine tender chicken breasts rolled around a gooey, melty cheese filling enhanced with aromatic herbs, then baked to golden perfection. This dish strikes the perfect balance between simple and irresistible, offering a satisfying blend of textures and tastes that delights at every bite. Whether you’re cooking for a cozy weeknight dinner or an impressive weekend treat, Cheesy Baked Chicken Rolls bring warmth, heartiness, and a touch of elegance to your table.
Ingredients You’ll Need
Keeping the ingredients straightforward makes this recipe approachable, but don’t be fooled by simplicity—each component plays a crucial role in creating a dish that’s juicy, flavorful, and visually inviting.
- 2 chicken breasts: Fresh, boneless, and skinless chicken breasts are perfect for rolling and ensure tender, lean protein.
- 1/2 cup shredded cheese: Choose a melty cheese like mozzarella or cheddar to provide that irresistible gooey center.
- 1 tsp dried herbs: A blend of oregano, thyme, or Italian seasoning adds a fragrant punch and depth to the filling.
- Salt and pepper: Essential for seasoning both the chicken and cheese to highlight all the flavors beautifully.
- 1 tbsp oil: A light drizzle of oil prevents sticking and helps the chicken develop a gorgeous golden crust.
How to Make Cheesy Baked Chicken Rolls
Step 1: Prepare and Preheat
Start by preheating your oven to 400°F (200°C). This step ensures a hot, steady temperature that’s perfect for baking the chicken rolls evenly and locking in moisture while getting that beautiful golden color on the outside.
Step 2: Flatten and Season Your Chicken
Place each chicken breast between two pieces of parchment paper or plastic wrap, then gently pound them with a meat mallet or rolling pin until they’re an even, thin layer. This not only tenderizes the chicken but also makes it easier to roll. Season each piece generously with salt, pepper, and a sprinkle of your dried herbs to build layers of flavor from the inside out.
Step 3: Add Cheese and Herbs Inside
Next, sprinkle the shredded cheese evenly over the flattened chicken breasts. The cheese is the heart of these rolls, bringing creamy indulgence in every bite. Add a touch more dried herbs on top of the cheese to amplify the herbal aroma and make sure every roll is packed with flavor.
Step 4: Roll Tightly and Secure
Now comes the fun part: carefully roll each chicken breast into a tight spiral, enclosing the cheese inside. If you have toothpicks or kitchen twine, use them to secure the rolls so they don’t unravel during baking. This keeps the filling perfectly sealed, ensuring the cheese melts luxuriously without leaking out.
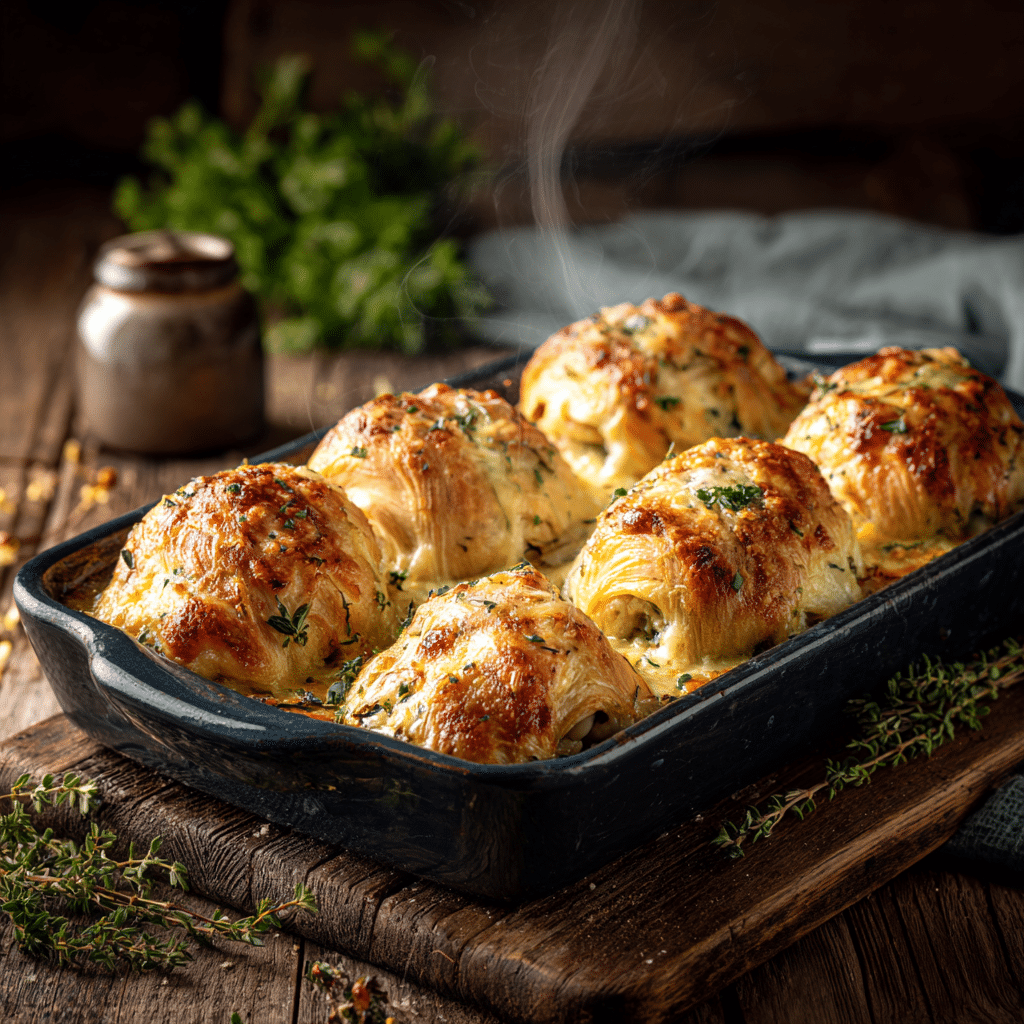
Step 5: Bake Until Cooked Through
Place the rolled chicken breasts in a lightly oiled baking dish or tray. Drizzle a little oil over the top to encourage browning and then pop them in the oven. Bake for approximately 20-25 minutes or until the chicken is cooked through and the exterior is golden and inviting. The kitchen will soon be filled with the mouthwatering scent of baked cheese and herbs.
How to Serve Cheesy Baked Chicken Rolls
Garnishes
Finish your Cheesy Baked Chicken Rolls with a garnish of fresh herbs like chopped parsley or basil. Not only does this add a fresh burst of color, but the herbs also elevate each bite with a subtle brightness that complements the richness of the cheese filling perfectly.
Side Dishes
Pair the rolls with light, vibrant sides to create a well-rounded meal. A crisp green salad tossed with lemon vinaigrette or steamed seasonal vegetables balances the indulgent cheesy rolls splendidly. For a heartier option, buttery mashed potatoes or garlic roasted potatoes work beautifully absorbing every last bit of flavor.
Creative Ways to Present
Slice the Cheesy Baked Chicken Rolls into pinwheel slices to show off the swirled cheese inside—this presentation makes for a stunning plate. Serve them stacked or arranged in a circle on a rustic wooden board with dipping sauces like marinara or a tangy mustard aioli for added excitement and variety.
Make Ahead and Storage
Storing Leftovers
Once cooled, wrap the leftover chicken rolls tightly in plastic wrap or aluminum foil and store them in an airtight container in the refrigerator. They stay fresh and flavorful for up to 3 days, making them a perfect option for quick lunches or dinners following your initial meal.
Freezing
You can freeze the rolls before baking for a convenient ready-to-go meal. Place them on a tray to freeze individually, then transfer to a freezer-safe bag or container. They’ll keep well for up to 2 months. When you’re ready to enjoy, thaw overnight in the fridge before baking as instructed.
Reheating
To reheat leftover Cheesy Baked Chicken Rolls, place them in a preheated oven at 350°F (175°C) for about 10-15 minutes until warmed through and the cheese is melty again. Avoid microwaving if possible, as this can dry out the chicken and make it less appetizing.
FAQs
Can I use different types of cheese for the filling?
Absolutely! Feel free to experiment with cheeses like mozzarella for meltiness, feta for tanginess, or even pepper jack for a little heat. Each cheese will bring its own unique twist to the Cheesy Baked Chicken Rolls.
How do I keep the rolls from unrolling while baking?
Securing the chicken rolls with toothpicks or kitchen twine is key to keeping them intact. Make sure to roll them tightly before baking so the filling stays nestled inside every time.
Can I add other fillings besides cheese and herbs?
Definitely! Adding sautéed spinach, sun-dried tomatoes, or cooked mushrooms pairs wonderfully with the cheese and herbs, giving your rolls even more flavor and texture variety.
Is it okay to use chicken thighs instead of breasts?
You can use chicken thighs if you prefer darker meat. They’ll make the rolls juicier but remember to flatten them evenly to get the best rolling result and consistent cooking.
How long should the chicken be pounded to the right thickness?
About 1/4 inch thick is ideal, which usually takes just a couple of minutes. The goal is to have an even thickness that’s thin enough to roll easily but thick enough to remain juicy after baking.
Final Thoughts
These Cheesy Baked Chicken Rolls are a delightful dish that combines simplicity with unforgettable flavor and texture. Perfect for both busy weeknights and weekend gatherings, they’re proof that a few quality ingredients prepared with care can create magic on your plate. I can’t wait for you to try them and see just how quickly they disappear from the dinner table!