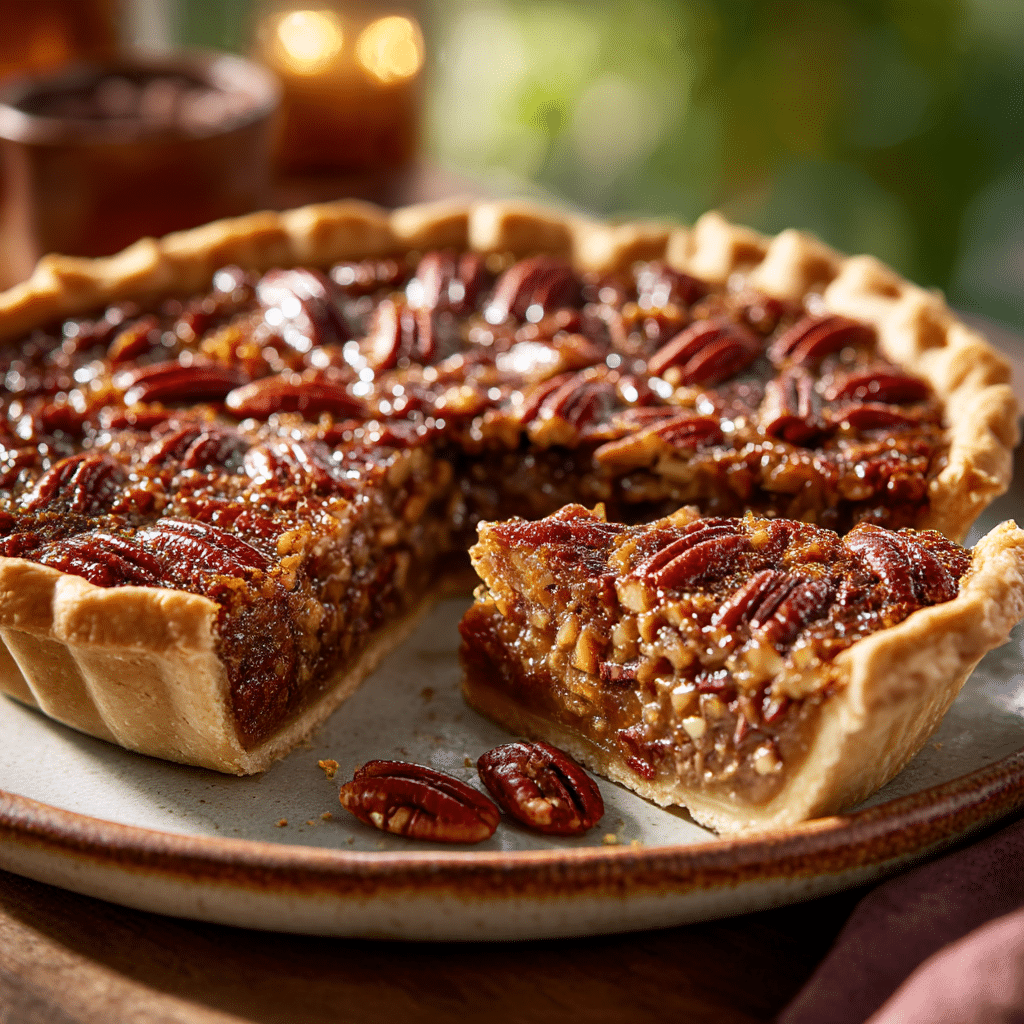
Classic Pecan Pie Recipe
If you have a craving for something sweet, nutty, and utterly comforting, the Classic Pecan Pie is sure to be your new favorite dessert. This timeless treat combines the rich, buttery flavor of pecans with a luscious, gooey filling nestled in a flaky crust. Whether you’re baking for a holiday gathering or a cozy weekend at home, this pie always brings warmth to the table and smiles all around. It’s simple enough to make, yet elegant enough to impress, making the Classic Pecan Pie a must-have recipe in your dessert repertoire.
Ingredients You’ll Need
The beauty of the Classic Pecan Pie lies in its simplicity. You only need a handful of ingredients, but each one plays a crucial role in creating that perfect balance of sweet, crunchy, and creamy textures. From the golden syrup to the rich pecans, every element adds its own magic to the final bite.
- Pie crust: Whether store-bought or homemade, it provides the crisp, buttery base that holds everything together.
- Corn syrup: Adds sweetness and a sticky, glossy texture that makes the filling wonderfully gooey.
- Brown sugar: Brings a deep, caramel-like richness to the pie’s flavor.
- Eggs: Help set the filling so it’s perfectly firm but still melt-in-your-mouth.
- Butter, melted: Adds richness and a silky smoothness to the pie filling.
- Vanilla extract: Infuses the pie with warm, inviting aroma and depth of flavor.
- Pecans: The star ingredient, providing a satisfying crunch and nutty goodness in every bite.
How to Make Classic Pecan Pie
Step 1: Prepare Your Oven and Pie Crust
Start by preheating your oven to 180°C (350°F), which ensures it’s at the perfect temperature to bake your pie evenly. Gently place your pie crust into a 9-inch pie pan, making sure it fits snugly without any tears. If you like, prick the bottom lightly with a fork to prevent unwanted puffing.
Step 2: Mix the Filling
In a large bowl, whisk together the corn syrup, brown sugar, and eggs until smooth and glossy. Then, carefully stir in the melted butter and vanilla extract for that lovely richness. Finally, fold in the pecans so they’re evenly distributed throughout the filling, ensuring every slice will have that satisfying crunch.
Step 3: Pour and Bake
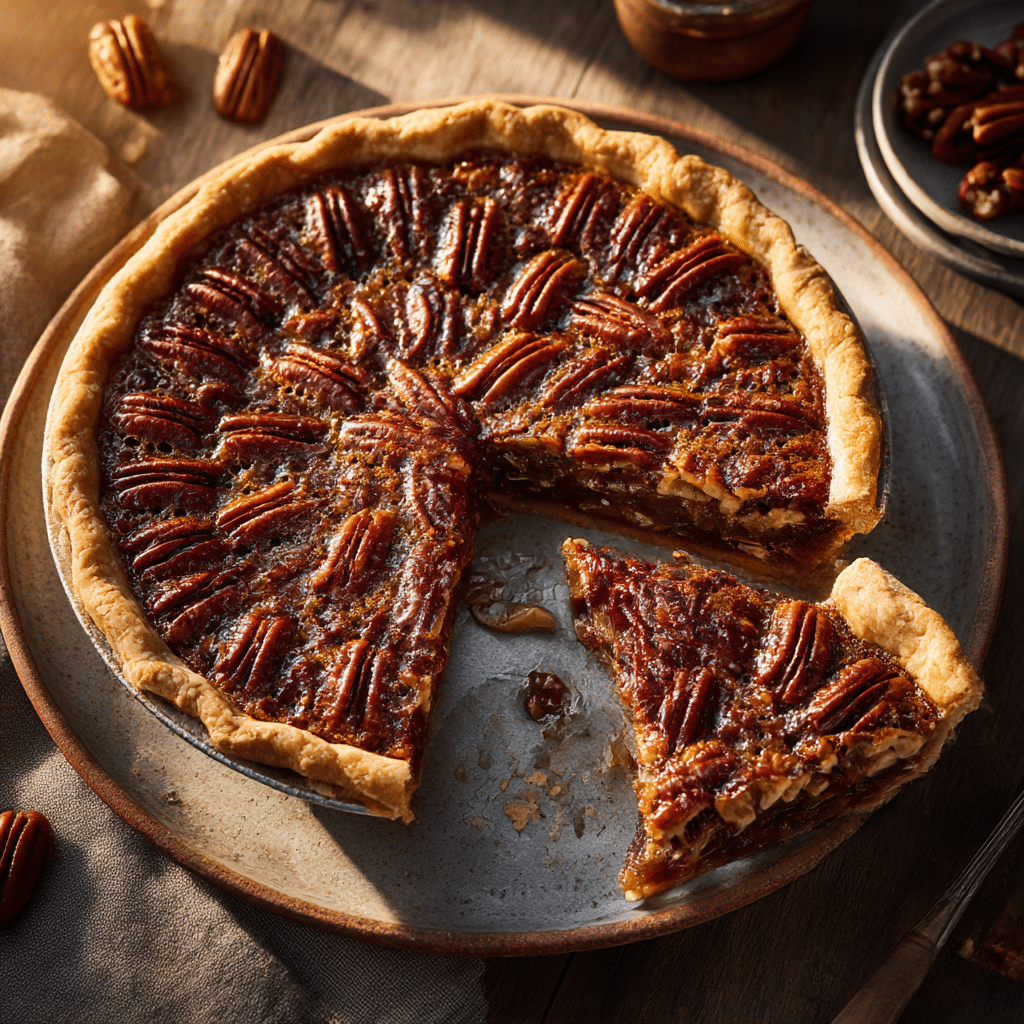
Pour your decadent pecan mixture into the pie crust, watching it fill the pan right up to the edge. Place it in the oven and bake for 45 to 50 minutes. You’ll know it’s done when the filling is set and no longer jiggles in the center—just firm but still slightly soft to the touch, which guarantees the perfect gooey texture once cooled.
Step 4: Cool and Slice
Be patient at this stage! Allow the pie to cool completely on a wire rack. This step is key to letting the filling set properly so your slices come out clean and beautiful. Once cool, slice and prepare to indulge in every rich, nutty bite.
How to Serve Classic Pecan Pie
Garnishes
To elevate your Classic Pecan Pie, a dollop of freshly whipped cream or a scoop of vanilla ice cream pairs beautifully. The creamy coolness balances the pie’s sweetness while enhancing its nutty flavor. For a little extra flair, sprinkle a few chopped toasted pecans or a light dusting of cinnamon on top.
Side Dishes
This pie shines brightly as a dessert on its own, but serving it alongside a simple cup of rich coffee or a warm spiced tea can make your experience even more delightful. For holiday feasts, fresh fruit like sliced apples or pears can offer a refreshing contrast, completing a perfect dessert spread.
Creative Ways to Present
If you want to impress your guests, consider mini individual pies or tartlets using the same filling and crust. You can also drizzle some caramel sauce over each slice or add a sprinkle of sea salt for a modern twist that highlights the sweetness of the Classic Pecan Pie.
Make Ahead and Storage
Storing Leftovers
After enjoying your pie, wrap leftovers tightly in plastic wrap or foil and store in the refrigerator. The Classic Pecan Pie keeps well for up to four days, allowing you to savor every last piece without worry of it drying out or losing flavor.
Freezing
If you want to prepare the pie ahead of time or save some for later, freezing works wonderfully. Wrap the whole pie or individual slices securely, then freeze for up to two months. Thaw overnight in the refrigerator before serving for best texture.
Reheating
To enjoy your leftover pie warm, place slices in a preheated oven at 175°C (350°F) wrapped loosely in foil for about 10 minutes. This revives the gooey filling and slightly crisps the crust, making it taste like freshly baked all over again.
FAQs
Can I use light corn syrup instead of dark?
Absolutely! Light corn syrup will give you a slightly milder flavor and a lighter color, but the texture and sweetness remain perfect for the Classic Pecan Pie.
Is it better to toast pecans before adding them?
Toasting pecans enhances their natural flavor and adds a wonderful depth to your pie. However, it’s optional—raw pecans still create a delicious, classic taste.
How do I prevent the crust from getting soggy?
Using a pre-baked or blind-baked crust helps avoid sogginess. Alternatively, brushing the crust with a thin layer of beaten egg white before adding the filling can create a moisture barrier.
Can I substitute the pie crust for a gluten-free version?
Definitely! Gluten-free pie crusts are widely available or easy to make at home, and they work just as well for a Classic Pecan Pie without compromising taste or texture.
Why does my pecan pie filling sometimes crack?
Cracking usually happens if the pie is overbaked or cooled too quickly. Keeping an eye on baking time and letting the pie cool gradually at room temperature prevents cracks while preserving that smooth filling.
Final Thoughts
There’s something undeniably special about the Classic Pecan Pie—the way it brings nostalgia, comfort, and joy all wrapped up in every slice. Whether it’s for a holiday celebration or a simple weekend treat, this pie makes any occasion a little sweeter. Give it a try, and I promise it’ll become one of your cherished recipes to share and enjoy again and again.