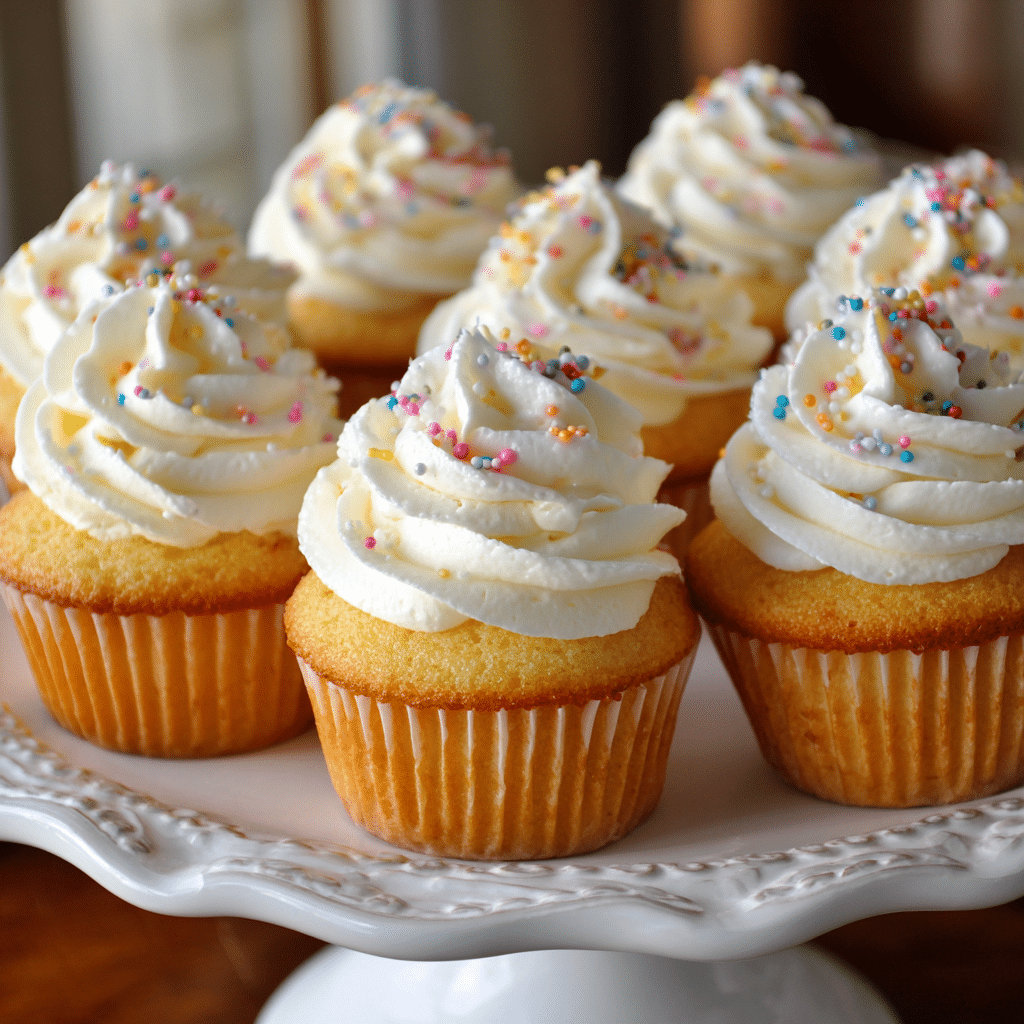
Classic Vanilla Cupcakes Recipe
If you’re on the hunt for the perfect little treat that feels like a warm hug from the inside out, these Classic Vanilla Cupcakes are exactly what you need. Soft, fluffy, and laced with the pure, comforting flavor of vanilla, they’re a timeless dessert that never goes out of style. Whether you’re baking for a special occasion or just because, this recipe guarantees cupcakes with a tender crumb and a buttery sweetness that’s simply irresistible. Every bite of these Classic Vanilla Cupcakes is like a little celebration, and once you master this recipe, you’ll find yourself reaching for it again and again.
Ingredients You’ll Need
Making these Classic Vanilla Cupcakes requires only a handful of pantry staples, yet each ingredient plays a starring role. From the flour that provides structure to the butter that lends richness and the vanilla that gives that signature aroma, every element is essential to achieving that perfect cupcake texture and flavor.
- 180 g flour: The base of your cupcakes, it provides structure and a tender crumb when measured correctly.
- 120 g sugar: Sweetens the cupcakes and helps create a moist texture when creamed with butter.
- 2 eggs: Bind the ingredients together and add moisture and richness.
- 120 ml milk: Adds moisture and keeps the cupcakes soft but not dense.
- 80 g butter: Brings a wonderful richness and tender crumb when creamed with sugar.
- 1 tsp vanilla extract: The magic ingredient that infuses your cupcakes with their classic, irresistible flavor.
How to Make Classic Vanilla Cupcakes
Step 1: Cream the Butter and Sugar
Start by beating together the butter and sugar until the mixture is light and fluffy. This step is crucial because it traps air, helping your cupcakes rise beautifully and develop that soft, tender texture we all love.
Step 2: Add Eggs and Vanilla
Next, incorporate the eggs one at a time, making sure each is fully mixed in before adding the next. Then blend in the vanilla extract—you’ll begin to smell that luscious, classic vanilla aroma rising as you mix.
Step 3: Alternate Adding Milk and Flour
To keep the batter smooth and avoid overmixing, add the milk and flour alternately—start and end with flour. This simple technique ensures that your cupcakes stay light and fluffy, with even crumb throughout.
Step 4: Bake at 180°C for 18–20 Minutes
Pour your batter into cupcake liners placed in a muffin tin, then slide them into a preheated oven. Bake at 180°C until they’re golden on top and a toothpick inserted in the center comes out clean. The cues are simple but effective—soon you’ll get to enjoy that heavenly smell wafting through your kitchen.
How to Serve Classic Vanilla Cupcakes

Garnishes
Classic Vanilla Cupcakes are perfect topped with a swirl of creamy buttercream or a dollop of whipped cream. Fresh berries or colorful sprinkles can add a playful touch that makes these cupcakes feel extra festive and inviting.
Side Dishes
Pair these cupcakes with a warm cup of tea, freshly brewed coffee, or even a glass of cold milk for a balanced, delightful snack or dessert. They also pair brilliantly with fresh fruit salad or a light sorbet to keep things refreshing.
Creative Ways to Present
Elevate your cupcake display by arranging them on tiered stands or decorating with edible flowers for a charming presentation. For parties, try packaging them in pretty boxes or wrapping them with colorful ribbons—such simple details make Classic Vanilla Cupcakes feel like little edible gifts.
Make Ahead and Storage
Storing Leftovers
Once cooled, store leftover cupcakes in an airtight container at room temperature for up to 3 days to preserve freshness and moisture. Avoid refrigeration unless your kitchen is very warm, as this can dry out the cupcakes.
Freezing
These cupcakes freeze beautifully! Just wrap each one individually in plastic wrap and place them in a freezer-safe container for up to 3 months. When ready to enjoy, thaw at room temperature—no frosting necessary if you’d like to frost them fresh.
Reheating
If you want a warm treat, gently warm the cupcakes in a microwave for about 10 seconds before serving. This quick step revives their softness and intensifies the vanilla aroma, making every bite feel freshly baked.
FAQs
Can I substitute oil for butter in Classic Vanilla Cupcakes?
While oil can be used for moisture, butter adds flavor and helps create that tender yet structured crumb that’s a hallmark of Classic Vanilla Cupcakes. If you swap, expect a slightly different texture and taste.
Why are my cupcakes dense instead of fluffy?
Overmixing the batter or using too much flour can make cupcakes dense. Be gentle when combining ingredients, especially after adding the flour, and measure your ingredients carefully to get that light, fluffy texture.
Can I add other extracts or flavors instead of vanilla?
Absolutely! While vanilla is classic, almond or lemon extracts can add unique twists. Just start with a smaller amount since these flavors are more intense than vanilla.
How do I know when my cupcakes are done baking?
They’re ready when the tops turn golden and a toothpick inserted into the center comes out clean or with just a few crumbs. Avoid opening the oven door too early to prevent sinking.
Can I make these cupcakes gluten-free?
You can substitute all-purpose flour with a gluten-free flour blend. Just make sure the blend contains xanthan gum or another binder to mimic gluten’s structure for the best results.
Final Thoughts
I genuinely believe that mastering the art of Classic Vanilla Cupcakes is a game-changer in your baking repertoire. They’re simple, satisfying, and so versatile that they suit every occasion imaginable. Give this recipe a try—you’ll soon find that these cupcakes become your go-to favorite for sharing smiles and sweet moments with everyone you love.