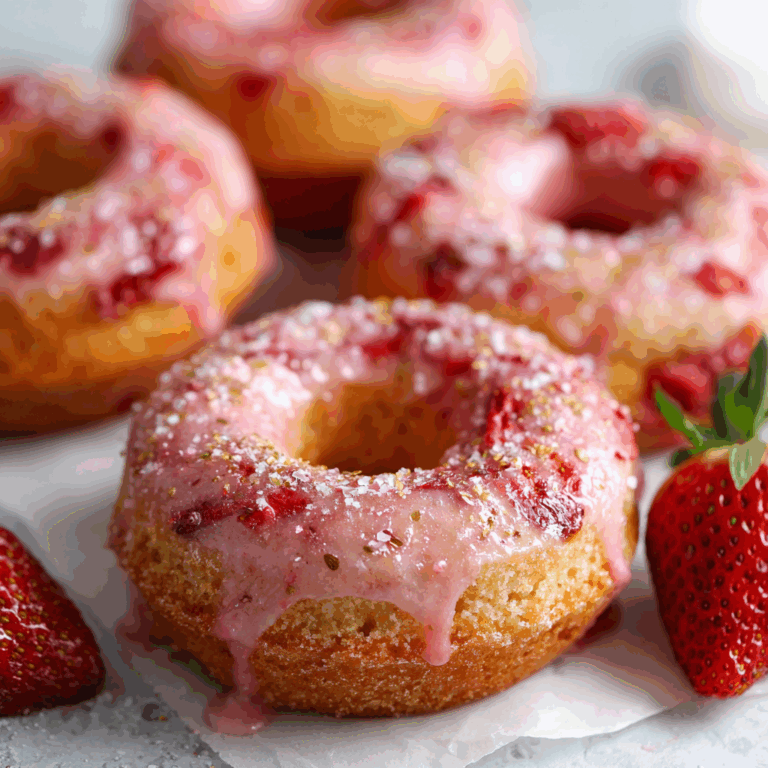
Easy Vegan Air Fryer Doughnuts Recipe
If you’ve been dreaming of soft, fluffy doughnuts that are completely plant-based and come together with minimal fuss, you’re in for a treat. These Easy Vegan Air Fryer Doughnuts are an absolute game-changer — they’re light, pillowy, and boast a delightful jam filling that tastes just like the classic doughnuts you loved growing up. Using the air fryer not only makes them healthier by requiring less oil, but it also speeds up the process without sacrificing that perfect golden crust. If you want a sweet snack or dessert that feels indulgent but stays vegan and simple, these doughnuts will quickly become your go-to recipe.
Ingredients You’ll Need
When it comes to making these Easy Vegan Air Fryer Doughnuts, the ingredients are surprisingly straightforward but truly caring for each one can make all the difference. Every element plays a role, from the yeast that makes the dough light and airy to the dairy-free butter adding rich creaminess. Trust me, with these basics in your kitchen, you’re well on your way to baking magic.
- Dairy-free milk (130ml): Warming this gently activates the yeast for a perfect rise without any dairy.
- Active dry yeast (7g): Essential for that fluffy, light texture — make sure it’s fresh for best results!
- Caster sugar (31 teaspoons total): A touch for sweetness and to help activate the yeast and sweeten the coating.
- Plain flour (200g): The base that gives structure — sifted for a silky smooth dough.
- Sunflower oil (20ml): Adds moisture and tenderness without overpowering the flavor.
- Dairy-free butter (40g + 5 tablespoons): Adds richness both in the dough and for the luscious coating.
- Berry jam (1 jar): Raspberry is perfect here, giving a fruity burst of flavor inside each doughnut.
How to Make Easy Vegan Air Fryer Doughnuts
Step 1: Activate the Yeast
Start by warming your dairy-free milk on low heat until just warm to the touch — not hot. This helps ensure your yeast wakes up perfectly without dying off. Sprinkle the yeast and a teaspoon of sugar into the milk and stir gently. Cover with a tea towel and set it somewhere warm for about 5 to 10 minutes until it looks frothy and alive. This bubbling yeast is the secret behind that beautiful dough puffiness you’re after.
Step 2: Mix Dry Ingredients
While waiting for the yeast, sift the flour and the rest of the sugar into a large bowl. Mixing the dry ingredients first ensures even distribution and a smooth texture, which will make kneading easier and the dough smoother.
Step 3: Combine Wet and Dry
Melt the 40g of dairy-free butter gently on the stove. Once your yeast has activated and is frothy, pour it into the flour mixture along with the melted butter and sunflower oil. This combination of fats keeps the dough soft, tender, and irresistibly fluffy. Stir everything together until the dough starts to form.
Step 4: Knead the Dough
Pop your dough into a stand mixer with a dough hook and knead on low for 3 to 5 minutes, or knead by hand on a floured surface. You’re aiming for a dough that feels soft, smooth, and elastic—pillowy to the touch but not sticky or wet. Kneading develops the gluten-like proteins that give you that classic doughnut chew.
Step 5: First Rise
Transfer your dough to a greased bowl and cover tightly with a tea towel. Place it somewhere warm — think near a heater or a cozy oven with just a hint of warmth — and let it double in size, usually 1 to 2 hours. This is where patience pays off; a well-risen dough results in light, airy doughnuts.
Step 6: Shape the Doughnuts
Once your dough has doubled, roll it out on a floured work surface to about 1 inch thick. Use a cookie cutter around 1 inch in diameter to cut as many doughnuts as possible. Don’t roll too thin or they won’t puff up nicely. Place the doughnuts on a lined baking sheet and cover them back up to rest for another 1 to 2 hours to puff up again. This second rise is essential for that fluffy texture.
Step 7: Air Fry the Doughnuts
Preheat your air fryer to 180ºC and lightly grease the basket. Add a few doughnuts, making sure they have some breathing room to rise and cook evenly. Air fry for 8 to 10 minutes, flipping halfway through to brown both sides beautifully. The result is golden, soft doughnuts without the extra oil from traditional frying.
Step 8: Coat and Fill
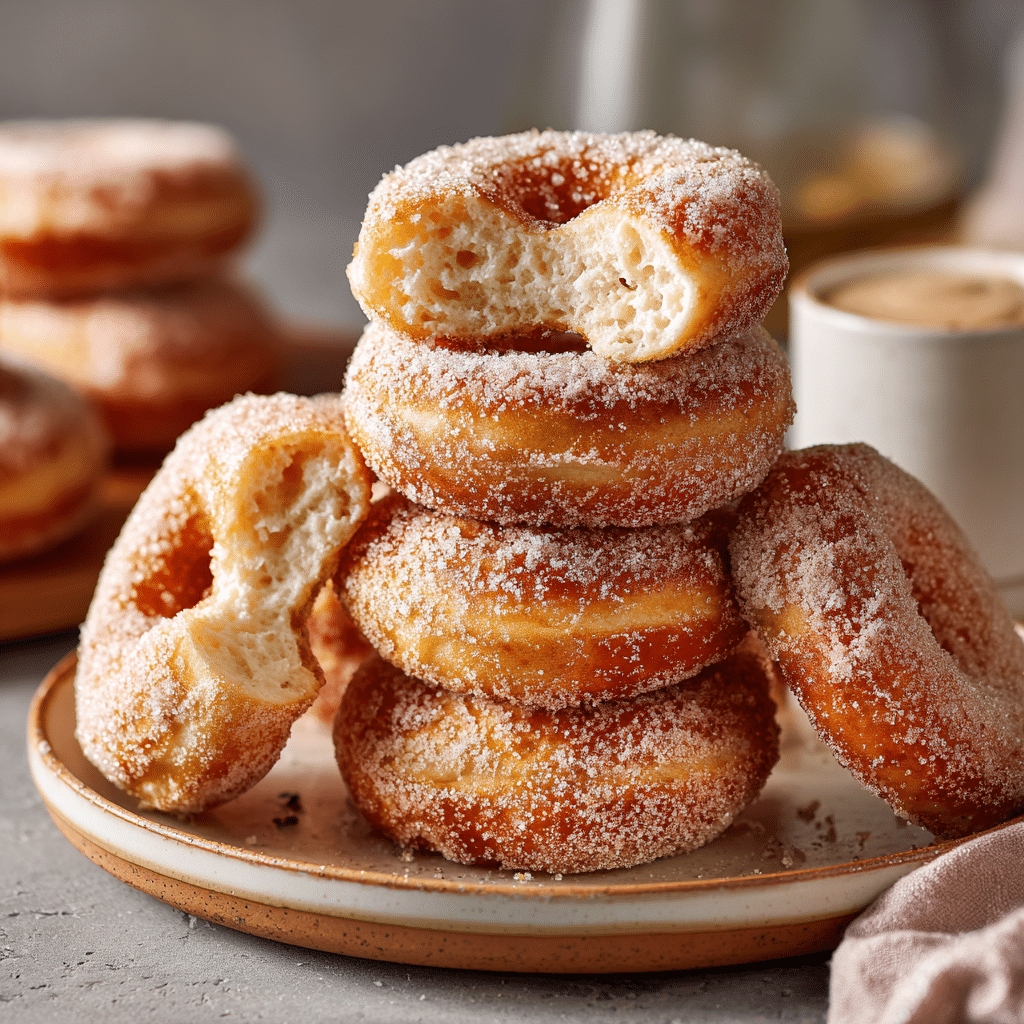
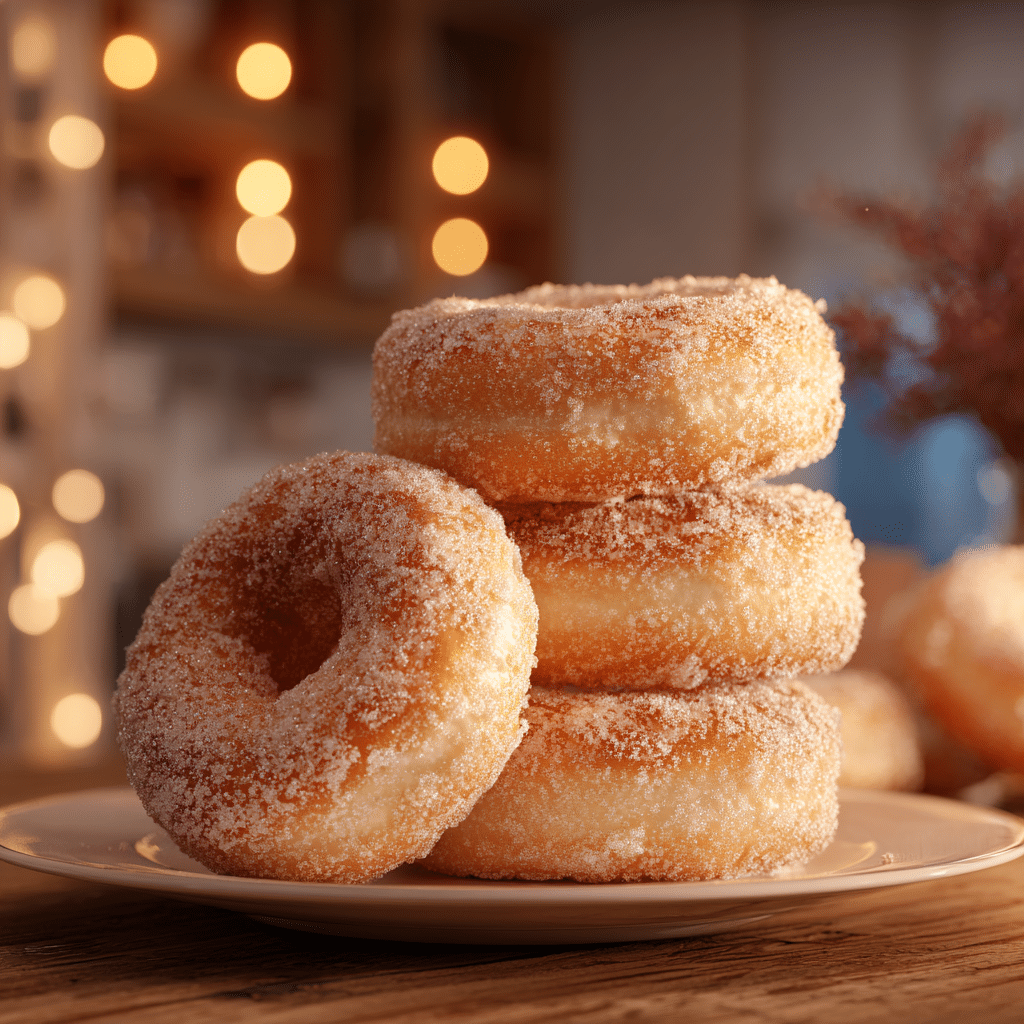
While still warm, brush each doughnut with melted dairy-free butter, then roll it in caster sugar for a sweet crust. Use a piping bag filled with raspberry jam to inject a generous amount inside each doughnut through the side. This jammy surprise makes these doughnuts irresistible and full of vibrant flavor.
How to Serve Easy Vegan Air Fryer Doughnuts
Garnishes
Simple toppings elevate these doughnuts beautifully. After the sugar coating, consider dusting with a light sprinkle of cinnamon or cacao powder. Fresh berries on the side add a lovely pop of freshness, or drizzle melted vegan chocolate for an extra indulgent touch that guests will adore.
Side Dishes
Pair your Easy Vegan Air Fryer Doughnuts with a bright cup of lemon or berry herbal tea for a refreshing contrast. A dairy-free vanilla or berry smoothie works wonderfully to complement the fruity jam filling while keeping the vibe fresh and light.
Creative Ways to Present
For a fun brunch, serve the doughnuts stacked on a cake stand with bowls of extra jam and dairy-free whipped cream alongside. Or fill mini doughnut holes instead of full ones, and arrange them on skewers for easy sharing at parties. Play with different jam flavors for a personalized touch that everyone will remember.
Make Ahead and Storage
Storing Leftovers
These doughnuts are best enjoyed fresh the day they’re made, but you can store them in an airtight container at room temperature for up to 24 hours. This keeps them soft and delicious without drying out.
Freezing
If you want to save some for later, freeze the fully cooled doughnuts in a single layer on a baking sheet, then transfer them to a freezer bag. They’ll keep beautifully for up to 3 months. When you’re ready, thaw at room temperature before reheating.
Reheating
To bring back their warmth and softness, reheat your doughnuts in the air fryer at 160ºC for 3 to 5 minutes or in a conventional oven at 175ºC for about 7 minutes. Avoid the microwave if possible to maintain that delightful crisp sugar crust.
FAQs
Can I use other types of dairy-free milk for these doughnuts?
Absolutely! While soya milk is ideal for activating the yeast due to its protein content, almond, oat, or even cashew milk work just as well and bring their own subtle flavor nuances to the doughnuts.
Is it necessary to use an air fryer, or can I bake these doughnuts in the oven?
You can definitely bake them in a traditional oven if you don’t have an air fryer. Set your oven to 180ºC and bake the doughnuts on a lined tray for 12 to 15 minutes until golden and cooked through. The air fryer just speeds up baking and gives a slightly crispier exterior.
How important is the proving stage for these doughnuts?
Very important! The two proving stages develop the dough’s lightness and texture. Rushing or skipping this part can result in dense or tough doughnuts, so try to give your dough the time and warmth it needs to rise beautifully.
Can I substitute the jam filling with something else?
Yes! Feel free to experiment with vegan chocolate spread, lemon curd, or even a cinnamon sugar filling. Just be mindful they need to be soft or spreadable to pipe into the doughnuts comfortably.
What’s the best way to make these doughnuts gluten-free?
To make gluten-free versions, try a gluten-free all-purpose flour blend with xanthan gum. Keep in mind that the texture may be slightly different and you might need to adjust liquid quantities, but many have had great success adapting this recipe.
Final Thoughts
These Easy Vegan Air Fryer Doughnuts have quickly become one of my favorite guilty pleasures that I’m happy to enjoy without any guilt at all. They are soft, jammy, and just the right balance of sweet and tender. If you give them a go, I promise they’ll bring warmth and joy to your kitchen, whether you’re making them for a special treat or simply to brighten a regular day. Happy baking and even happier eating!