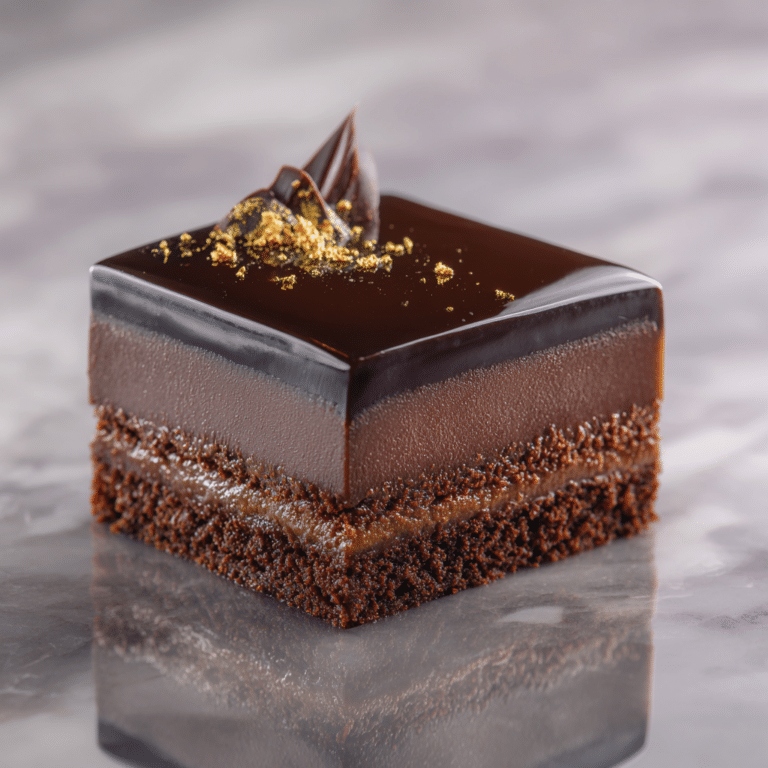
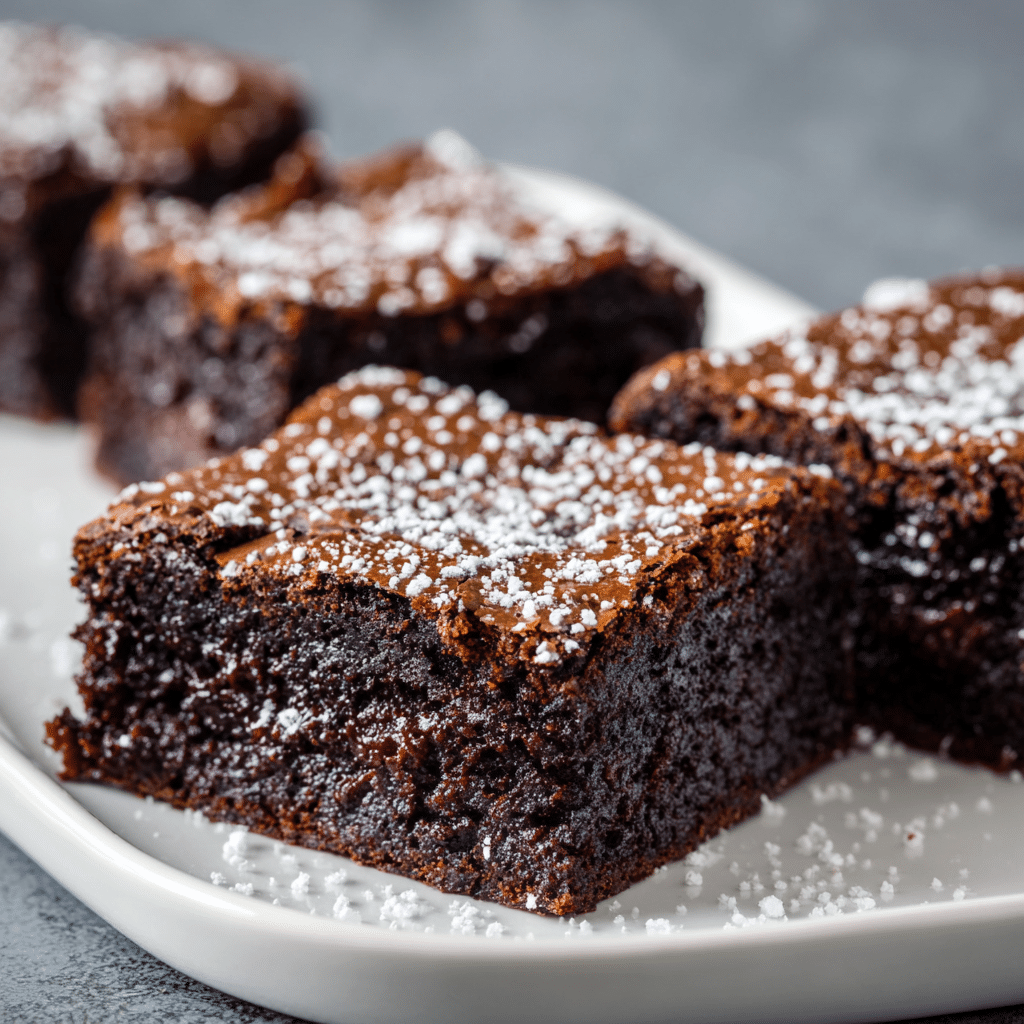
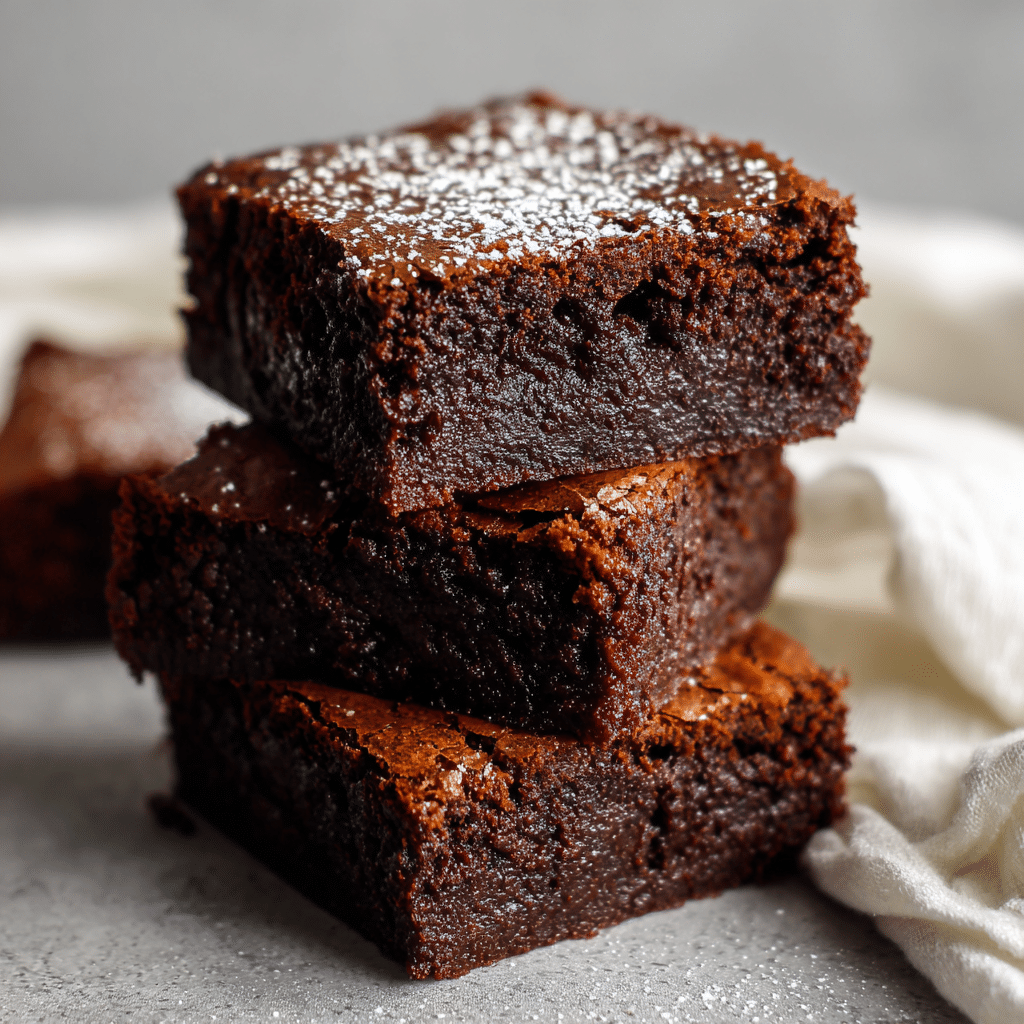
Espresso Brownies Recipe
If you love rich, fudgy treats with a bold coffee kick, these Espresso Brownies are about to become your new obsession. Imagine biting into a brownie with a perfectly shiny, crinkly top that hides a gooey, decadent center infused with deep espresso flavor. This recipe is incredibly easy to prepare, blending the nuttiness of browned butter with cocoa and espresso powder to create a truly unforgettable dessert that’s sure to impress at any gathering or cozy night in.
Ingredients You’ll Need
These ingredients are simple but absolutely essential to achieving the perfect balance of flavor and texture in your Espresso Brownies. Each element plays a crucial role, from the butter providing richness to the espresso powder delivering that distinctive robust taste.
- Granulated sugar (130 g): Adds sweetness and helps create the shiny brownie crust.
- Dark brown sugar (130 g): Contributes moisture and a deeper molasses flavor.
- Large eggs, room temperature (3): Provide structure and contribute to the fudgy texture.
- Butter (120 g): Browned for a nutty flavor boost and creamy richness.
- Semi-sweet dark chocolate chips (75 g + 75 g): Melt into the batter for gooey pockets of chocolate.
- Vegetable oil, such as canola (70 g): Keeps brownies moist and tender.
- Vanilla extract (1 ½ teaspoons): Enhances the overall flavor complexity.
- All-purpose flour (75 g): Provides structure without making the brownies cakey.
- Unsweetened Dutch cocoa powder (35 g): Intensifies the chocolate flavor with its rich, deep notes.
- Cornstarch (1 tablespoon): Helps soften the brownie texture for that perfect fudginess.
- Instant espresso powder (2 tablespoons): Delivers the signature espresso hit without any bitterness.
- Salt (½ teaspoon): Balances sweetness and enhances all the other flavors.
- Sea salt (a sprinkle): Adds a final touch of contrast and visual appeal once baked.
How to Make Espresso Brownies
Step 1: Prepare and Brown the Butter
Begin by preheating your oven to 160ºC (325ºF) and lining an 8×8 inch square baking pan with parchment paper. Next, brown your butter in a medium saucepan over medium-high heat for 8 to 10 minutes—watch carefully and swirl the pan occasionally until it turns a golden caramel color with nutty browned bits. This step infuses your brownies with an irresistible depth of flavor, so don’t rush it!
Step 2: Melt the Chocolate and Mix with Cocoa
Once your butter is browned, pour it carefully into a mixing bowl, scraping every bit of that flavorful goodness from the pan. Stir in the Dutch cocoa powder until fully combined, then add the first portion of chocolate chips and stir until they melt smoothly into a luscious chocolate-butter mixture. This creates the luxurious base for your Espresso Brownies.
Step 3: Sift Dry Ingredients Together
While the chocolate mixture cools slightly, sift together the flour, cornstarch, instant espresso powder, and salt. Sifting ensures a light, even distribution which prevents clumps, helping your brownies have an even, smooth texture and that distinct espresso punch.
Step 4: Whisk Eggs and Sugars
In a separate bowl, use an electric mixer to whisk the eggs along with both sugars until the mixture becomes light, fluffy, and pale. This aeration is key to the delightful contrast between the shiny top and fudgy interior of your Espresso Brownies. It usually takes around four minutes.
Step 5: Combine Wet Ingredients
Carefully mix in the melted chocolate and butter mixture with the vegetable oil and vanilla extract into your fluffy egg and sugar base. Stir until everything is smoothly incorporated, creating a rich, velvety batter that holds promise of indulgence.
Step 6: Fold in Dry Ingredients and Additional Chocolate Chips
Add your sifted dry ingredients into the wet mixture gradually on the lowest mixer setting, stirring gently just until combined to avoid overmixing and achieve that signature fudgy texture. Scrape down the bowl sides, then fold in the remaining chocolate chips to provide delightful pockets of melted chocolate throughout your brownies.
Step 7: Bake to Perfection
Pour the batter evenly into your prepared pan and smooth the top with a spatula. Bake in your preheated oven for about 45 to 50 minutes. You’ll know they’re ready when the edges are set but the center still looks just slightly soft—perfect for that gooey, fudgy bite. Once out of the oven, sprinkle with sea salt and let them cool completely before cutting.
How to Serve Espresso Brownies
Garnishes
A sprinkle of flaky sea salt on top after baking not only enhances the chocolate and espresso flavors but also adds a lovely texture contrast. You can also dust them lightly with cocoa powder, or add a drizzle of caramel or espresso glaze for an elegant touch that impresses every time.
Side Dishes
Serve these espresso brownies alongside a scoop of vanilla bean ice cream or a dollop of freshly whipped cream. For coffee lovers, a hot espresso or cappuccino creates the ultimate flavor pairing, complementing and amplifying the deep coffee essence in the brownies.
Creative Ways to Present
For a fun twist, cut these brownies into small bite-sized squares and layer them in a glass dessert trifle with chocolate mousse and whipped cream. You could even sandwich them with a layer of espresso-infused frosting for a decadent brownie sandwich. Presentation is your playground—be creative and your guests will be wowed!
Make Ahead and Storage
Storing Leftovers
Once completely cooled, keep your Espresso Brownies in an airtight container at room temperature for up to four days. This keeps them moist and fudgy without drying out, so every bite remains as delicious as the first.
Freezing
You can freeze these brownies for up to three months. Wrap them tightly in plastic wrap and then foil or place in a freezer-safe container. When you’re ready, thaw overnight in the refrigerator for best results, preserving that luscious texture and espresso flavor.
Reheating
If you prefer a warm brownie, reheat individual slices in the microwave for about 15 seconds or pop them briefly in a preheated oven. This revives the gooey texture and awakens the deep espresso aroma, making them taste freshly baked all over again.
FAQs
Can I use regular brewed espresso instead of instant espresso powder?
While brewed espresso has great flavor, the powder is concentrated and won’t add extra moisture to the batter, which is essential for the perfect texture. Instant espresso powder is your best bet for consistent results.
What if I don’t have Dutch-processed cocoa powder?
You can substitute natural cocoa powder, but expect the color and flavor to be a bit different—Dutch-processed has a smoother, less acidic taste that plays beautifully with the espresso.
Why does the recipe call for browned butter?
Browned butter adds a nutty complexity and depth of flavor that melts perfectly into the chocolate base, making these Espresso Brownies far richer and more aromatic than using just melted butter.
Can I make these gluten-free?
Yes! Swap the all-purpose flour for a gluten-free baking blend with similar protein content. The texture should remain fudgy and delicious, but be mindful of the specific blend’s absorbency.
How do I know when the brownies are done?
The edges should look set and slightly pulled away from the pan, while the center can still look a bit soft—it will firm up as it cools. Avoid overbaking for the best fudgy results.
Final Thoughts
These Espresso Brownies are a showstopper dessert that combines ease, flavor, and that irresistible fudgy texture we all crave. Trust me, once you make this recipe, it will become a favorite to bake and share with friends, or simply savor with a good cup of coffee. Don’t hesitate—grab your ingredients and dive into this delicious experience!