Glittery Vintage Cake — Full Recipe
There is something utterly magical about the Glittery Vintage Cake — Full Recipe that transports you right back to a time when cakes were not just desserts but dazzling centerpieces worthy of celebration. This cake combines classic elegance with a touch of sparkle that makes every bite feel like a special occasion. Whether you’re a seasoned baker or just looking to impress friends, this Glittery Vintage Cake — Full Recipe is a must-try that balances simplicity in ingredients with artistry in decoration. Trust me, once you make this, it’ll be your go-to showstopper for birthdays, anniversaries, or just because.

Ingredients You’ll Need
This cake uses straightforward ingredients that everyone loves, but each one plays a vital role in building the perfect balance of flavor, texture, and dazzling appearance. The combination ensures you get a moist, flavorful base paired with smooth, rich buttercream and that unforgettable shine from the edible glitter.
- Cake of your choice: Whether vanilla or chocolate, pick your favorite base to start your masterpiece.
- Buttercream (any color): Choose a smooth, creamy buttercream that can be tinted in any shade to match your vintage theme.
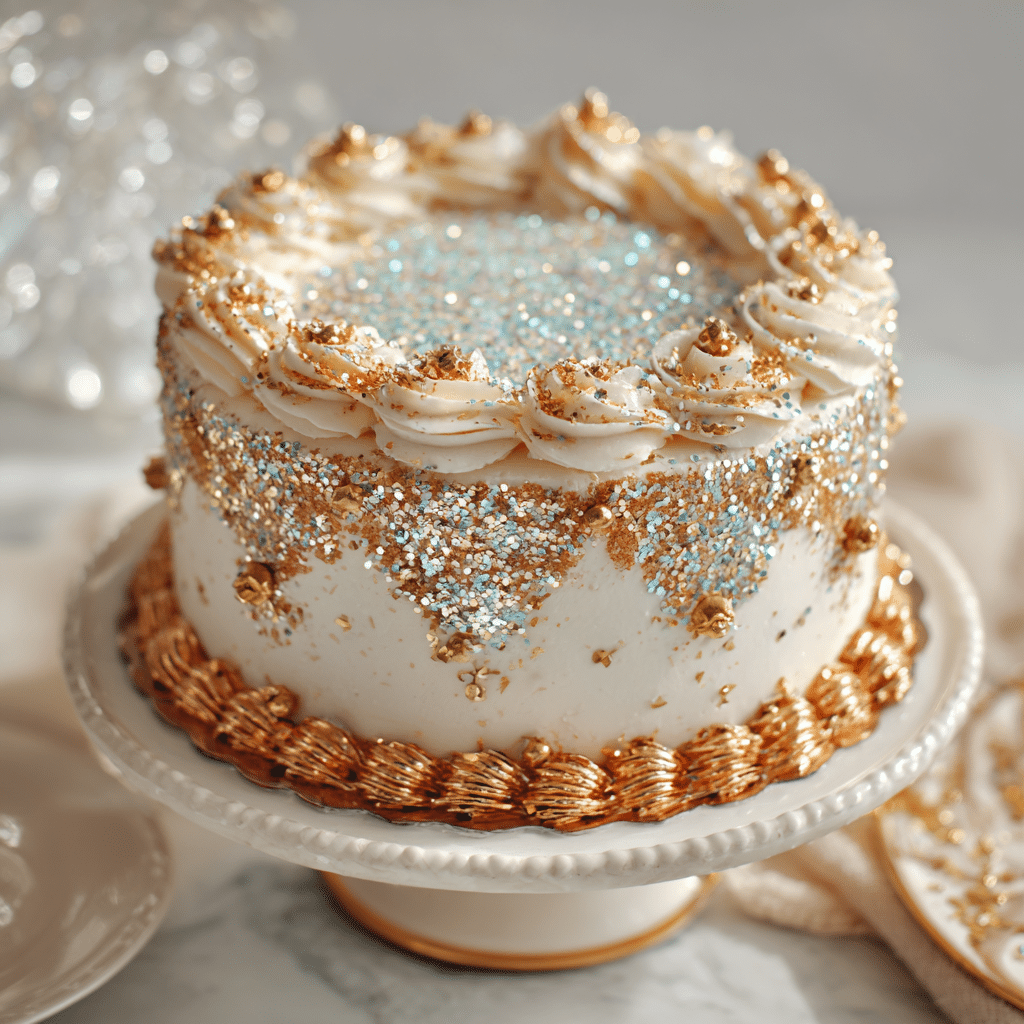
- Edible glitter (blue, silver, gold…): This is the magic touch that turns your cake from classic to glittery glam.
- Airbrush machine: Essential for an even, delicate spray of glitter that covers your whole cake flawlessly.
- Piping bags + star tips: These help you create those lovely vintage borders that define the cake’s timeless charm.
How to Make Glittery Vintage Cake — Full Recipe
Step 1: Bake & Frost Your Cake
Begin by preparing your chosen cake—vanilla, chocolate, or even red velvet. Once baked and cooled, apply a thin crumb coat of buttercream to lock in crumbs and give a smooth surface. Then, spread a final generous layer of buttercream, ensuring it’s smooth and even. This stage sets the perfect canvas for the vintage decorations and shimmering finish ahead.
Step 2: Decorate With Vintage Borders
This step is where the cake starts to come alive! Using your piping bags fitted with star tips, embellish the cake with vintage-style borders like swirls, shell borders, ruffles, and other over-piped details. These classic piping techniques add texture and elegance that nod to the timeless charm of retro cakes. Take your time and enjoy bringing the cake’s personality to life with each swirl.
Step 3: Apply Edible Glitter
Now for the dazzling finale! Pour your chosen edible glitter into your airbrush machine and spray the cake evenly from a comfortable distance. Be prepared—glitter tends to float beyond the cake, so protect your counters and wear an apron to avoid sparkling surprises on your outfit. The airbrushed glitter adds a soft, eye-catching shimmer that elevates this cake from simple vintage to utterly glamorous.
How to Serve Glittery Vintage Cake — Full Recipe
Garnishes
To complement your glittery masterpiece, think of delicate edible pearls or vintage-inspired sugar flowers. These additions add a refined touch and enhance the cake’s nostalgic appeal while keeping the focus on that shimmering glitter finish.
Side Dishes
Serve this cake alongside light, creamy accompaniments like vanilla bean ice cream or fresh whipped cream. A cup of classic Earl Grey or delicate chamomile tea also pairs beautifully, highlighting the cake’s balanced sweetness without overshadowing those glittery details.
Creative Ways to Present
Consider placing your Glittery Vintage Cake on a vintage-style cake stand or a delicate lace doily to amplify the nostalgic feel. For an extra pop, scatter a few edible glitter accents or sugar pearls around the stand. This small touch invites guests to admire the cake’s beauty before diving in.
Make Ahead and Storage
Storing Leftovers
Wrap leftover cake tightly with plastic wrap or keep it in an airtight container. Store it in the refrigerator to maintain freshness and protect the buttercream’s texture, especially because of the delicate glitter finish.
Freezing
You can freeze the cake layers ahead of time before frosting or freeze a fully decorated cake in a well-sealed container. Just be mindful that some of the edible glitter may lose its sparkle after freezing and thawing, so for a celebratory touch, consider reapplying a light sprinkle of glitter after thawing.
Reheating
This cake is best enjoyed chilled or at room temperature, so avoid reheating. If needed, let it sit out for about 30 minutes before serving to allow the buttercream to soften and the flavors to shine through fully.
FAQs
Can I use any flavor cake for the Glittery Vintage Cake — Full Recipe?
Absolutely! Vanilla, chocolate, red velvet, or any favorite flavor will work beautifully as a base. The glitter and vintage decorations elevate whatever cake you choose.
Is edible glitter safe to eat?
Yes! Edible glitter used in this recipe is made specifically for food and is completely safe to consume. Just make sure you’re purchasing from a trusted source labeled as edible.
Do I need an airbrush machine to make this cake?
While an airbrush machine helps achieve that perfect even glitter coverage, you can also gently sprinkle the glitter by hand if you don’t have one. Just be careful to avoid clumps.
How far ahead can I decorate this cake before serving?
It’s best to decorate the cake on the same day you serve it to keep the glitter fresh and the buttercream smooth. If needed, you can decorate a few hours in advance, keeping the cake refrigerated.
Can I use different colors of edible glitter for a multicolored effect?
Definitely! Mixing different shades like blue, silver, and gold adds depth and sparkle. Just be sure to spray evenly to maintain that elegant, vintage-inspired look.
Final Thoughts
I truly believe the Glittery Vintage Cake — Full Recipe is one of those gems that blends nostalgia with a bit of sparkle and fun, making it a showstopper for any occasion. It’s approachable, joyful, and, best of all, something you can make your own with colors and flavors you love. So go ahead—try this recipe and watch your friends’ faces light up when you bring out a cake that’s as dazzling as it is delicious!