Mini Cheesecake Cups Recipe
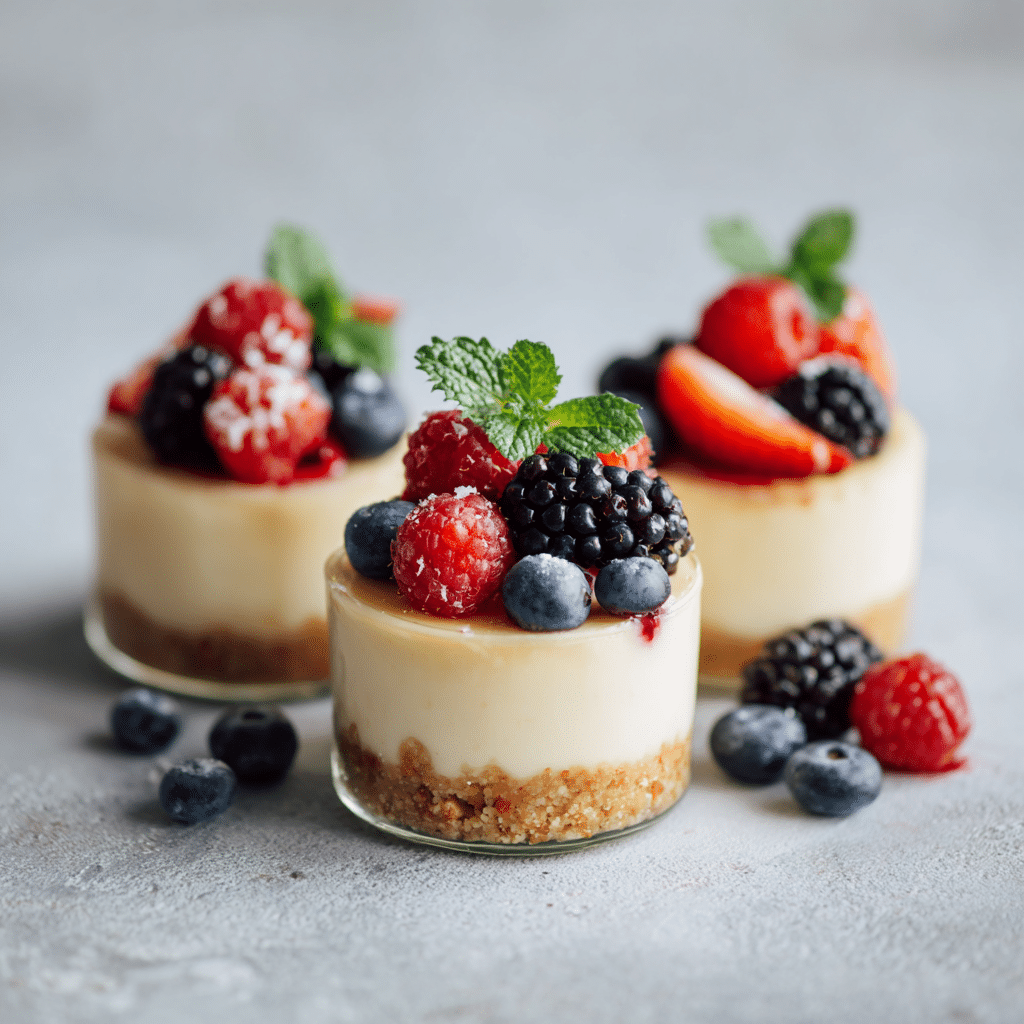
If you have a sweet tooth but want something perfectly portioned and utterly delightful, these Mini Cheesecake Cups are exactly what you need. Each bite offers that rich, creamy cheesecake flavor balanced by the satisfying crunch of a biscuit base, all bundled into a small, charming cup. They’re simple to make, visually appealing, and perfect for any occasion—whether it’s an intimate get-together or just a treat for yourself. The magic of Mini Cheesecake Cups lies in their balance of textures and the effortless elegance they bring to your dessert table.

Ingredients You’ll Need
Every great recipe starts with great ingredients. For Mini Cheesecake Cups, the simplicity is what makes the flavors truly shine. Each ingredient plays a vital role, whether it’s the velvety cream cheese that brings richness, the sugar that adds sweetness, or the biscuits that provide that irresistible crunch.
- Cream cheese: The star ingredient, delivering that classic creamy texture and tangy flavor essential to cheesecake.
- Sugar: Just the right amount to sweeten the cheesecake without overpowering the natural tang of the cream cheese.
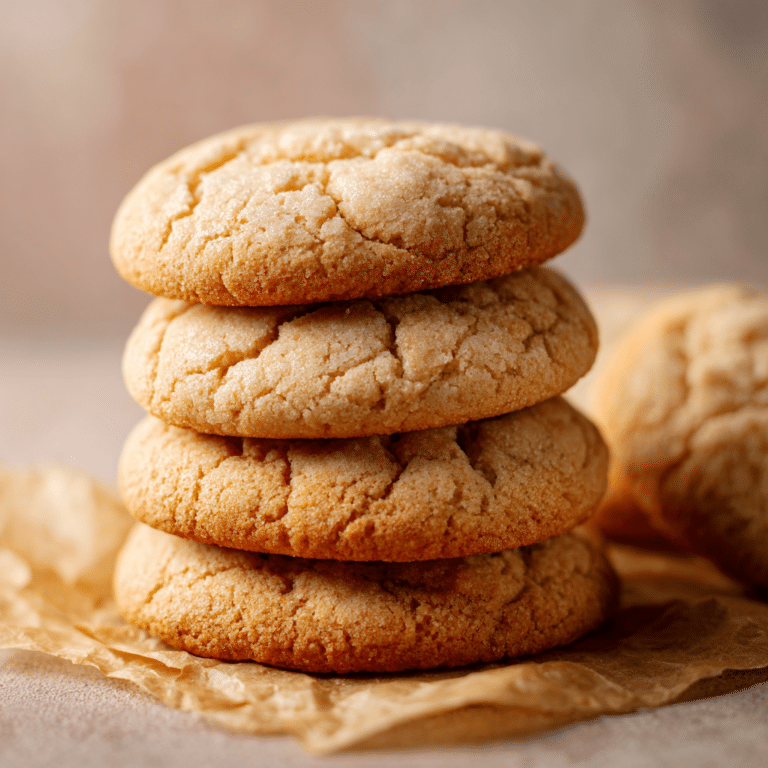
- Biscuits: These form the crunchy base layer, adding texture contrast and a buttery richness to complement the creaminess.
How to Make Mini Cheesecake Cups
Step 1: Preparing the Cream Cheese Mixture
Begin by allowing your cream cheese to soften at room temperature—it’ll make mixing so much easier and smoother. Then, with a whisk or electric mixer, blend the cream cheese and sugar together until the mixture is silky and free of lumps. This step is the foundation of those luscious Mini Cheesecake Cups, so take your time to get a perfectly creamy texture.
Step 2: Layering the Biscuits
Next, you’ll create that crunchy base. Crush your favorite biscuits into small pieces but not too fine; you want some texture to stand up against the creamy topping. Press the biscuit bits gently into the bottom of your serving cups to form an even layer. This base will give each cup an irresistible bite with every spoonful.
Step 3: Assembling the Cups
Spoon the creamy cheese mixture over the biscuit base in each cup. Smooth the tops with the back of a spoon or a small spatula for a neat finish. These Mini Cheesecake Cups start to look like little works of art right at this stage!
Step 4: Chilling to Perfection
Place the assembled cups in the refrigerator and let them chill well, at least a few hours or overnight if you can wait. The chilling time helps the flavors to meld together and the cheesecake to firm up into that perfect texture that makes each Mini Cheesecake Cup so irresistible.
How to Serve Mini Cheesecake Cups
Garnishes
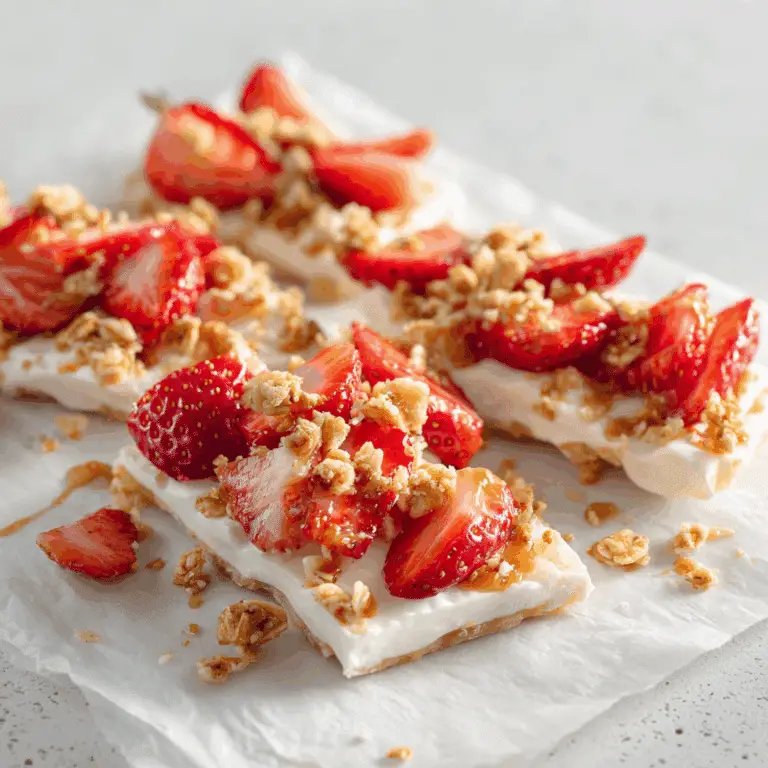
A little something extra on top can elevate your Mini Cheesecake Cups from delicious to downright dazzling. Fresh berries, a drizzle of chocolate or fruit sauce, or even a sprinkle of crushed nuts add color, texture, and flavor that pairs beautifully with the creamy filling.
Side Dishes
While these cheesecake cups are a treat all on their own, they also play well with others. Pair them with a fresh fruit salad or a light cup of coffee or tea to balance the richness. They’re an excellent sweet finish after a simple meal.
Creative Ways to Present
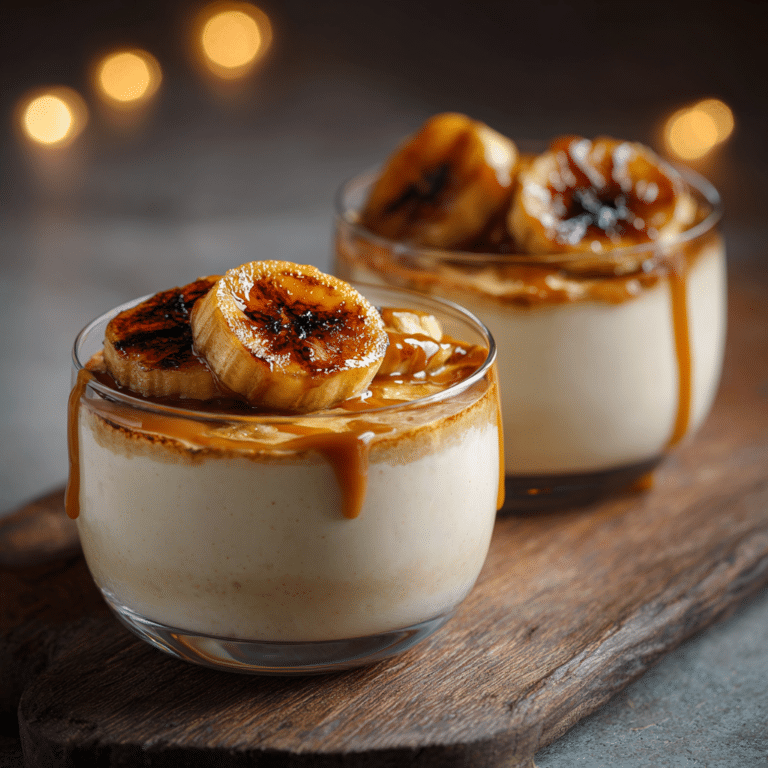
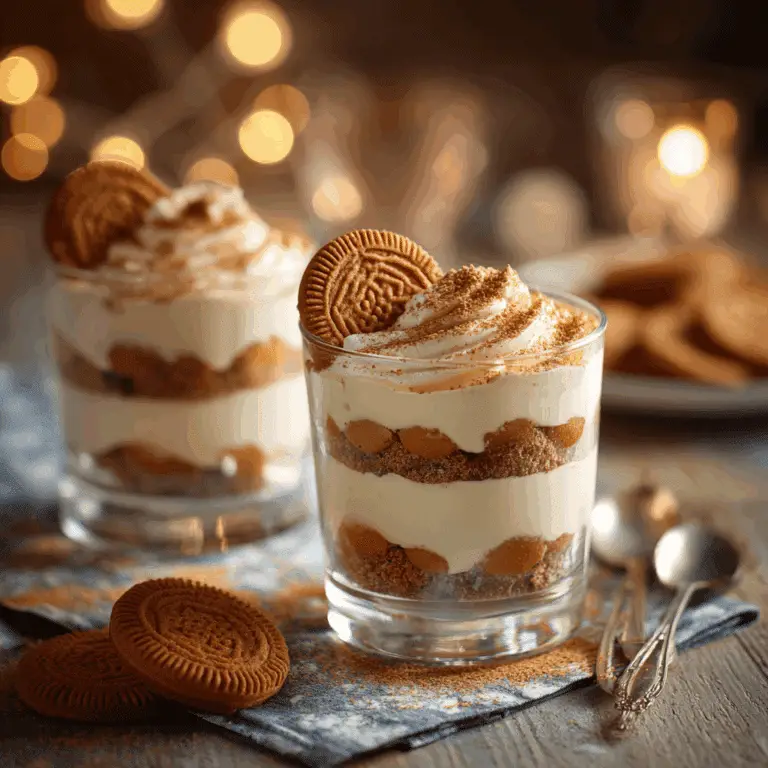
Presentation is half the fun! Try layering the cheesecake mixture and biscuit crumbs multiple times for a parfait-style effect. Use mini mason jars or pretty glass cups to show off the layers. Adding edible flowers or a light dusting of powdered sugar can make your Mini Cheesecake Cups feel like a special occasion dessert.
Make Ahead and Storage
Storing Leftovers
Got any leftovers? No worries. Store your Mini Cheesecake Cups covered tightly in the refrigerator for up to 3 days to keep that fresh creamy texture and crisp biscuit base intact. Just remember each refrigerated day only enhances the flavor.
Freezing
If you want to stash some away for longer, these cheesecake cups freeze well. Wrap each cup with a layer of plastic wrap or place them in an airtight container before freezing. They’ll keep for up to 1 month—just thaw in the fridge overnight before enjoying.
Reheating
Since these Mini Cheesecake Cups are best enjoyed chilled, avoid reheating. If you prefer them less cold, take them out of the fridge about 10 to 15 minutes before serving to soften slightly without losing that creamy texture.
FAQs
Can I use different types of biscuits for the base?
Absolutely! Graham crackers, digestive biscuits, or even chocolate cookies can add unique flavor twists to your Mini Cheesecake Cups. Just choose ones that complement the creamy filling without overpowering it.
Do I need to bake these Mini Cheesecake Cups?
No baking is required! This recipe is wonderfully simple and no-bake, making it perfect for when you want a quick yet impressive dessert.
Can I make the cheesecake mixture ahead of time?
Yes, you can prepare the cream cheese and sugar mixture a day in advance and keep it refrigerated. This makes assembling your Mini Cheesecake Cups even faster when you’re ready to serve.
How many Mini Cheesecake Cups does this recipe make?
The yield depends on your cup size, but generally, this recipe will make about 6 to 8 small servings—perfectly portioned for sharing or indulging without guilt.
Can I add flavors to the cream cheese mixture?
Definitely! Adding vanilla extract, lemon zest, or even a splash of almond extract can enhance the flavor profile and personalize your Mini Cheesecake Cups to your taste.
Final Thoughts
Mini Cheesecake Cups are a delightful way to enjoy the classic cheesecake experience in petite form. Their creamy texture, paired with a crunchy biscuit base, offers a lovely balance that’s hard to resist. Whether you’re making them for a gathering or a personal treat, these cups are sure to bring smiles and satisfy cravings. Give them a try and share the joy of this simple yet charming dessert!