Mini Pizza Buns Recipe
“`html
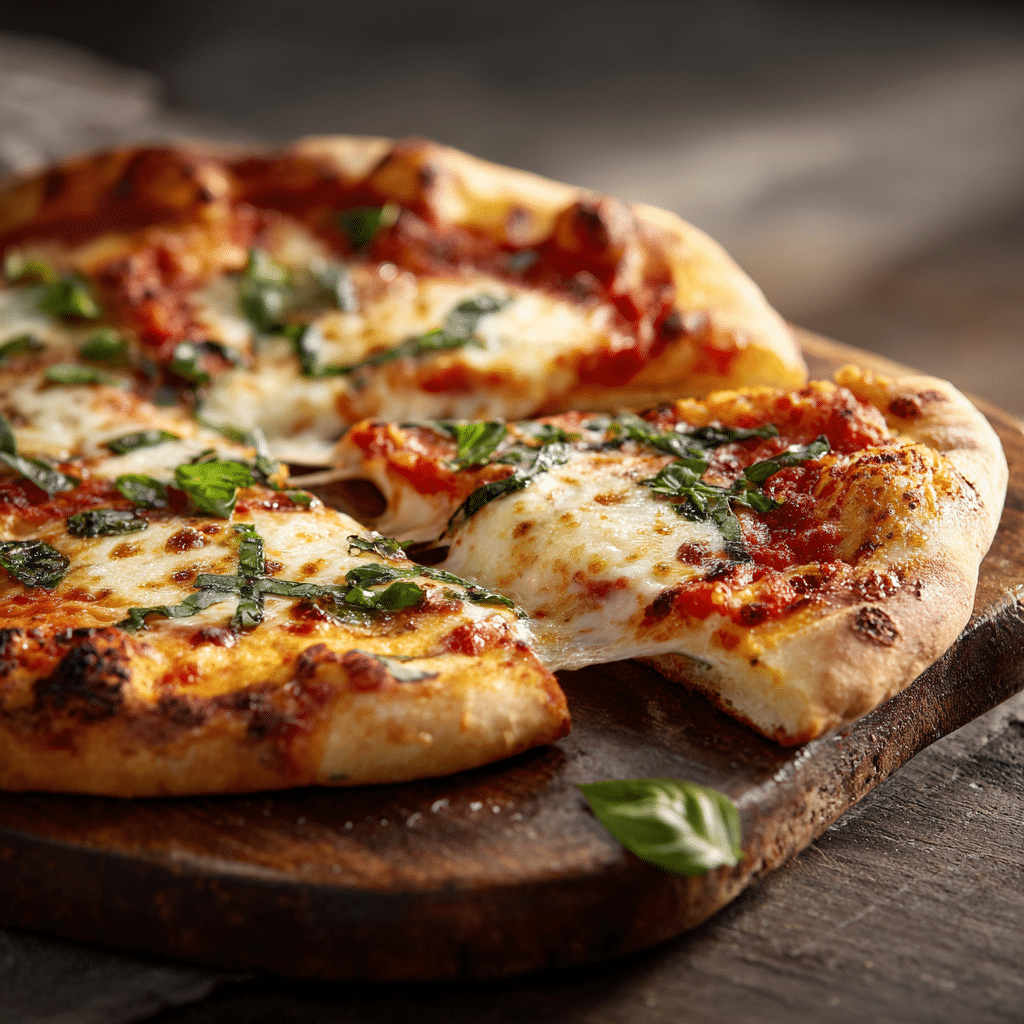
If you’re craving a fun, bite-sized snack that packs all the joy of pizza into a soft, fluffy bun, then Mini Pizza Buns are about to become your new favorite treat. These delightful little parcels combine a pillowy homemade dough base with zesty tomato sauce, melted cheese, and colorful diced vegetables for a perfect harmony of flavors. Whether you’re making them for a cozy family gathering, an after-school snack, or a party appetizer, Mini Pizza Buns bring a burst of comforting pizza goodness that everyone will adore.
Ingredients You’ll Need
The beauty of Mini Pizza Buns lies in their simplicity and the way each ingredient plays a starring role — from creating the tender dough to adding that classic pizzeria flair. Here’s what you’ll need to bring this dish to life with vibrant flavors and an irresistible texture.
- 2 cups flour: The foundation of the dough, providing structure while keeping the buns soft and fluffy.
- 1 tsp yeast: Essential for helping the dough rise and become beautifully airy.
- 3/4 cup warm water: Activates the yeast and binds the dough ingredients together for a pliable texture.
- Tomato sauce: Brings that classic tangy sweetness, perfectly complementing the dough and toppings.
- 1 cup shredded cheese: Melts to gooey perfection, adding savory richness to every bite.
- Diced vegetables: Adds freshness, color, and a satisfying crunch—think bell peppers, onions, or olives.
How to Make Mini Pizza Buns
Step 1: Prepare the Dough
Begin by combining the flour and yeast in a mixing bowl. Slowly add the warm water, stirring until a dough starts to form. Knead the dough gently on a floured surface until it’s smooth and elastic. Then, cover it with a damp cloth and let it rise for about 30 minutes — this is where the magic happens, and your buns get wonderfully soft and airy.
Step 2: Shape Your Buns
Once the dough has doubled in size, punch it down lightly and divide it into equal portions. Shape each portion into a small, round bun that fits perfectly in the palm of your hand. This step sets the canvas for your delicious toppings, so take a moment to make them neat and uniform.
Step 3: Add the Toppings
Next comes the fun part — spoon a generous dollop of tomato sauce on each bun, spreading it evenly but leaving a little border around the edges. Sprinkle the shredded cheese on top, followed by your diced vegetables. Don’t be shy with the toppings; they add both flavor and color that make each Mini Pizza Bun irresistible.
Step 4: Bake to Perfection
Preheat your oven to 200°C and place the prepared buns on a baking tray lined with parchment paper. Bake for 15 to 18 minutes, or until the cheese is bubbly and golden, and the dough is cooked through. The aroma that fills your kitchen at this stage is pure happiness in the making!
How to Serve Mini Pizza Buns
Garnishes
Adding fresh garnishes elevates Mini Pizza Buns beautifully. A sprinkle of chopped fresh basil or oregano right after baking adds bright herbal notes and a splash of green that looks as good as it tastes. You can also drizzle a little olive oil or a pinch of chili flakes for an extra kick.
Side Dishes
Mini Pizza Buns go wonderfully with crisp, refreshing sides that balance their heartiness. A simple mixed green salad with a lemon vinaigrette or crunchy carrot sticks with a tangy dip make excellent companions. For a cozy meal, pair them with a warm bowl of tomato soup for dipping — pizza and soup, a match made in heaven!
Creative Ways to Present
Presentation can be just as delightful as taste when it comes to Mini Pizza Buns. Serve them on a rustic wooden board lined with parchment, arranging various flavors side by side for a colorful spread. You can also thread them onto skewers for a fun pizza-bun kebab, perfect for parties or picnics. Let your creativity inspire how you share these gems.
Make Ahead and Storage
Storing Leftovers
If you have leftover Mini Pizza Buns, store them in an airtight container at room temperature for up to two days. Keep them in a cool, dry place to maintain the dough’s softness and the toppings’ freshness. They make an excellent grab-and-go snack the next day!
Freezing
Mini Pizza Buns freeze beautifully, making them perfect for prepping in advance. Place cooled buns on a baking sheet to freeze individually, then transfer to a resealable freezer bag. Stored this way, they will keep for up to 2 months without losing their delicious texture or flavor.
Reheating
To reheat, simply warm your Mini Pizza Buns in a preheated oven at 180°C for 5 to 7 minutes until the cheese is melty and the dough is soft again. Avoid microwaving if possible, since the crust may become soggy. This way, each bite feels freshly baked and just as scrumptious as the day you made them.
FAQs
Can I use store-bought pizza dough instead of making my own?
Absolutely! Using store-bought pizza dough is a great shortcut if you’re short on time. Just be sure to let it come to room temperature before shaping to get the best results with your Mini Pizza Buns.
What vegetables work best as toppings?
Diced bell peppers, onions, mushrooms, olives, and cherry tomatoes are all fantastic options. Feel free to mix and match depending on what you love or have on hand. Just remember to dice them small so they cook evenly on the buns.
Can I make these buns vegan?
Yes! Simply substitute the cheese with your favorite plant-based alternative and use a dairy-free tomato sauce if necessary. The dough itself is naturally vegan, making Mini Pizza Buns easy to adapt.
How long does it take for the dough to rise?
The dough usually takes around 30 minutes to double in size in a warm environment. If your kitchen is cool, it might take a little longer. Patience here is key for those soft, pillowy buns.
Are Mini Pizza Buns suitable for kids’ lunchboxes?
Definitely! Their small size makes them perfect finger foods that kids can enjoy at school or on the go. They’re also easy to customize with kid-friendly toppings.
Final Thoughts
Mini Pizza Buns are one of those joyous recipes that bring a little slice of happiness to your day. They’re simple to make, endlessly customizable, and absolutely delicious whenever hunger strikes. I hope you’ll give these warm, cheesy gems a try — trust me, they’re destined to become a beloved favorite in your kitchen too!
“`