Molten Lava Chocolate Cake Recipe
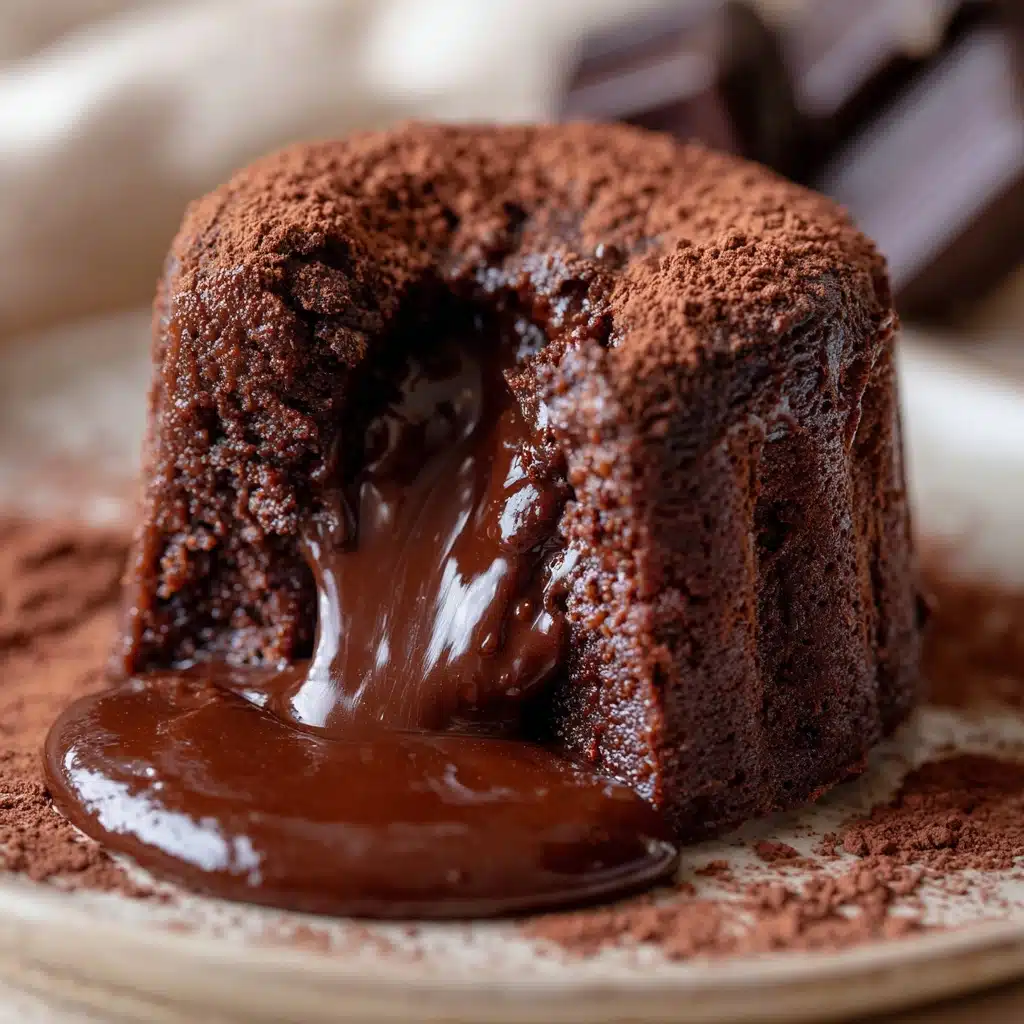
If you have a serious sweet tooth and love moments of pure chocolate bliss, let me introduce you to the magic of Molten Lava Chocolate Cake. This decadent mini cake delivers a perfectly baked outer layer with an irresistibly gooey, molten chocolate center that oozes out the second you dig in. Best served warm alongside a scoop of vanilla ice cream, this dessert brings classic French elegance straight to your kitchen in under 30 minutes. Whether it’s for a special occasion or just a treat-yourself moment, the Molten Lava Chocolate Cake never fails to impress with its rich flavor and luscious texture.
Ingredients You’ll Need
The simplicity of this molten cake recipe is what makes it so special, with each ingredient playing a crucial role in creating that perfect balance of texture and flavor. From the intense depth of dark chocolate to the tender crumb created by flour and eggs, these basic ingredients come together like a little symphony in your oven.
- 150g dark chocolate: Use good-quality chocolate for that deep, rich flavor that makes the center truly molten and luscious.
- 100g butter: Melts into the chocolate to add smoothness and richness, ensuring the cake isn’t dry.
- 100g sugar: Sweetens the dessert just enough without overpowering the chocolate.
- 3 eggs: Provide structure while also keeping the cake tender and moist.
- 50g flour: Lightly holds the cake together without making it dense or cakey.
- Pinch of salt: Enhances the chocolate flavor and balances the sweetness perfectly.
How to Make Molten Lava Chocolate Cake
Step 1: Melt Chocolate and Butter
Start by gently melting the dark chocolate and butter together until smooth and silky. This creates the luxurious base that forms the molten center. Use a double boiler or microwave in short bursts, stirring frequently to avoid burning the chocolate.
Step 2: Whisk in Sugar and Eggs
Once melted, add the sugar and whisk thoroughly before incorporating the eggs one at a time. This step blends sweetness with richness and introduces air, giving the cake just enough lift without compromising that liquid core.
Step 3: Fold in Flour and Salt
Gently fold in the flour and a pinch of salt, careful not to overmix. This ensures the cake’s edges bake nicely while the middle stays ooey-gooey.
Step 4: Divide and Bake
Pour the batter evenly into greased ramekins, filling each about three-quarters full. Bake at 200°C (around 400°F) for 10 to 12 minutes. The key is to watch the edges set while the center remains soft and molten when you touch the top gently.
How to Serve Molten Lava Chocolate Cake
Garnishes
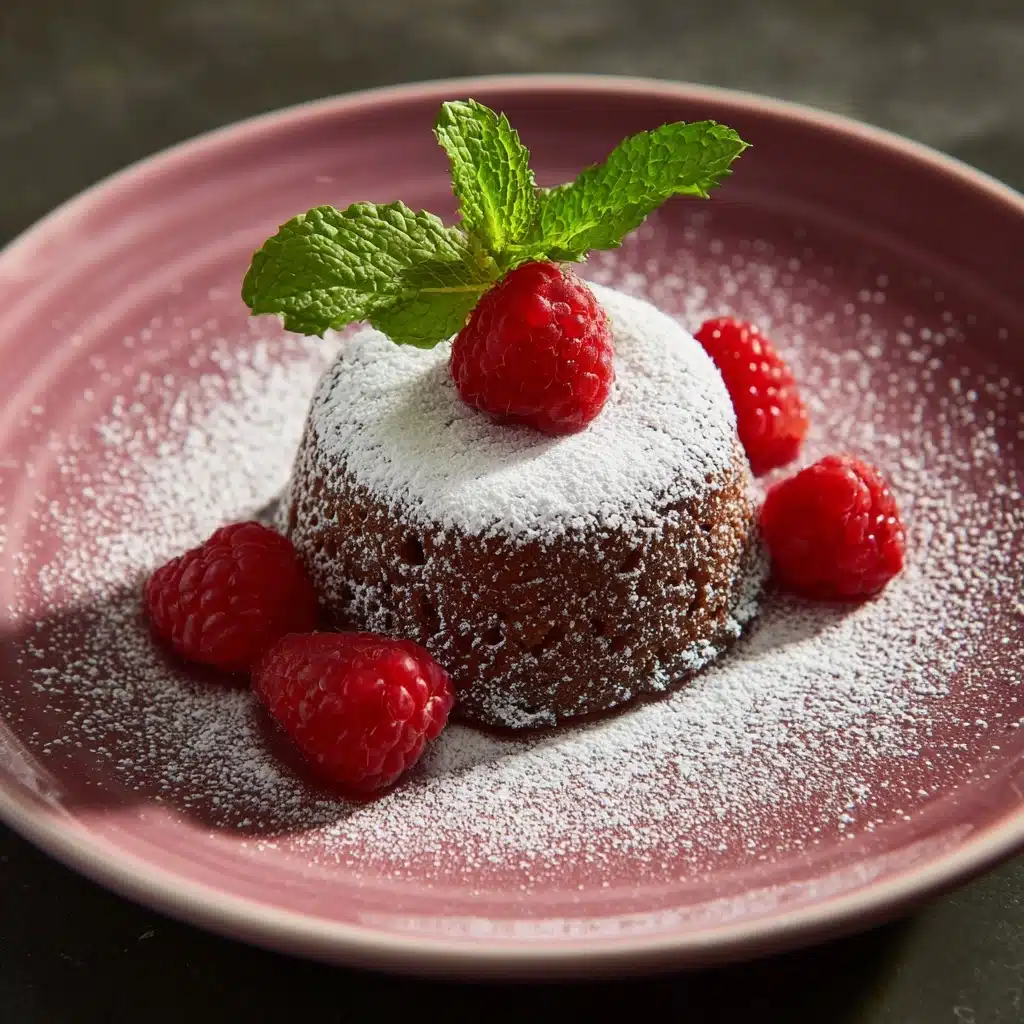
Sprinkle a dusting of powdered sugar or cocoa powder for an elegant look. Fresh berries or a sprig of mint can add a refreshing contrast, while a drizzle of raspberry coulis or caramel sauce takes it to another level of decadence.
Side Dishes
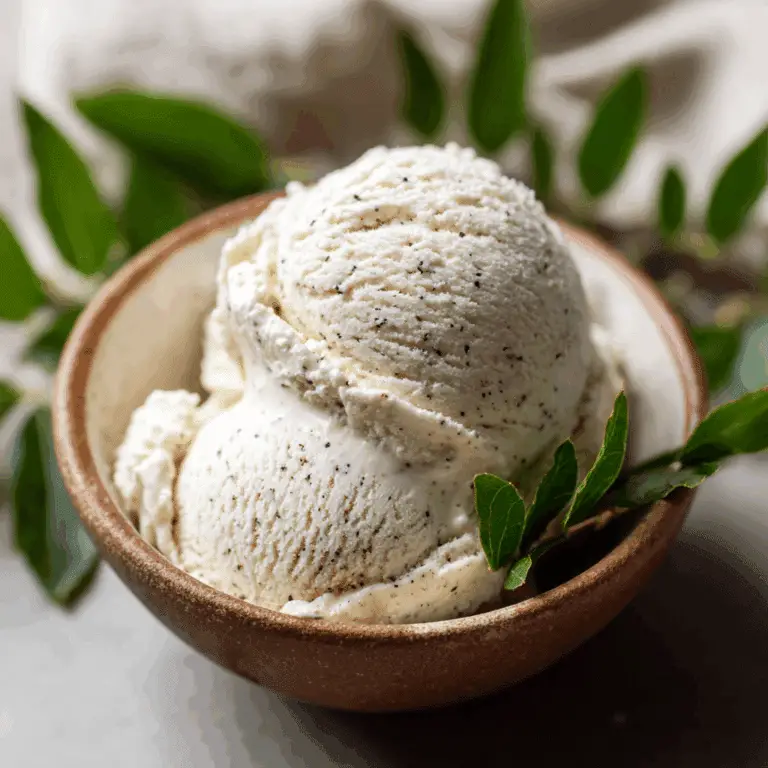
A scoop of creamy vanilla or coffee ice cream is the classic pairing, offering a cool counterpoint to the warm, gooey cake. Alternatively, whipped cream infused with a hint of cinnamon or orange zest adds a lovely complementary flavor.
Creative Ways to Present
For a playful twist, serve the Molten Lava Chocolate Cake in mini mason jars or decorative cups to wow your guests. You can also top it with chopped nuts, edible gold leaf, or even a little sea salt for a balance of sweet and savory flavors. Presentation makes the dessert feel extra special and festive.
Make Ahead and Storage
Storing Leftovers
If you happen to have any leftovers, store the cakes in an airtight container in the refrigerator for up to two days. While the molten center won’t be quite the same when cold, gently reheating can bring back some of that delicious softness.
Freezing
You can freeze individual cakes before baking by filling ramekins with batter, covering tightly with plastic wrap, and placing them in the freezer for up to one month. When ready to enjoy, bake them straight from the freezer, adding a couple extra minutes to the baking time.
Reheating
To revive that molten middle, reheat the cakes in a microwave for 20 to 30 seconds or in a warm oven at 150°C (300°F) for about 5 minutes. Be careful not to overheat or the cake could bake through, losing the signature lava effect.
FAQs
Can I use milk chocolate instead of dark chocolate?
While you can experiment with milk chocolate, it has a higher sugar and milk content, which may result in a less intense, gooey lava center and a sweeter cake overall. Dark chocolate is preferred for the rich, robust flavor it brings to this Molten Lava Chocolate Cake.
What if I don’t have ramekins?
Small oven-safe dishes or cups that are about 6 oz in capacity work well. Just make sure they are greased properly since the cake is delicate and can stick easily.
Why is my lava cake fully cooked inside?
This usually happens if the cake is baked too long or at too low a temperature. Keep your eyes on the baking time, and the edges should be firm while the inside is soft and jiggly when you take it out.
Can I make this recipe vegan?
Replacing butter, eggs, and chocolate with vegan alternatives is possible but challenging for maintaining the perfect molten texture. Specialized vegan chocolate and egg substitutes can work, but expect some variation in texture and baking time.
How soon should I serve Molten Lava Chocolate Cake after baking?
Serve it immediately while warm for the best molten center experience. The cake starts to set and loses the liquid chocolate core as it cools down.
Final Thoughts
Making the Molten Lava Chocolate Cake at home is like giving yourself a little gift of pure chocolate happiness. It’s quick, surprisingly simple, and absolutely delightful to serve. You’ll impress family and friends with this luscious dessert that feels like it came from a fancy French bakery but truly belongs in your own kitchen. So go ahead, preheat that oven and dive into the luscious world of molten chocolate goodness—you won’t regret it!