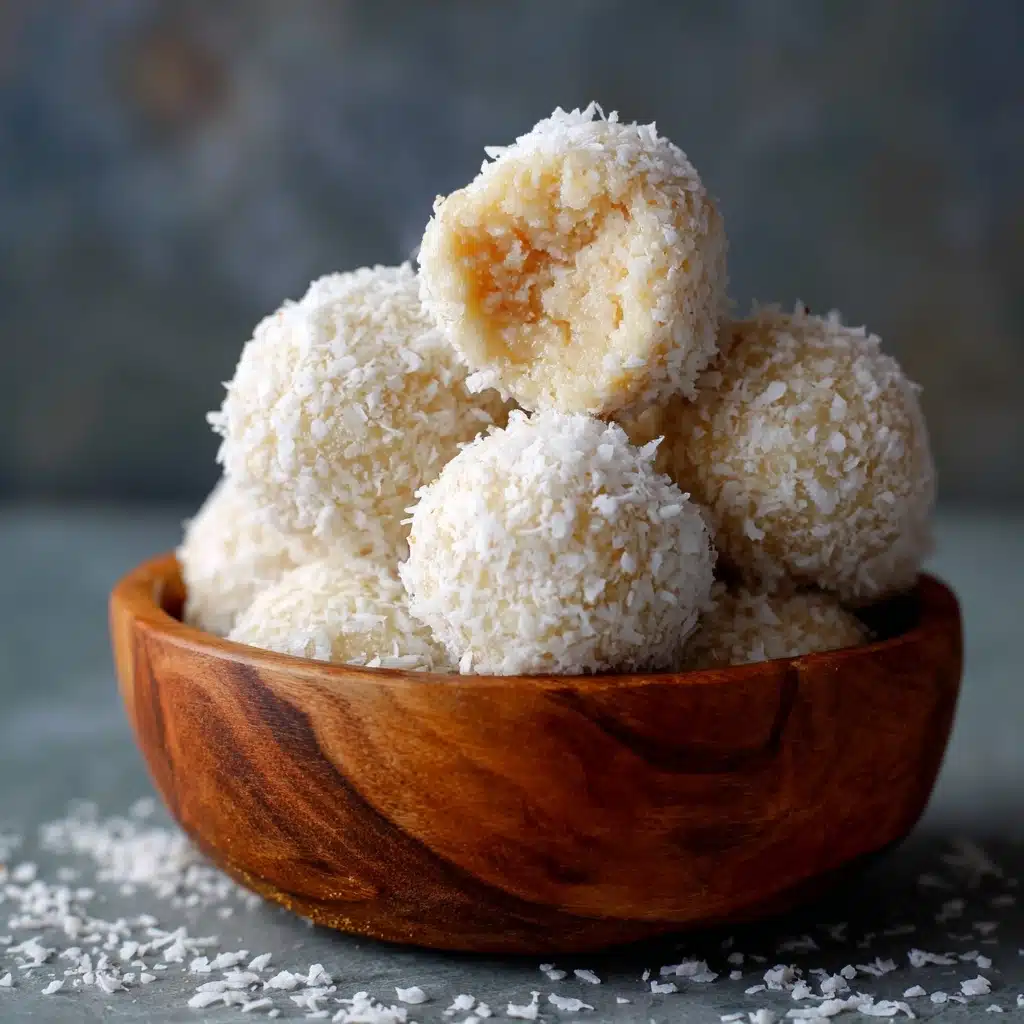
No-Bake Coconut Bliss Balls Recipe
If you’re craving a sweet treat that feels indulgent but is actually a breeze to make, these No-Bake Coconut Bliss Balls are about to become your new favorite snack. They’re chewy, naturally sweetened, and bursting with that tropical coconut flavor you love, thanks to a simple mix of shredded coconut, almond butter, and a touch of honey. Perfect for when you want something energizing and delightful without heating up the kitchen, these little bliss balls roll up quickly and satisfy big cravings anytime.
Ingredients You’ll Need
Gathering these few essential ingredients is half the fun, and each one plays a starring role in creating the perfect bite-sized bliss. From the creamy almond butter that binds everything to the fragrant vanilla that lifts the flavor profile, this list keeps things simple but absolutely delicious.
- 1 ½ cups shredded coconut: Use unsweetened for a more natural flavor and to avoid extra sugars.
- ½ cup almond butter: Provides a rich and nutty base plus healthy fats for energy.
- 3 Tbsp honey or maple syrup: Adds natural sweetness and helps hold the ingredients together.
- 1 tsp vanilla extract: Enhances the tropical notes and ties the flavors together.
- Pinch of sea salt: Balances the sweetness and deepens the overall taste.
- Extra shredded coconut: For rolling, giving your bliss balls a light, snowy coating.
How to Make No-Bake Coconut Bliss Balls
Step 1: Mix Your Base Ingredients
Start by combining the shredded coconut, almond butter, honey (or maple syrup), vanilla extract, and a pinch of sea salt in a medium bowl. Stir everything together with a sturdy spoon until well blended and sticky enough to hold together. This mixture is where all the magic starts, blending chewy coconut and creamy almond butter into one harmonious mixture.
Step 2: Shape Into Balls
Once your mixture is ready, use your hands to roll the dough into small, approximately 1-inch balls. This step is delightful because you get to feel the texture and consistency — it should be soft but hold its shape beautifully. If the mixture feels too sticky, briefly chill it for a few minutes before rolling.
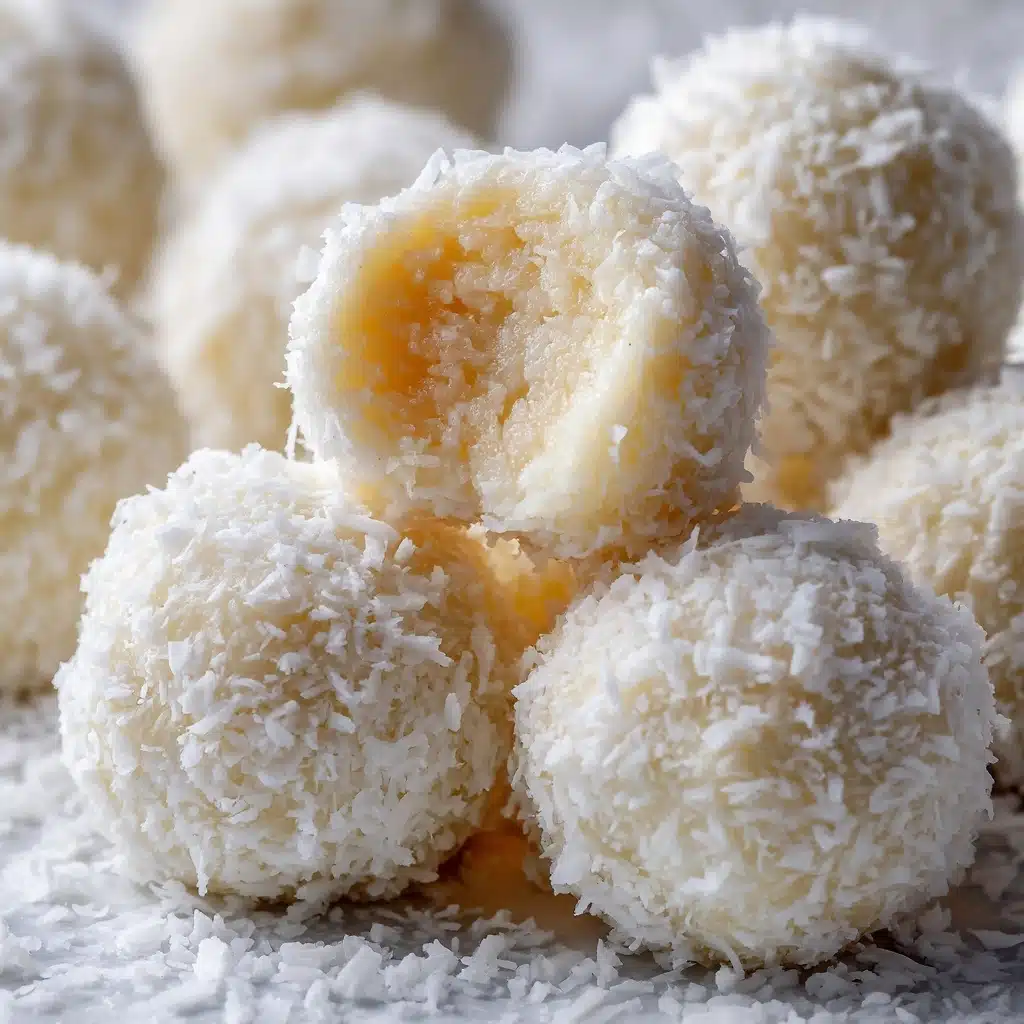
Step 3: Coat With Extra Coconut
After shaping, gently roll each ball in the extra shredded coconut to coat them completely. This final touch adds a snowy, tropical look and an extra layer of texture that makes these bliss balls so charming. It’s like giving each bite a little holiday vibe.
Step 4: Chill Before Serving
Pop your coconut-coated bliss balls into the fridge for about 20 minutes to firm up. This chill time helps them hold their shape better and intensifies the flavors. When ready, serve chilled or at room temperature for a chewy, satisfying treat.
How to Serve No-Bake Coconut Bliss Balls
Garnishes
Add a sprinkle of finely chopped pistachios or a drizzle of dark chocolate for a festive touch. Fresh mint leaves on the side can enhance the tropical feel and provide a refreshing contrast to the sweetness.
Side Dishes
Pair these bliss balls with a vibrant fruit salad for a healthy dessert platter or alongside a cup of herbal tea for a cozy afternoon snack. They’re perfect with light breakfasts or post-workout snacks too, providing just the right amount of sweetness and sustenance.
Creative Ways to Present
Serve your No-Bake Coconut Bliss Balls in pretty mini cupcake liners or on a wooden platter dusted lightly with shredded coconut. For gift-giving, stack them in a decorative jar with a ribbon — they make charming homemade gifts that show you care.
Make Ahead and Storage
Storing Leftovers
These Bliss Balls keep well in an airtight container in the refrigerator for up to one week. Storing them chilled preserves their texture and flavor, ensuring each bite stays just as delightful as the first.
Freezing
You can freeze these treats for up to three months by placing them on a baking sheet in a single layer, freezing until solid, then transferring to a freezer-safe container. This method prevents them from sticking and makes it easy to grab a quick snack anytime.
Reheating
No reheating needed here! Simply let frozen bliss balls thaw briefly at room temperature, or enjoy them cold for an extra refreshing treat, especially on a hot day.
FAQs
Can I use peanut butter instead of almond butter?
Absolutely! Peanut butter will change the flavor slightly but still work wonderfully well. Just choose a natural, smooth variety to maintain the right texture.
Is it possible to make these vegan?
Yes, simply swap the honey for maple syrup or another plant-based sweetener to keep these No-Bake Coconut Bliss Balls completely vegan.
How long will these bliss balls last without refrigeration?
They’re best kept chilled, but if kept in a cool, dry place, they should be fine for a day or two. Avoid leaving them in warm conditions as they can soften too much.
Can I add other mix-ins to the recipe?
Definitely! Chopped nuts, dried fruit, or even a handful of cocoa nibs can add extra texture and flavor to the mix, making these bliss balls even more special.
Are these suitable for people with gluten allergies?
Yes, this recipe is naturally gluten-free as none of the ingredients contain gluten. Just make sure your almond butter and other ingredients aren’t processed in facilities that handle gluten if cross-contamination is a concern.
Final Thoughts
Making these No-Bake Coconut Bliss Balls is a joyful experience and the results speak for themselves — chewy, sweet, and perfectly tropical every time. They’re an easy go-to snack that feels like a little celebration in your mouth, so go ahead and give them a try. I promise, once you make these, you’ll keep coming back for more. Enjoy the bliss!