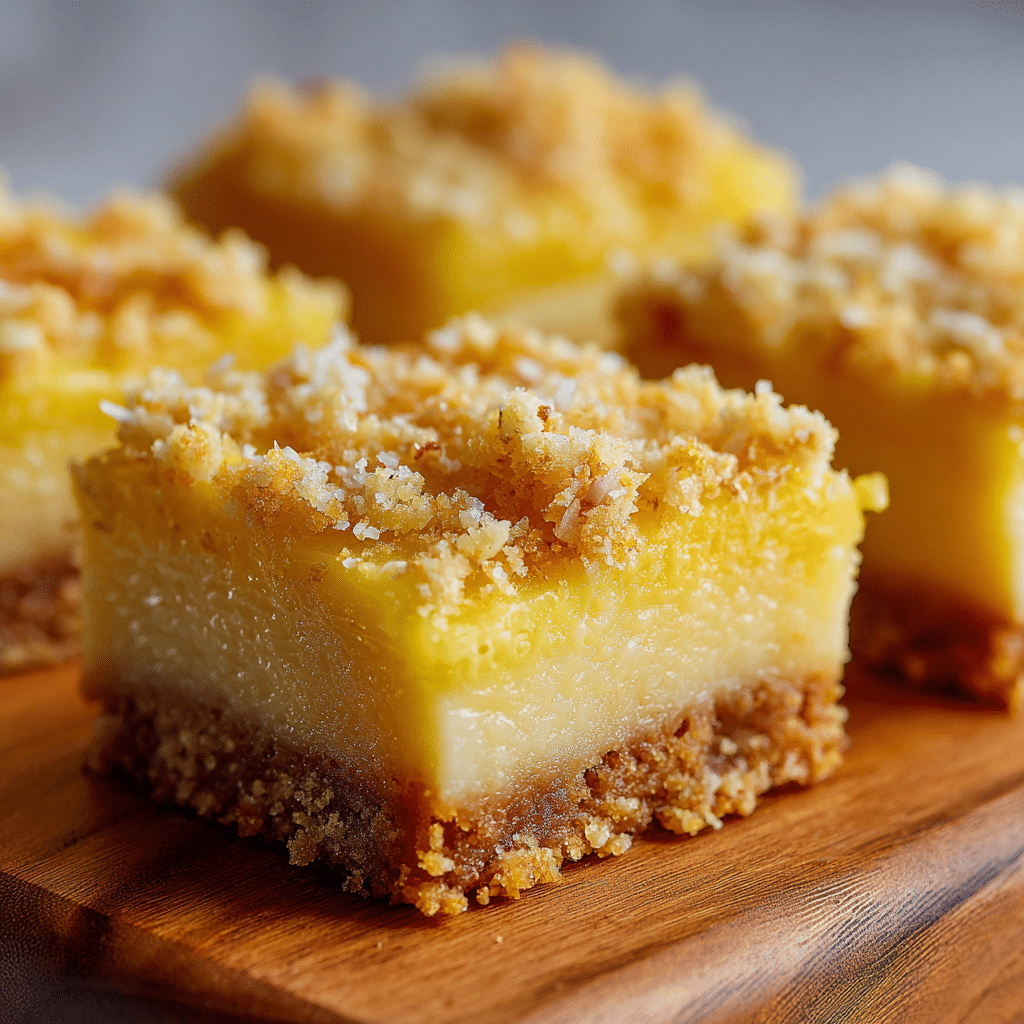
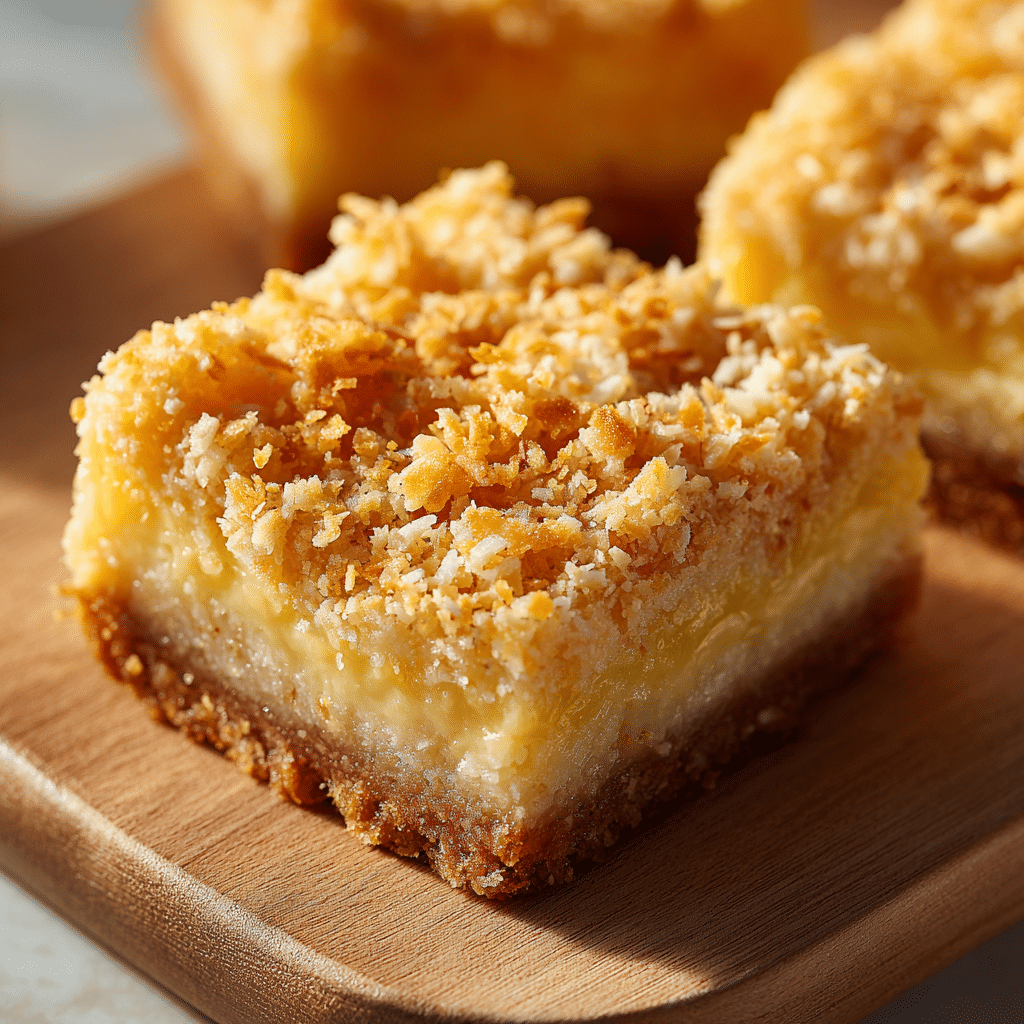
No-Bake Lemon Cheesecake Squares Recipe
If you’re craving a refreshingly tangy dessert that’s incredibly simple to whip up, these No-Bake Lemon Cheesecake Squares are sure to become your new favorite treat. With a delicate balance of zesty lemon curd and smooth cream cheese resting on a buttery biscuit base, this dessert is as delightful to the palate as it is easy to prepare. Plus, because it’s no-bake, you can have a luscious cheesecake ready in just a couple of hours without heating up your kitchen, perfect for warm days or last-minute gatherings.
Ingredients You’ll Need
These ingredients are straightforward but essential to achieving the perfect blend of creaminess, tang, and crunch in your No-Bake Lemon Cheesecake Squares. Each element plays a key role in building the layers of flavor and texture that make this dessert irresistible.
- Crushed biscuits: Form the crunchy and buttery base that holds everything together; graham crackers or digestives work beautifully here.
- Butter: Helps bind the biscuit crumbs and adds richness to the base, ensuring it sets firmly in the fridge.
- Cream cheese: Provides the creamy, smooth foundation for the cheesecake filling, lending that classic cheesecake flavor.
- Lemon curd: Packs in the vibrant, tangy citrus punch that defines the lemon cheesecake experience.
- Whipped cream: Lightens the filling for a fluffy texture that melts in your mouth, balancing the tartness perfectly.
How to Make No-Bake Lemon Cheesecake Squares
Step 1: Prepare the Biscuit Base
Start by crushing your biscuits into fine crumbs, either using a food processor or putting them in a sealed bag and pounding with a rolling pin. Melt the butter and combine it thoroughly with the crumbs until the mixture feels like wet sand. Press this mixture firmly into the base of a lined tray to create an even, compact layer. Chill it in the fridge to set while you prepare the filling.
Step 2: Make the Lemon Cheesecake Filling
In a mixing bowl, whip the cream cheese until smooth and creamy. Gently fold in the lemon curd, blending to create a luscious, tangy filling. Next, fold the whipped cream into this mixture to incorporate airiness and soften the tang, giving the filling a light and dreamy texture.
Step 3: Assemble the Squares
Pour the lemon cheesecake filling evenly over the chilled biscuit base. Smooth the top with a spatula for a clean finish. Pop the tray back into the fridge and let it chill for at least two hours, ideally longer, to allow the cheesecake to firm up beautifully so it slices neatly.
How to Serve No-Bake Lemon Cheesecake Squares
Garnishes
Garnishing your No-Bake Lemon Cheesecake Squares can take the presentation to the next level. A sprinkle of finely grated lemon zest or a few fresh berries on top instantly adds color and an extra layer of flavor. You might also consider a delicate mint leaf for a fresh pop that complements the citrus notes wonderfully.
Side Dishes
If you’re serving these cheesecake squares as part of a larger dessert spread, light fruit salads or a dollop of whipped cream can be perfect companions, balancing the tang with subtle sweetness. A cup of aromatic tea or freshly brewed coffee pairs nicely, smoothing out the zesty punch of the lemon.
Creative Ways to Present
For a fun twist, cut these cheesecake layers into bite-sized squares and serve them on decorative toothpicks for easy, stylish finger food. Or, layer additional lemon curd or fruit compote between layers for extra depth. Using pretty glassware to layer the crumbs and filling can also create an elegant parfait-style dessert that wows guests.
Make Ahead and Storage
Storing Leftovers
Keep your No-Bake Lemon Cheesecake Squares stored in an airtight container in the refrigerator. They remain fresh and delicious for up to 3 days, although they’re so tasty they rarely last that long! Make sure to cover them well to prevent absorption of any fridge smells.
Freezing
These cheesecake squares freeze beautifully, making them a fantastic make-ahead dessert. Wrap each square individually or cover the entire tray tightly with plastic wrap and aluminum foil before freezing. When you’re ready, thaw them overnight in the fridge for best texture and taste.
Reheating
Since this is a no-bake cheesecake, reheating isn’t necessary or recommended as it can change the texture. It’s best enjoyed chilled straight from the refrigerator or gently brought to room temperature for about 15 minutes if you prefer a softer bite.
FAQs
Can I use a different base instead of biscuits?
Absolutely! While crushed biscuits are traditional and ideal for achieving that buttery crunch, you can experiment with crushed nuts, graham crackers, or even gluten-free cookie crumbs to suit your dietary preferences.
Is it possible to make these squares vegan?
Yes, by substituting cream cheese with a plant-based alternative, using vegan butter, and making or buying a dairy-free lemon curd, you can create a vegan version that maintains a similar tangy and creamy profile.
How long does it take for these cheesecake squares to set properly?
For best results, allow at least two hours of chilling in the refrigerator. The longer you chill, the firmer and more sliceable the squares will become—overnight chilling is ideal if you have the time.
Can I adjust the sweetness or tartness?
Definitely! If you prefer a sweeter dessert, add a little powdered sugar to the cream cheese mixture. To increase the tartness, simply add a bit more lemon curd or a squeeze of fresh lemon juice to suit your taste buds.
What’s the best way to cut the cheesecake into neat squares?
Use a sharp knife warmed in hot water and wiped dry before each cut. This helps slice through the chilled cheesecake smoothly without cracking or crumbling the squares.
Final Thoughts
There is something truly special about No-Bake Lemon Cheesecake Squares—the perfect combination of tangy, creamy, and crunchy that makes for an incredibly satisfying treat. Their simplicity in preparation yet sophistication in flavor makes them an unbeatable dessert to keep in your recipe box. Give this recipe a try, and I promise it will become a go-to favorite you’ll love sharing with family and friends!