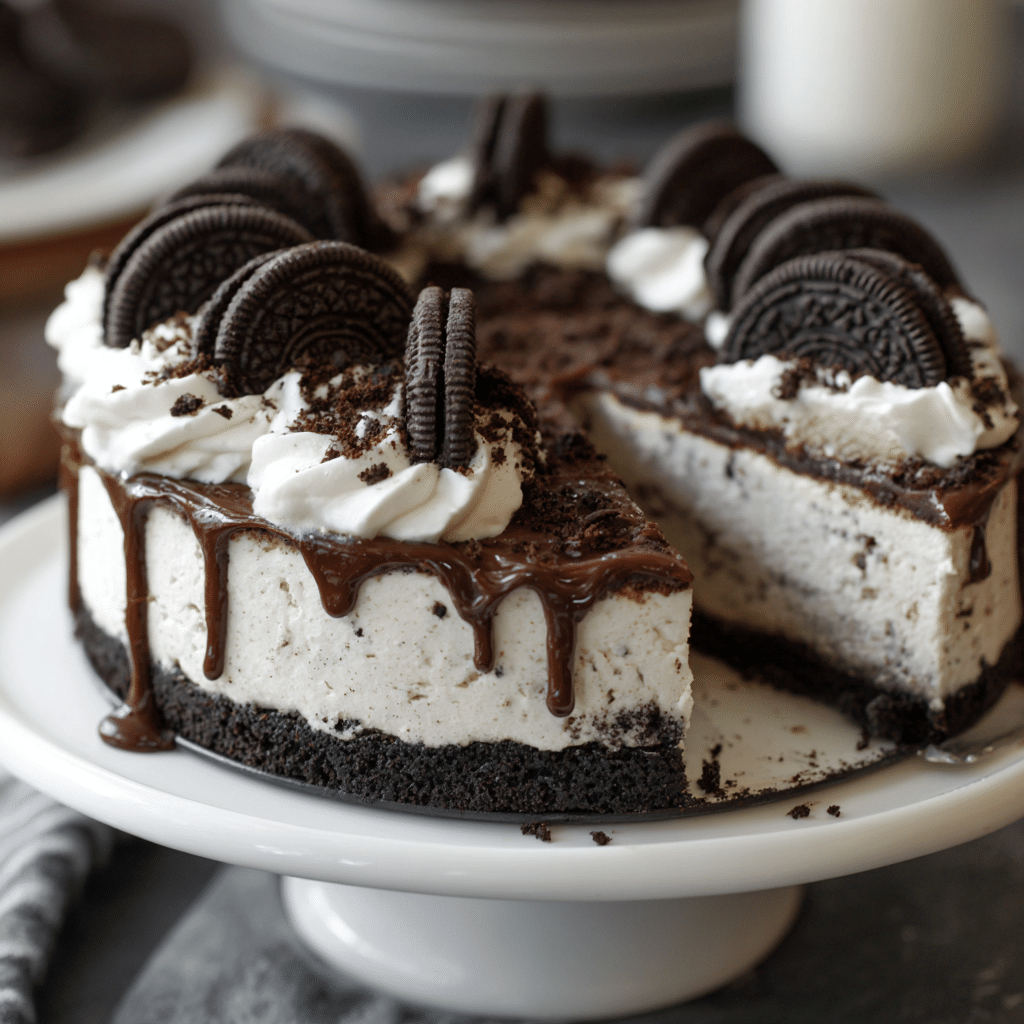
No-Bake Oreo Cheesecake Recipe
If you’ve ever dreamed of a dessert that’s both delightfully creamy and irresistibly crunchy, then you absolutely need to try this No-Bake Oreo Cheesecake. This creamy cheesecake packed with crushed Oreo cookies brings together the perfect balance of rich cream cheese and the classic chocolate cookie crunch—all without turning on your oven. Whether it’s for a family gathering, a casual weekend treat, or simply because you deserve a little indulgence, this recipe is a guaranteed crowd-pleaser that’s easy, satisfying, and downright delicious.
Ingredients You’ll Need
The beauty of this No-Bake Oreo Cheesecake is how simple yet essential every ingredient is, working together to create that perfect harmony of flavor and texture. Each component plays a key role, from the buttery crust to the velvety filling dotted with crunchy Oreo bits, making the end result truly unforgettable.
- 200 g crushed Oreos: These form the crunchy base and add bursts of chocolatey goodness throughout.
- 100 g melted butter: Helps bind the Oreo crumbs into a firm, buttery crust.
- 400 g cream cheese: Provides the rich, creamy texture essential for any cheesecake.
- 120 g sugar: Balances the tanginess of the cream cheese with a gentle sweetness.
- 200 ml whipped cream: Lightens the filling for a fluffy, melt-in-your-mouth finish.
How to Make No-Bake Oreo Cheesecake
Step 1: Create the Oreo crust
Begin by mixing the crushed Oreos with the melted butter until the crumbs are evenly coated. This mixture not only forms the base for the cheesecake but also gives it a sturdy yet tender foundation. Press the mixture firmly into the bottom of your chosen pan, making sure it’s compact and even. This crust is the perfect chocolatey bed your creamy filling will rest on.
Step 2: Prepare the cheesecake filling
Next, beat the cream cheese and sugar together until smooth and lump-free. This step is crucial to achieving that luxurious creamy texture you’ll love in your No-Bake Oreo Cheesecake. Once the base mixture is creamy and silky, gently fold in the whipped cream. This lightens the filling beautifully, turning it into a fluffy dream.
Step 3: Add crushed Oreos to the filling
Fold in additional crushed Oreos into the cheesecake filling. This adds crunchy pockets of chocolate cookie goodness throughout the creamy mixture, creating delightful texture contrasts with each spoonful.
Step 4: Chill to set
Transfer your cheesecake mixture over the Oreo crust in the pan, spreading it evenly. Cover and refrigerate for at least 4 hours so it can firm up perfectly. This chill time allows the flavors to meld beautifully and the cheesecake to achieve its signature texture—creamy, yet firm enough to slice with ease.
How to Serve No-Bake Oreo Cheesecake
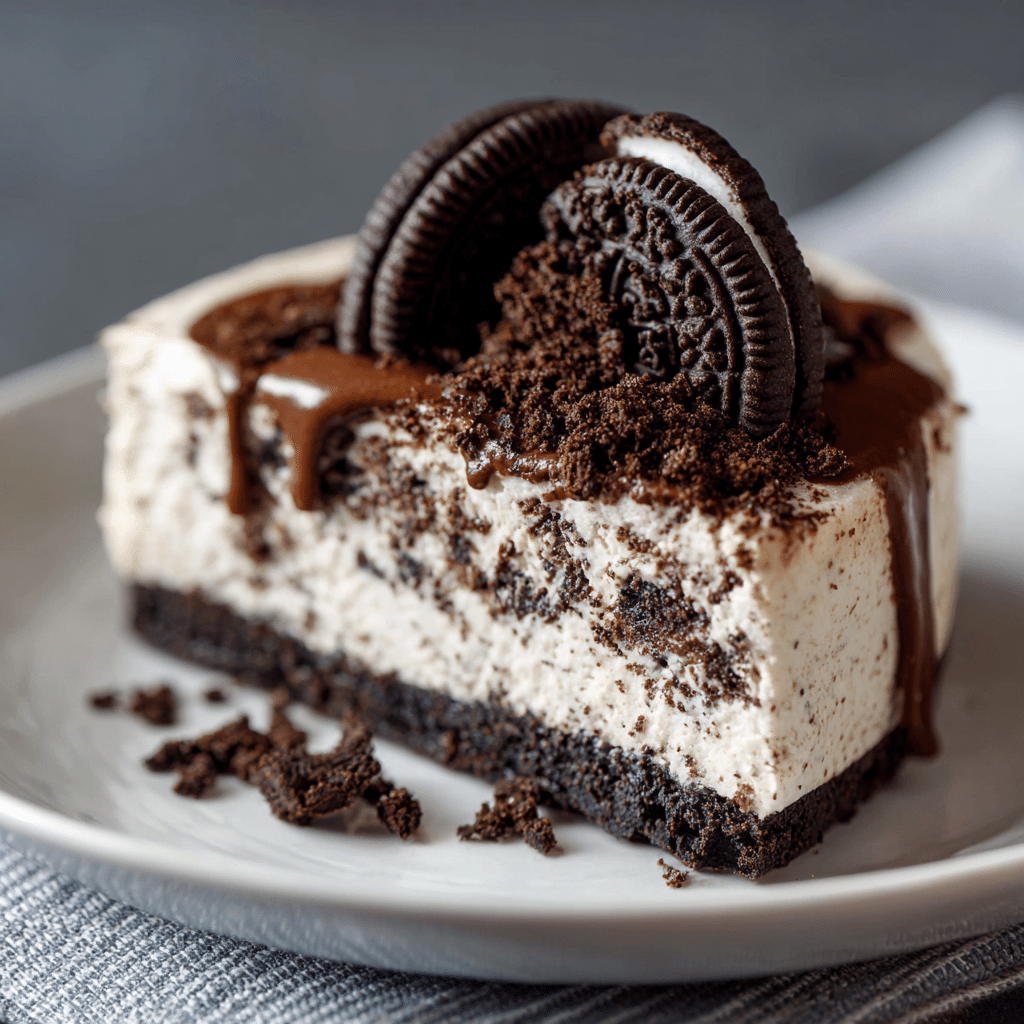
Garnishes
To elevate your No-Bake Oreo Cheesecake visually and flavor-wise, sprinkle some extra crushed Oreos or shave some chocolate curls on top before serving. Fresh berries like raspberries or strawberries can add a pop of color and a refreshing contrast to the richness. Whipped cream dollops are always a nice touch, making each slice look like a dessert masterpiece.
Side Dishes
A delicious cheesecake deserves complementary sides. Serve it alongside a scoop of vanilla ice cream or a drizzle of chocolate or caramel sauce to make every bite extra special. Lightly brewed coffee or a cold glass of milk also pairs wonderfully and rounds out the dessert experience.
Creative Ways to Present
Why not get playful with presentation? Serve individual cheesecake jars layered with whole Oreo cookies and crushed crumbs for a grab-and-go treat. You can also make mini versions using cupcake tins or mason jars—perfect for parties or when you want a personal-sized dessert. A drizzle of fudge or a sprinkle of colorful sprinkles can turn this classic into something festive and fun.
Make Ahead and Storage
Storing Leftovers
You can store your leftover No-Bake Oreo Cheesecake covered in the refrigerator for up to 3 days. Make sure it’s tightly wrapped to prevent it from absorbing other fridge odors and to maintain its creamy texture and fresh taste.
Freezing
This cheesecake freezes beautifully. Wrap it well in plastic wrap and then foil to avoid freezer burn, and store it for up to 1 month. When ready to enjoy, thaw it overnight in the refrigerator, and it will retain its creamy consistency almost as well as fresh.
Reheating
No-Bake Oreo Cheesecake is best enjoyed chilled and does not require reheating. If your cheesecake feels too firm after refrigeration or freezing, simply let it sit at room temperature for 10–15 minutes before serving to soften slightly and bring out the flavors.
FAQs
Can I use a different type of cookie for the crust?
Absolutely! While Oreos are classic and delicious, you can experiment with other chocolate cookies, graham crackers, or even peppermint cookies for a festive twist. Just make sure they complement the creamy filling.
Is it possible to make this cheesecake vegan or dairy-free?
Yes, by using dairy-free cream cheese, vegan buttery substitutes, and coconut-based whipped cream, you can enjoy a plant-based version of this No-Bake Oreo Cheesecake with a similar creamy texture and chocolatey flavor.
How long should I chill the cheesecake?
This cheesecake needs at least 4 hours in the fridge to set properly, but chilling it overnight is even better for a firmer texture and enhanced flavors.
Can I add flavors to the filling?
Definitely! Vanilla extract, a hint of coffee, or even a splash of your favorite liqueur can add exciting layers of flavor to the cheesecake filling. Just add these during the mixing process before folding in the whipped cream.
What’s the best pan to use for this recipe?
A springform pan is ideal for easy removal and neat presentation, but any cake pan or even a pie dish lined with parchment paper will work perfectly for your No-Bake Oreo Cheesecake.
Final Thoughts
This No-Bake Oreo Cheesecake is one of those recipes that combines simplicity with pure joy in every bite. It’s a fantastic dessert to whip up quickly and impress everyone with minimal effort. I encourage you to try it out and make it your own by adding personal touches. Trust me, once you taste that creamy, cookie-packed delight, it will become an instant favorite in your dessert repertoire.