Pat the shortbread crumbs into the prepared baking dish Recipe
“`html
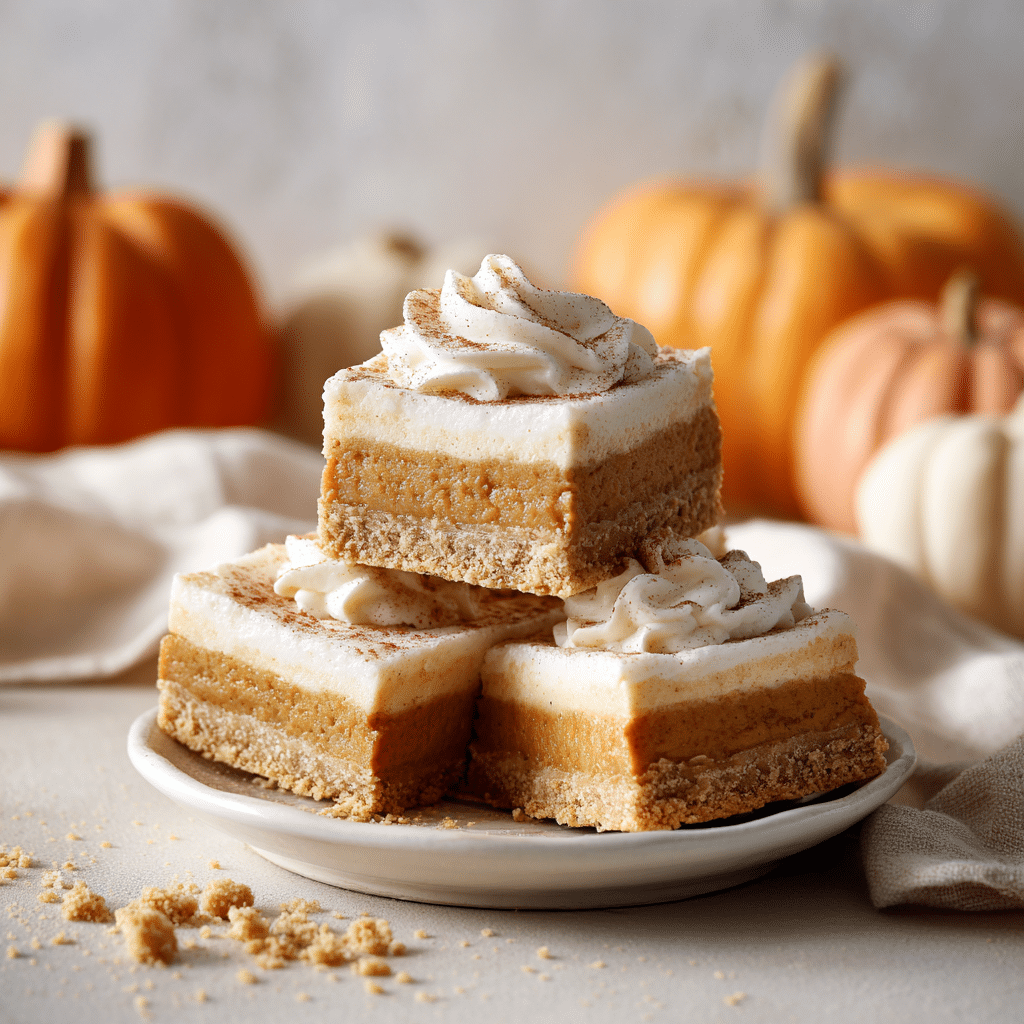
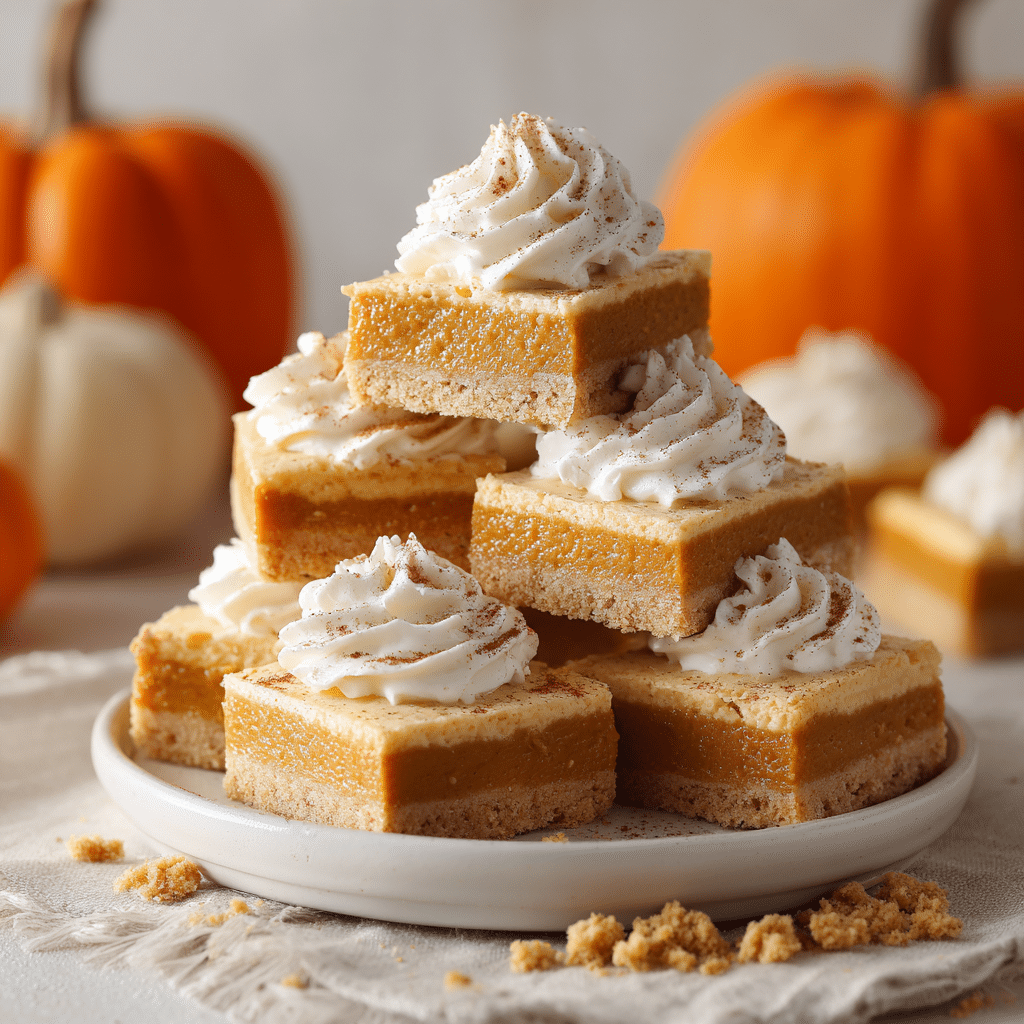
If you love the cozy flavors of pumpkin pie but want a fuss-free way to enjoy them, these Pumpkin Pie Bars are here to steal your heart—and your taste buds. Featuring a buttery shortbread crust that sets the perfect base, you simply pat the shortbread crumbs into the prepared baking dish and layer on a lush, creamy pumpkin filling that bakes up golden and irresistible. It’s pumpkin pie magic in a bar form, perfect for sharing or keeping all to yourself when those cozy cravings strike.
Ingredients You’ll Need
These simple yet essential ingredients come together beautifully to deliver that classic pumpkin pie flavor with a little shortbread crunch. Each element plays a key role, from the rich butter in the crust to the warm pumpkin pie spices that make this dessert comfort in every bite.
- ¾ cup salted butter, softened: Provides a rich, tender base for the shortbread crust that holds the entire bar together.
- ½ cup icing sugar: Adds just the right amount of sweetness and a delicate texture to the crust.
- 1½ cups all-purpose flour: Gives structure to your crust, balancing tender crumb with sturdiness.
- 29 ounce canned pumpkin: The star of the filling, lending creamy texture and vibrant color.
- 4 large eggs: Bind the pumpkin filling while adding richness and moisture.
- 1 cup packed brown sugar: Brings warmth and depth with a hint of caramel.
- 3 teaspoons pumpkin pie spice: That signature blend of cinnamon, nutmeg, and cloves that makes this dessert unmistakably fall.
- 1 teaspoon salt: Enhances all the sweet and spiced flavors perfectly.
- 24 ounces evaporated milk: Adds creaminess without watering down the flavor of the filling.
How to Make Pat the shortbread crumbs into the prepared baking dish
Step 1: Preheat and Prepare Your Pan
Start by heating your oven to 425°F and lining a 9×13-inch baking dish with parchment paper, leaving enough overhang on the sides so you can easily lift out the bars once baked. This little step saves you from sticky fingers and ensures perfect slices every time.
Step 2: Craft the Shortbread Crust
Take your softened butter and whip it in a large bowl using a stand mixer or electric hand mixer on medium speed until it becomes smooth and creamy. Add the icing sugar and keep blending until the mixture is fully combined and fluffy. Next, scrape those sides down and blend in the flour at low speed. You’ll end up with a soft, crumbly mixture that’s begging to become a crust.
Step 3: Pat the shortbread crumbs into the prepared baking dish
The moment you’ve been waiting for! Take that luscious crumbly dough and firmly press it into the bottom of your parchment-lined baking dish. This crust needs a good, even layer, so don’t be shy—pat the shortbread crumbs into the prepared baking dish with some love and care. This step is crucial for a sturdy, buttery base that holds the filling perfectly.
Step 4: Whip Up the Pumpkin Filling
In a separate large bowl, combine the canned pumpkin, eggs, salt, pumpkin pie spice, and brown sugar. Mix until everything melds together into a smooth, fragrant batter. Pour in the evaporated milk and continue mixing gently until just blended—no overmixing needed here!
Step 5: Pour and Bake
Pour the pumpkin filling evenly over your lovingly pressed shortbread crust. Pop the dish into your preheated oven and bake for 15 minutes at 425°F. Then, lower the heat to 350°F and bake for an additional 50 to 55 minutes or until the filling is set and gently jiggles in the center.
Step 6: Cool and Chill
Once out of the oven, allow your pumpkin pie bars to cool completely on the counter. After they reach room temperature, pop them into the fridge for at least 2 hours. This chilling time helps the bars firm up beautifully. When you’re ready to serve, use those parchment paper edges to lift the entire slab out effortlessly, then pat the shortbread crumbs into the prepared baking dish before cutting into generous squares.
How to Serve Pat the shortbread crumbs into the prepared baking dish
Garnishes
These bars are a canvas for all sorts of delicious garnishes. A dollop of freshly whipped cream sprinkled with a pinch of cinnamon or nutmeg always does the trick. For something extra special, try a drizzle of caramel sauce or a few toasted pecans for crunch that sings with autumn vibes.
Side Dishes
Serve your pumpkin pie bars alongside a steaming cup of spiced chai tea or a rich coffee. For gatherings, a scoop of vanilla ice cream on the side adds creamy cold contrast that pairs perfectly with the warm, spicy filling. They also make a delightful companion to a simple green salad when emphasizing dessert as the highlight of your meal.
Creative Ways to Present
Want to make an impression? Plate your bars on a rustic wooden board layered with autumn leaves or powdered sugar “snow.” You can cut the bars into bite-sized squares for a party-friendly finger food or arrange them in a dessert buffet next to other fall favorites. Remember to always pat the shortbread crumbs into the prepared baking dish evenly, so every piece is just as perfect as the last.
Make Ahead and Storage
Storing Leftovers
Leftover pumpkin pie bars keep beautifully in the refrigerator when covered tightly with plastic wrap or stored in an airtight container. They’ll stay fresh for up to three days, making them a perfect make-ahead dessert for busy weeks or unexpected guests.
Freezing
Want to enjoy these bars long after pumpkin season? Freeze them! Make sure the bars are fully cooled, then wrap tightly in plastic wrap and aluminum foil, or use a freezer-safe container. They’ll keep up to three months. Avoid freezing with whipped cream already added—that’s best freshly made when serving.
Reheating
When you’re ready to dig in, thaw the bars overnight in the fridge. For a warm treat, pop a square or two in the microwave for about 15 to 20 seconds. Add fresh whipped cream right before serving to keep that creamy contrast fresh and delightful.
FAQs
Can I use a different type of crust?
Absolutely! While the shortbread crust gives a buttery, tender base you can’t beat, feel free to experiment with graham cracker crumbs or even a pecan crust for a nutty twist. Just remember that the texture will change, so adjust baking time as needed.
Do I have to use evaporated milk?
Evaporated milk adds creaminess without watering down the flavors, but if you prefer, you can substitute with whole milk or even coconut milk for a dairy-free spin. Just be aware that it might alter the richness and texture slightly.
What makes these bars different from traditional pumpkin pie?
These bars skip the hassle of rolling out pie dough and baking in a pie dish, offering a quicker, less fussy option while still capturing the classic pumpkin pie taste. Plus, the shortbread crust adds an irresistible buttery crunch you won’t find in a traditional pie.
Why is it important to pat the shortbread crumbs into the prepared baking dish?
Patting the crumbs firmly and evenly creates a sturdy base that keeps the filling from leaking or sliding around. It ensures each bar holds together beautifully and bakes to a golden, crumbly perfection that contrasts wonderfully with the creamy pumpkin topping.
Can I make these bars vegan?
With a few swaps, yes! Use a plant-based butter, a flax egg substitute, and coconut milk instead of evaporated milk. While the texture and flavor will differ slightly, you can still enjoy a delicious pumpkin treat tailored to your dietary needs.
Final Thoughts
These Pumpkin Pie Bars are so much more than a dessert – they’re a cozy hug you can eat, combining buttery shortbread crust with creamy, spiced pumpkin filling in every bite. With their ease and classic flavors, I truly encourage you to pat the shortbread crumbs into the prepared baking dish and give this recipe a go. Whether it’s for a festive gathering or a simple family treat, these bars will quickly become a beloved staple you’ll reach for year after year.
“`