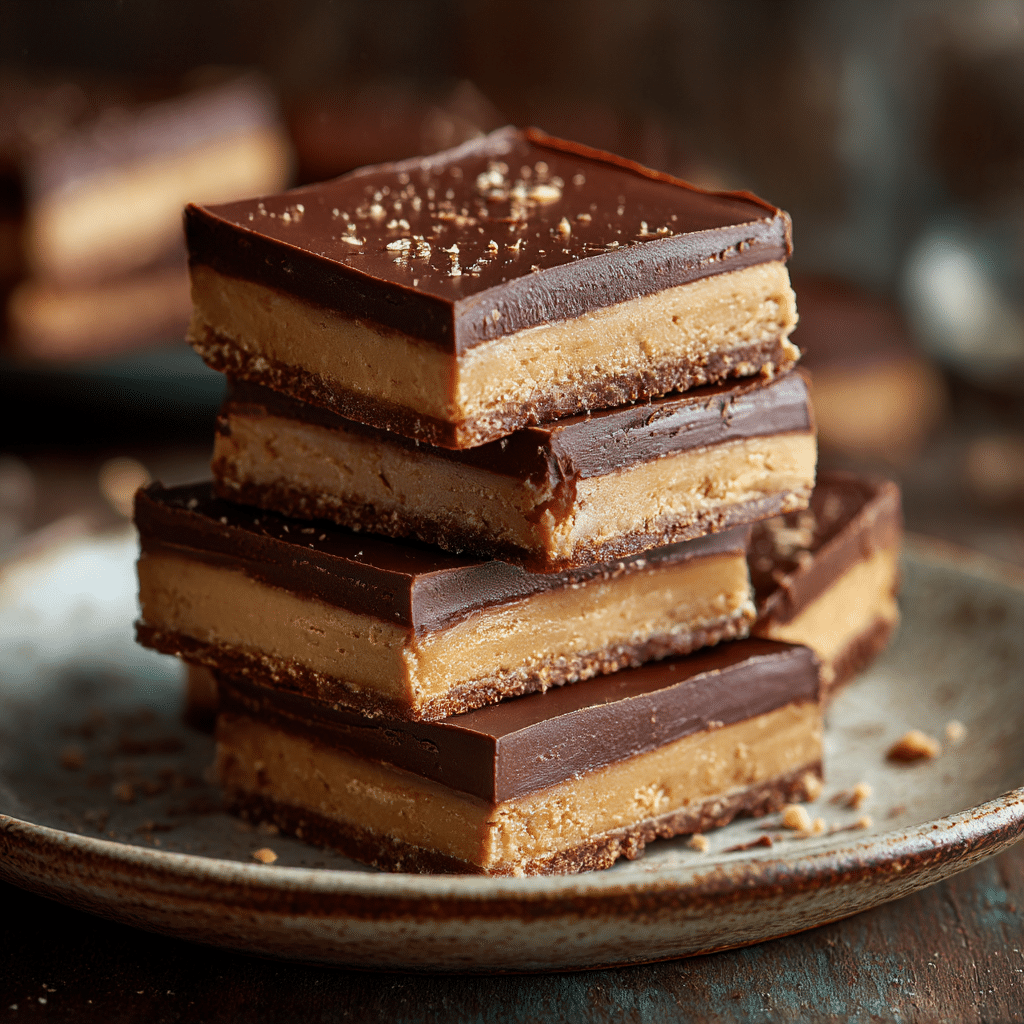
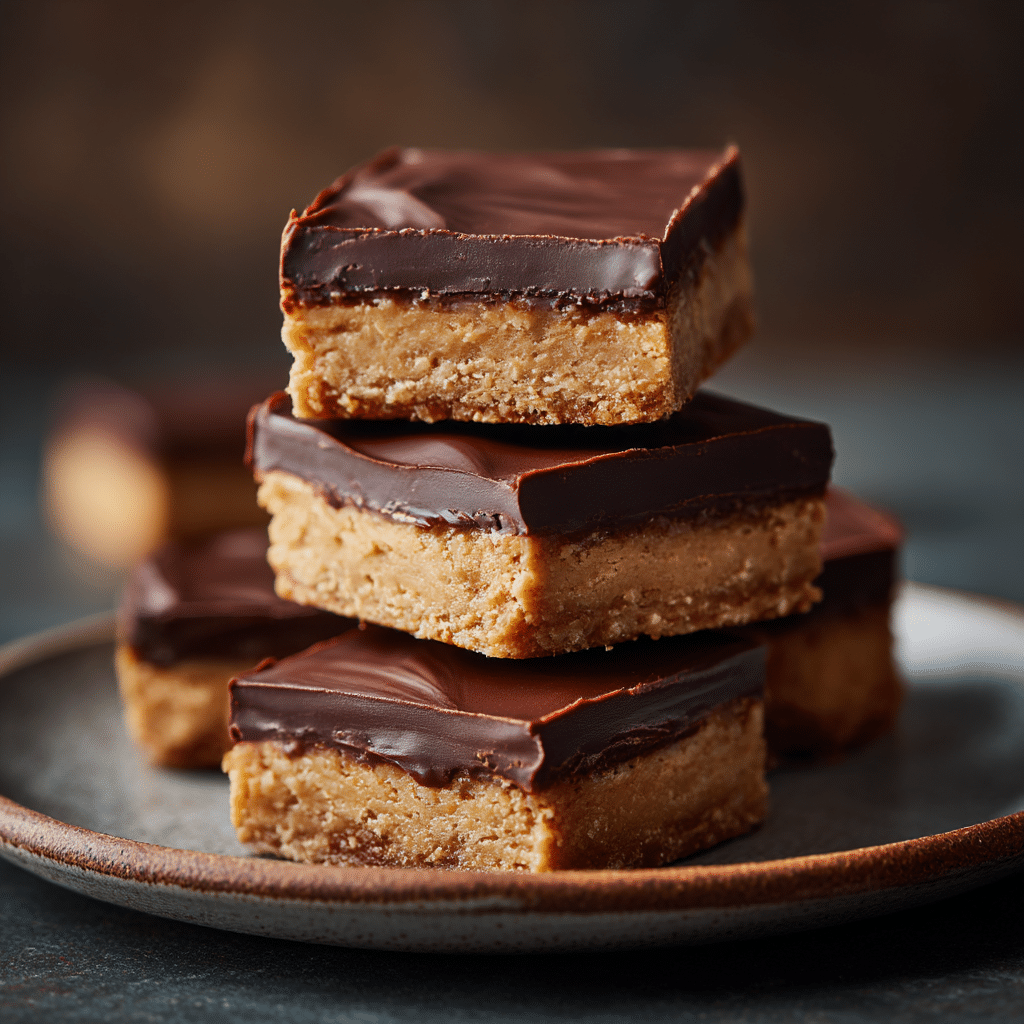
Peanut Butter Chocolate No-Bake Bars Recipe
If you have a sweet tooth and love the irresistible combo of creamy peanut butter and rich chocolate, you have got to try these Peanut Butter Chocolate No-Bake Bars. They are the perfect easy treat that delivers a chewy, luscious texture with zero oven fuss. Everyone who tries these bars falls in love with how the smooth peanut butter mingles with a generous chocolate topping, creating a dessert that feels both indulgent and comforting. Perfect for when life gets busy but sweet moments are still a must, these bars bring joy in every bite.
Ingredients You’ll Need
Getting these Peanut Butter Chocolate No-Bake Bars just right begins with a handful of simple ingredients that pack a punch in flavor and texture. Each component plays an important role, from the buttery base to the melty chocolate topping.
- Peanut butter: Use creamy peanut butter for that silky texture and intense nutty flavor that’s the star of the show.
- Butter: Adds richness and helps bind everything together for the perfect chew.
- Powdered sugar: Provides sweetness and a smooth texture that dissolves beautifully in the mix.
- Graham cracker crumbs: Bring a subtle crunch and that classic slightly honeyed taste deepening the bars’ flavor.
- Chocolate chips: Melt into a luscious topping that seals in all the goodness and adds a dreamy finish.
How to Make Peanut Butter Chocolate No-Bake Bars
Step 1: Combine the Base Ingredients
Start by gently warming peanut butter and butter together until they’re soft and easy to stir. Then, mix in the powdered sugar and graham cracker crumbs until the mixture comes together into a thick, tender dough. This step is where the magic begins — the base perfectly balances sweetness, creaminess, and a little crunch.
Step 2: Press Into the Pan
Transfer your mixture into a square baking pan lined with parchment paper or lightly greased, then firm it down evenly. Pressing firmly is key because you want a solid structure that will hold together nicely once chilled, without crumbling apart.
Step 3: Melt and Spread the Chocolate
While your base chills a little (or right away if you’re confident with spreading), melt the chocolate chips using a microwave or double boiler. Spread this smooth chocolate layer evenly over the base, creating that classic glossy finish that makes the bars so inviting.
Step 4: Chill and Slice
Pop the pan into the fridge and let the bars chill until the chocolate is set and the base is firm — about an hour is perfect. Once they’re chilled, use a sharp knife to slice into 12 generous, bite-worthy bars ready to enjoy or share.
How to Serve Peanut Butter Chocolate No-Bake Bars
Garnishes
Sprinkle a pinch of flaky sea salt over the chocolate before it sets to enhance the sweet and salty balance. For a bit of fun, try chopped peanuts or a drizzle of white chocolate on top to add texture and a contrast of flavors.
Side Dishes
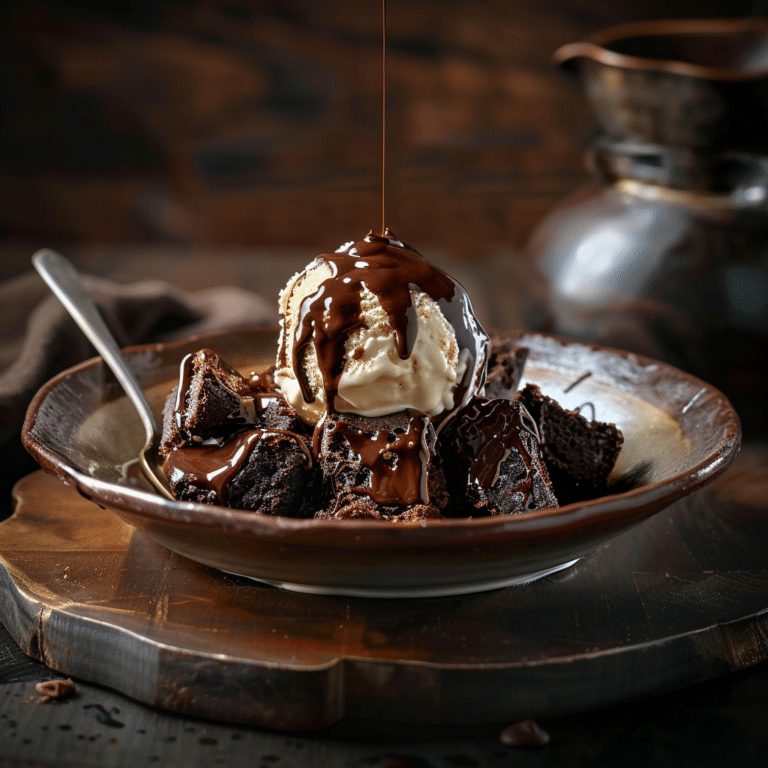
These bars pair wonderfully with a cold glass of milk or a scoop of vanilla ice cream for a classic combo. Fresh berries on the side add a pop of color and a tart brightness that cuts through the richness beautifully.
Creative Ways to Present
For a party or special treat, place your Peanut Butter Chocolate No-Bake Bars on a decorative platter lined with parchment, or individually wrap them in parchment squares tied with twine for a charming homemade gift. Layering bars with a dollop of whipped cream and a sprinkle of cocoa powder creates an appealing dessert parfait twist.
Make Ahead and Storage
Storing Leftovers
Your Peanut Butter Chocolate No-Bake Bars will keep beautifully in an airtight container in the refrigerator for up to one week. Keeping them chilled preserves their chewy texture and keeps the chocolate topping shiny and firm.
Freezing
You can freeze these bars for up to two months wrapped tightly in plastic wrap and stored in a freezer-safe container. Thaw them overnight in the fridge before serving, and they’ll taste as delicious as fresh.
Reheating
Since these bars are best served chilled, reheating isn’t necessary. However, if you prefer a softer texture, let them sit at room temperature for about 20 minutes before indulging.
FAQs
Can I use natural peanut butter in this recipe?
Yes, you can, but natural peanut butter might make the bars a little more crumbly since it contains less stabilizer. Stir it well before measuring, and consider adding a touch more butter to help bind the mix.
Do I have to use graham cracker crumbs?
Graham cracker crumbs work best for flavor and texture, but you can substitute crushed digestive biscuits or even finely chopped nuts for a different twist.
Is there a dairy-free version of these bars?
Absolutely! Use dairy-free butter alternatives and dairy-free chocolate chips, and double-check that your peanut butter doesn’t contain added dairy ingredients.
How thick should I spread the base layer?
About 1/2 to 3/4 inch thick is ideal. This thickness makes for bars that hold together well without being too dense or too thin to enjoy.
Can I add other flavors or mix-ins?
Definitely! Some folks love tossing in mini marshmallows, crushed pretzels, or a pinch of cinnamon. Just be careful not to overload the base so it sets properly.
Final Thoughts
If you’re searching for a dessert that’s unbelievably easy but still a showstopper in flavor and texture, you really need to make these Peanut Butter Chocolate No-Bake Bars your go-to recipe. They’re a perfect way to satisfy any craving with minimal effort and maximum happiness. Trust me, once you make them, they’ll become a cherished favorite – just like they are in my kitchen!