Pistachio Rose Cheesecake Recipe
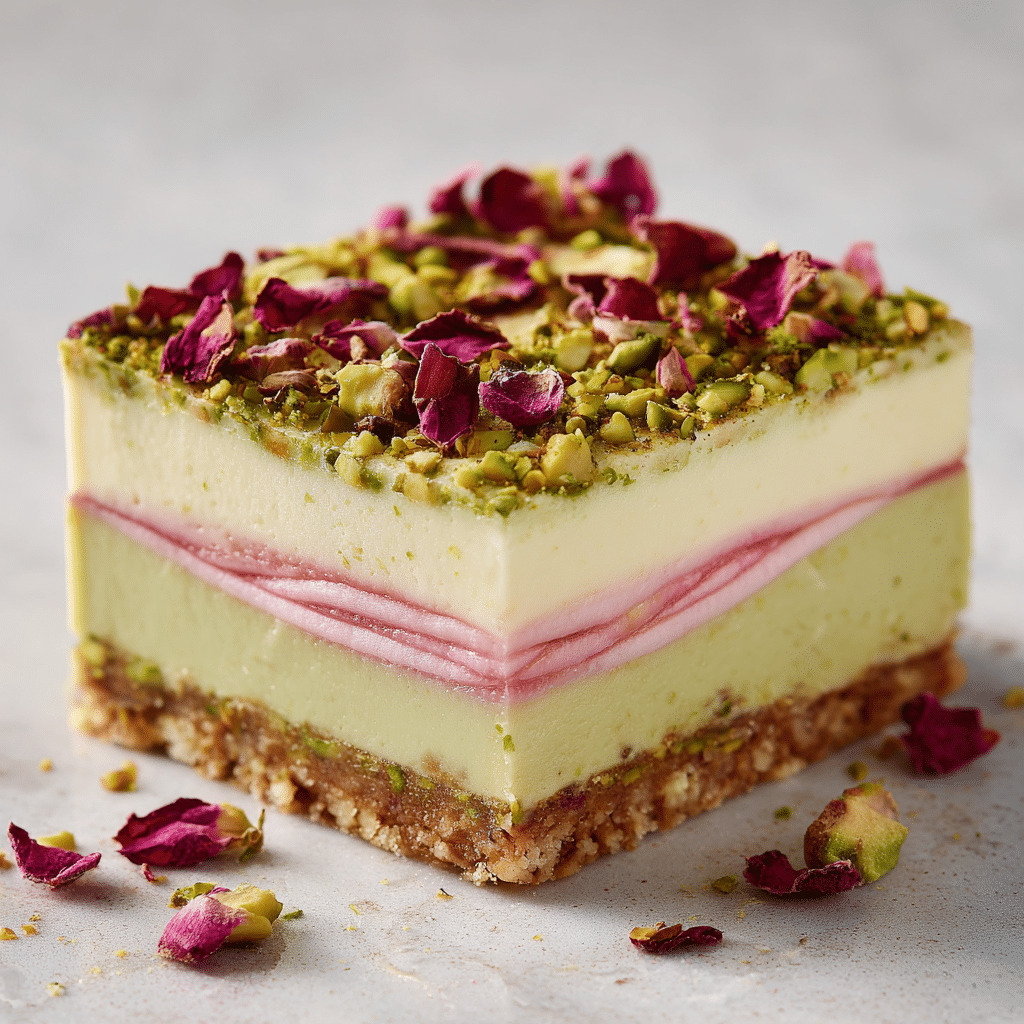
If you adore the blend of nutty richness and floral elegance, then the Pistachio Rose Cheesecake is going to steal your heart. This dessert brings together the smooth, velvety texture of classic cheesecake with the delicate aroma of rose petals and the unmistakable flavor of pistachios. Each bite offers a perfect harmony of creamy indulgence and subtle flair, transforming a simple cheesecake into an unforgettable experience.
Ingredients You’ll Need
Creating the Pistachio Rose Cheesecake requires just a handful of straightforward ingredients, each chosen to build the perfect balance of flavor and texture. From the buttery crust to the luscious filling and delicate garnish, every component plays an essential role in making this dessert truly special.
- 1 cup crushed biscuits: Provides a crunchy and slightly sweet base that holds the cheesecake together.
- 1/2 cup melted butter: Binds the biscuit crumbs, adding richness and a buttery depth to the crust.
- 1 cup cream cheese: The creamy foundation that gives the cheesecake its smooth, luscious texture.
- 1/2 cup pistachio paste: Infuses the cheesecake with its distinct nutty flavor and beautiful green hue.
- 1/2 cup sugar: Sweetens the filling just enough to enhance the pistachio without overpowering it.
- 1 cup whipped cream: Lightens the texture, making the cheesecake airy and soft with every bite.
- Rose petals for garnish: Adds a fragrant, floral finishing touch that makes the dessert stunning and unique.
How to Make Pistachio Rose Cheesecake
Step 1: Prepare the Crust
Start by combining the cup of crushed biscuits with the half cup of melted butter. Mix until the crumbs are evenly coated and can hold their shape when pressed. Firmly press this mixture into the base of your pan to create a solid, buttery crust that will provide a satisfying crunch beneath the creamy cheesecake.
Step 2: Mix the Cheesecake Filling
In a mixing bowl, beat together the cream cheese, pistachio paste, and sugar until smooth and creamy. This blending ensures the flavors meld beautifully and creates the delightful pistachio flavor that makes this cheesecake truly something special.
Step 3: Fold in the Whipped Cream
Gently fold the whipped cream into your pistachio and cream cheese mixture. This step lightens the filling, giving the cheesecake an airier, creamier texture that melts in your mouth instead of feeling dense or heavy.
Step 4: Assemble and Chill
Pour the luscious filling over the pressed biscuit crust, smoothing the top for an even finish. Place your cheesecake in the refrigerator and let it chill thoroughly. This allows the flavors to develop and the cheesecake to set perfectly, making slicing a breeze.
Step 5: Garnish and Serve
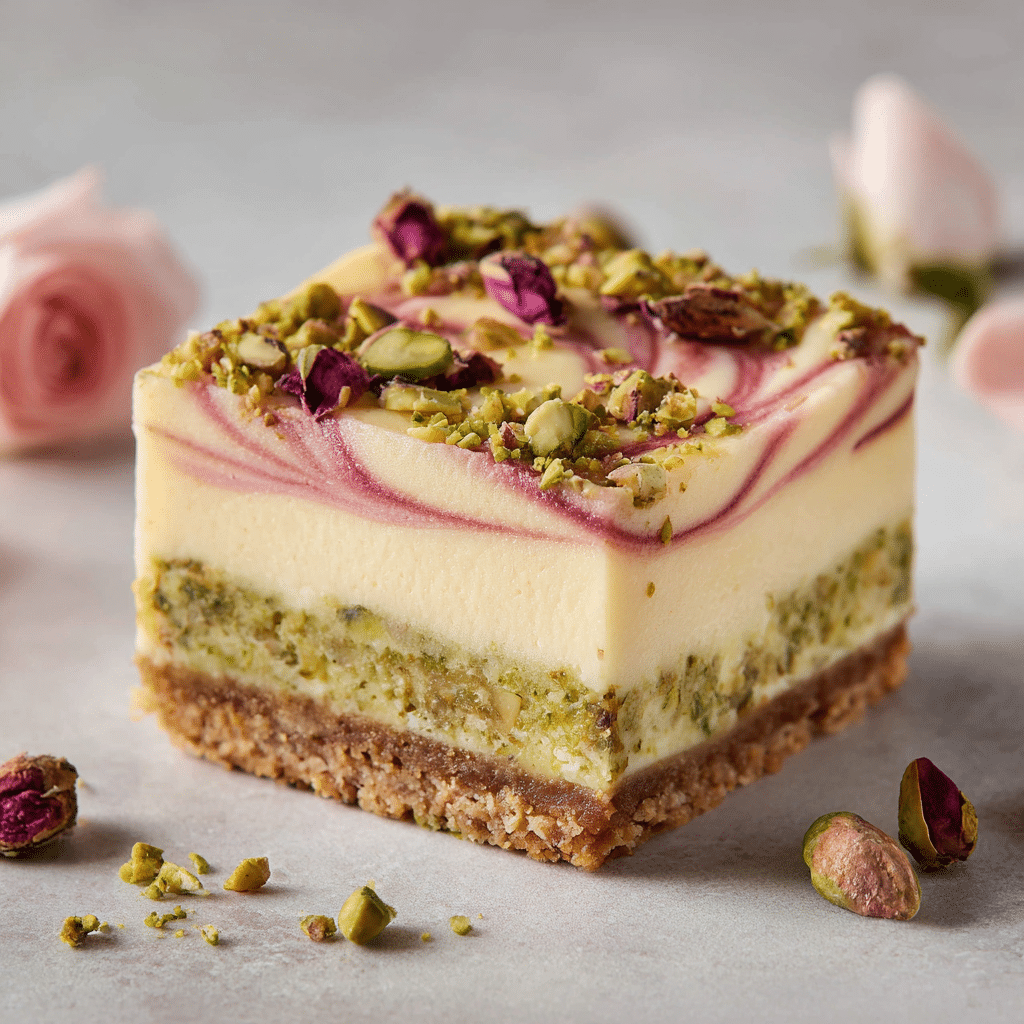
Once set, sprinkle dried rose petals generously over the cheesecake for an enchanting floral finish. Not only do they enhance the presentation, but they also add a subtle fragrance that complements the nutty pistachio exquisite taste.
How to Serve Pistachio Rose Cheesecake
Garnishes
The dried rose petals aren’t just for looks—they bring a gentle floral note that perfectly balances the richness of the cheesecake. For an extra touch, you can add crushed pistachios on top to boost that nutty crunch and vibrant green color.
Side Dishes
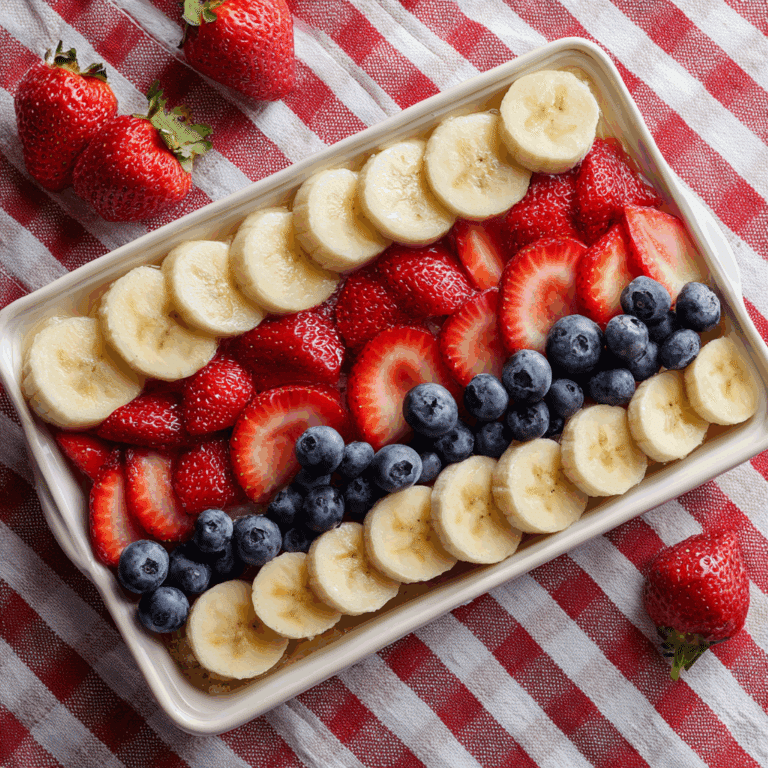
Serve slices of this cheesecake alongside fresh berries like raspberries or strawberries. Their tartness cuts through the creamy texture and adds a refreshing burst of flavor. A light herbal tea or a delicate sparkling rosé wine also pairs beautifully with the dessert’s floral and nutty notes.
Creative Ways to Present
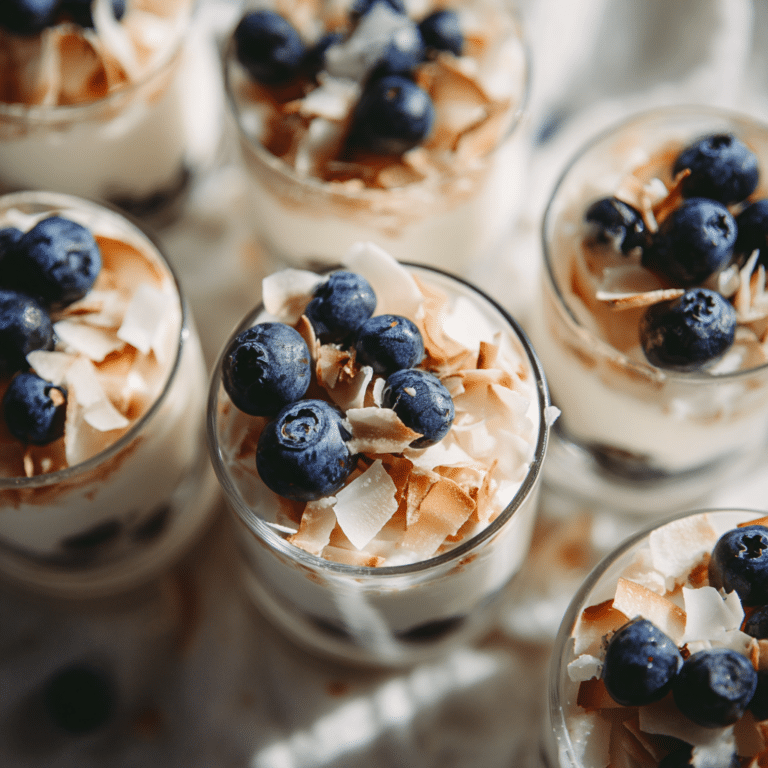
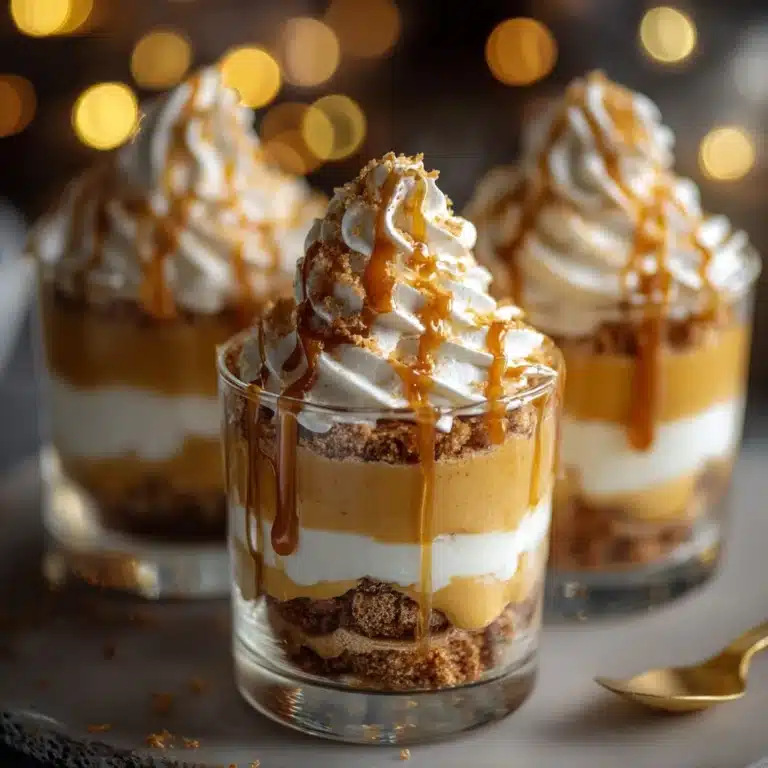
Try serving the Pistachio Rose Cheesecake in clear glass cups or jars for individual portions, layering with extra whipped cream or pistachio dust for an elegant look. You can also use edible rose water to lightly mist the top for an added floral aroma that delights the senses before the first bite.
Make Ahead and Storage
Storing Leftovers
Once you’ve enjoyed a slice or two, keep the rest of your Pistachio Rose Cheesecake tightly covered in the refrigerator. Stored properly, it maintains its creamy texture and fresh flavors for up to 4 days, perfect for enjoying without any rush.
Freezing
If you’d like to preserve your cheesecake longer, wrap it airtight and freeze it. When wrapped correctly, it freezes well for up to a month. Just thaw it in the fridge overnight before serving to retain its delightful texture and taste.
Reheating
This cheesecake is best enjoyed chilled and doesn’t require reheating. If you want to bring it to room temperature, simply let a slice sit out for about 15 minutes to enhance its creamy mouthfeel without losing that refreshing coolness.
FAQs
Can I use regular nuts instead of pistachios?
While pistachios give this cheesecake its signature flavor and color, you can experiment with other nuts like almonds or cashews, but the distinct taste and green hue will be different.
Where can I find pistachio paste?
Pistachio paste is often available in specialty grocery stores or online. It’s made by grinding pistachios into a smooth, spreadable form and can be substituted with ground pistachios blended with a bit of oil if needed.
Are the rose petals safe to eat?
Make sure to use edible dried rose petals purchased specifically for culinary use. They add elegance and flavor but always confirm they are pesticide-free and safe for consumption.
Can I make a larger batch of this cheesecake?
Absolutely! Just double or triple the ingredient quantities and use a larger pan, adjusting chilling time as needed to ensure it sets properly.
Is this cheesecake gluten-free?
The traditional crust uses crushed biscuits which contain gluten, but you can swap them for gluten-free cookies or graham crackers to make this recipe gluten-free without compromising taste.
Final Thoughts
The Pistachio Rose Cheesecake is truly a showstopper that effortlessly combines nutty richness with floral sophistication. Whether you’re making it for a special occasion or simply to indulge yourself, the creamy texture and beautiful flavors never fail to impress. I wholeheartedly encourage you to give this recipe a try—it might just become your new favorite dessert to share with friends and family.