Simple Vintage Cake — Full Recipe
If you’ve ever craved a dessert that feels like a warm hug from the past, you’re going to adore this Simple Vintage Cake — Full Recipe. It’s the kind of cake that effortlessly blends nostalgic charm with straightforward, no-fuss baking techniques. Each bite delivers a tender crumb, buttery sweetness, and delicate vanilla notes, all wrapped up in a luscious homemade buttercream and charming vintage-inspired decorations. Whether you’re a baking newbie or a seasoned pro, this recipe invites you to create a classic showstopper that will brighten any occasion.
Ingredients You’ll Need
The beauty of the Simple Vintage Cake — Full Recipe is in its simplicity. Every ingredient has a purpose, contributing to the perfect balance of flavor, texture, and moistness that defines this cake. From the richness of butter to the lightness the eggs provide, each component works in harmony to create that timeless cake you’ll want to make again and again.
- 1 ½ cups (180g) all-purpose flour: The base of the cake, providing structure and that tender crumb we all love.
- 1 cup (200g) sugar: Sweetens the cake just right without overpowering the vanilla flavor.
- ½ cup (115g) softened butter: Adds richness, moisture, and a silky texture to the batter and frosting.
- 2 large eggs: Bind the ingredients together, helping the cake rise and stay fluffy.
- 1 cup (240ml) milk: Keeps the cake moist and assists in achieving a soft crumb.
- 2 tsp baking powder: Gives the cake its light lift and airy texture.
- 1 tbsp vanilla extract: Infuses the cake with that classic, comforting aroma and flavor.
- Pinch of salt: Balances the sweetness and enhances all other flavors.
- For the Buttercream Frosting:
- 1 cup (226g) unsalted butter: The creamy base for a rich and smooth frosting.
- 3 ½ cups (420g) powdered sugar: Sweetens and thickens the frosting for easy spreading and piping.
- 2–3 tbsp milk or cream: Adjusts frosting consistency to perfection.
- 1 tbsp vanilla: Adds that signature flavor to the buttercream.
- Pinch of salt: Tames the sweetness, ensuring a balanced frosting.
- Decoration:
- Piping bag + two star tips (6B & 4B): Essential tools to create the vintage shell borders beautifully.
- White chocolate + alphabet silicone mold: For crafting adorable vintage-style chocolate letters.
- Edible pearls: Adds an elegant, delicate touch to your cake’s look.
How to Make Simple Vintage Cake — Full Recipe
Step 1: Bake the Cake
Start by heating your oven to 175°C and preparing your cake pan with grease and flour to prevent sticking—this step is crucial for a clean release. Cream the softened butter and sugar together until fluffy; this process incorporates air for a lighter crumb. Add eggs one at a time, ensuring each is fully mixed before adding the next, then stir in the vanilla for that classic aroma. Mix all dry ingredients separately, then alternate adding dry ingredients and milk to the batter, marrying the wet and dry elements carefully. Pour the batter evenly into your pan and bake for 25–30 minutes, or until a toothpick comes out clean. Let the cake cool completely to ensure the frosting adheres perfectly.
Step 2: Make the Buttercream
While the cake cools, whip up the buttercream frosting. Beat the butter until fluffy, which is the base for a smooth and creamy texture. Gradually add powdered sugar to maintain smoothness and prevent lumps. Incorporate vanilla and milk a little at a time until you achieve a luxurious, spreadable consistency that feels just right—neither too stiff nor too runny. A pinch of salt rounds off the sweetness beautifully.
Step 3: Crumb Coat & Frost
Apply a thin layer of frosting all over the cake, known as the crumb coat, to seal in crumbs so the final frosting layer is silky smooth. Using a frosting scraper held at a 45° angle helps achieve that flawless finish. Chill the cake for 20 to 30 minutes to set this first layer. Once chilled, spread a thicker, more generous coat of frosting and smooth it out again before another 30-minute chill to lock in that classic look.
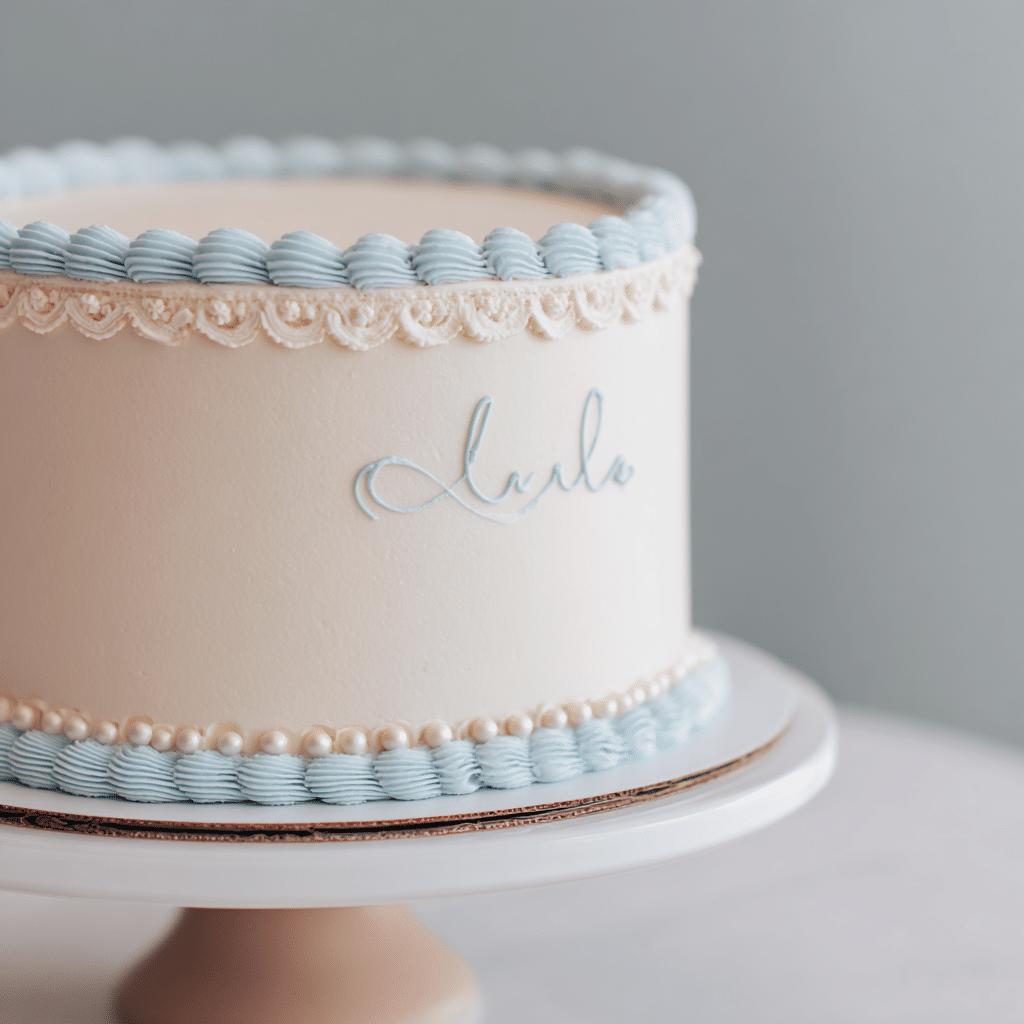
Step 4: Pipe the Vintage Shell Border
Now for the signature vintage touch: fit your piping bag with either the 6B or 4B star tip. Hold the bag at a 45° angle at the base of the cake’s edge. Squeeze the frosting, pull the tip, and release to form a shell shape. Continue this decorative border around the bottom edge and then repeat along the top edge for a charming double shell border that will make your cake look like it came right out of a storybook.
Step 5: Make the Chocolate Letters
Melt white chocolate gently to avoid scorching. Carefully pipe the melted chocolate into the alphabet silicone mold, tapping lightly to release any bubbles for a smooth finish. Chill in the freezer for 10 minutes until the chocolates are firm enough to pop out cleanly. These vintage-style letters add a personal and whimsical touch that makes the cake truly special.
Step 6: Assemble Decoration
Use a dab of buttercream as glue to attach the white chocolate letters onto the frosting. Then, delicately place edible pearls along the shell border to complete the vintage look with subtle sparkle and elegance. It’s these little finishing touches that transform the cake from simple to stunning.
How to Serve Simple Vintage Cake — Full Recipe

Garnishes
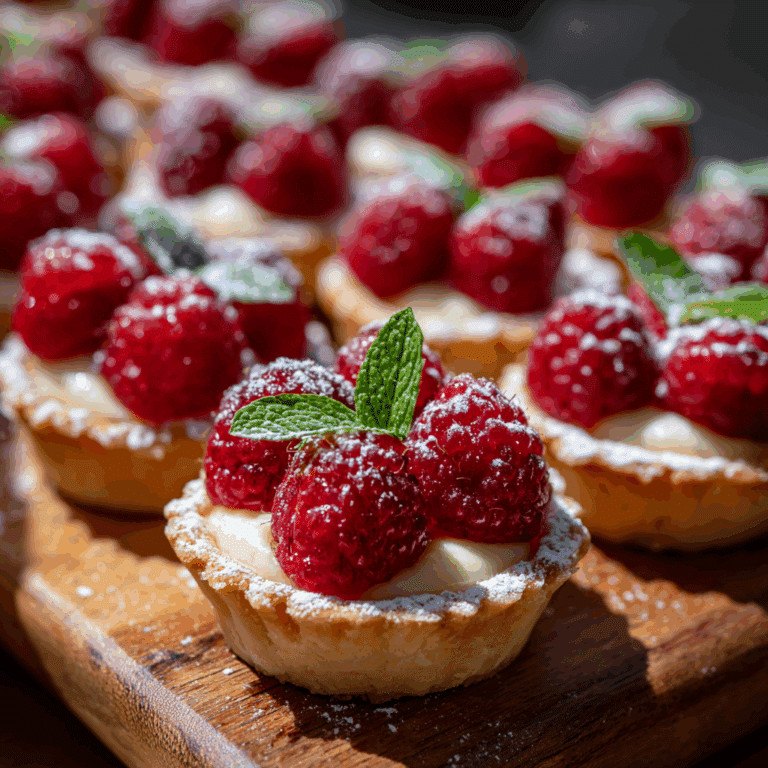
For effortless charm, serve your Simple Vintage Cake — Full Recipe with extra edible pearls or fresh flowers to enhance its nostalgic appeal. A light dusting of powdered sugar adds a fairy-tale snow effect, perfect for any season. You could also serve with a few fresh berries for a pop of color and contrast.
Side Dishes
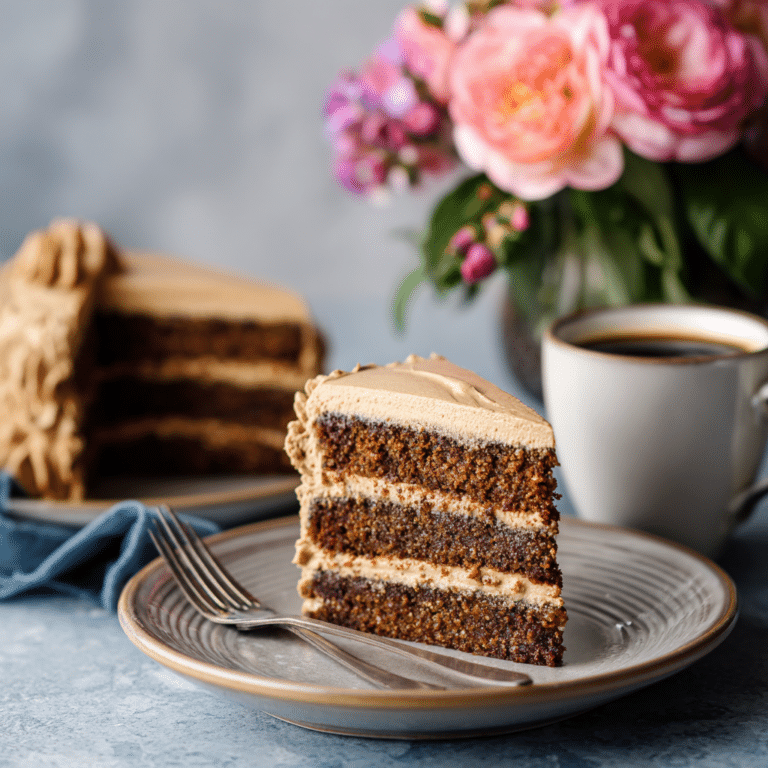
This cake pairs beautifully with a cup of tea or freshly brewed coffee, making it ideal for afternoon treats or celebrations. For an indulgent twist, offer a scoop of homemade vanilla ice cream or a dollop of lightly whipped cream. Fresh fruit salads provide a refreshing balance to the cake’s buttery richness.
Creative Ways to Present
Try placing your cake on a rustic wooden cake stand for a vintage vibe, or use a delicate lace doily underneath to elevate the nostalgic feel. Serve each slice with the vintage chocolate letters on the side as keepsakes for guests, or package individual slices in charming boxes for take-home treats that keep the party going.
Make Ahead and Storage
Storing Leftovers
Once decorated, keep your Simple Vintage Cake — Full Recipe covered loosely with a cake dome or plastic wrap in the refrigerator to maintain freshness. It will stay moist and delicious for up to 3 days, allowing you to savor every luscious bite without rush.
Freezing
You can freeze the cake un-iced or with frosting for longer storage. Wrap it tightly in plastic wrap and then foil to prevent freezer burn. When properly stored, it can last up to 2 months. To freeze chocolate letters, keep them separate in an airtight container to avoid condensation damage.
Reheating
To enjoy the cake after chilling or freezing, allow it to come to room temperature before serving. Avoid microwaving as it can melt the buttercream or dry out the cake. A gentle warming in a low oven (about 150°C for 10 minutes) with foil loosely tented will refresh the texture without compromising the beautiful frosting.
FAQs
Can I use a different type of flour for the Simple Vintage Cake — Full Recipe?
All-purpose flour works best for the tender, balanced crumb this cake aims for. However, if you’re gluten-free, try using a gluten-free flour blend, but be mindful that texture and rise might vary slightly.
Is it okay to substitute milk with a non-dairy alternative?
Absolutely! Almond, soy, or oat milk can be great substitutes without affecting the flavor too much. They keep the cake moist and delicious for those avoiding dairy.
How do I prevent air bubbles in the chocolate letters?
Tapping your mold gently after pouring the melted chocolate is key to releasing trapped air, resulting in smooth, flawless chocolate shapes perfect for decorating.
Can this cake be made into cupcakes?
Yes, the batter works wonderfully for cupcakes. Adjust baking time to about 18-22 minutes, and decorate the cupcakes with smaller piped buttercream swirls and mini chocolate letters for a delightful vintage twist.
What tips do you have for perfect shell piping borders?
Consistent pressure and steady hand movement are important. Holding the piping bag at the right angle and practicing the squeeze-pull-release technique on parchment before decorating can boost your confidence and results.
Final Thoughts
Making the Simple Vintage Cake — Full Recipe is like crafting a delicious piece of nostalgia that feels both timeless and heartfelt. Whether you’re celebrating a special occasion or simply treating yourself, this cake promises joy in every bite. So roll up your sleeves, enjoy the process, and share the love with friends and family—you’ll find it’s a recipe worth keeping close for years to come.