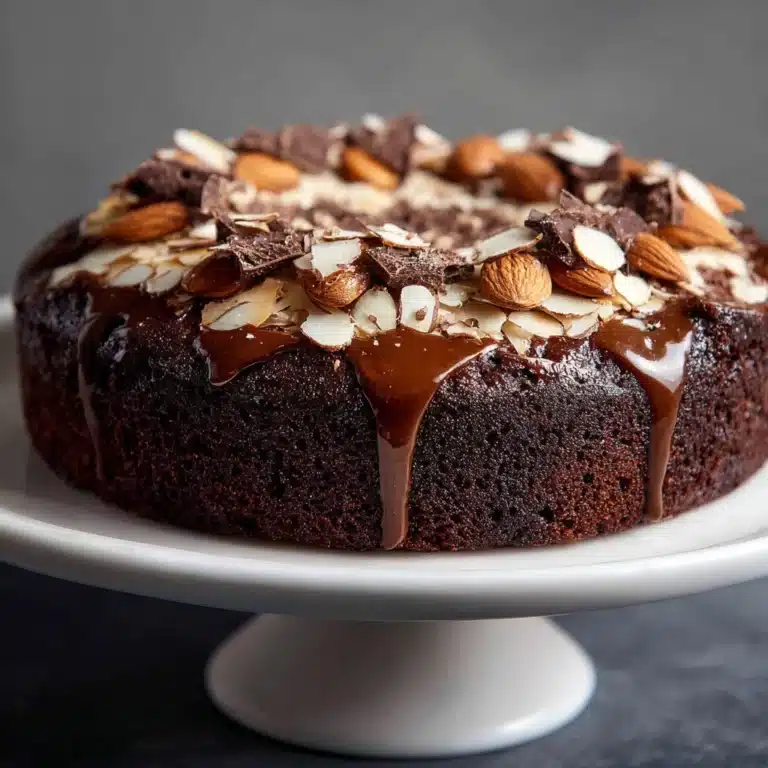
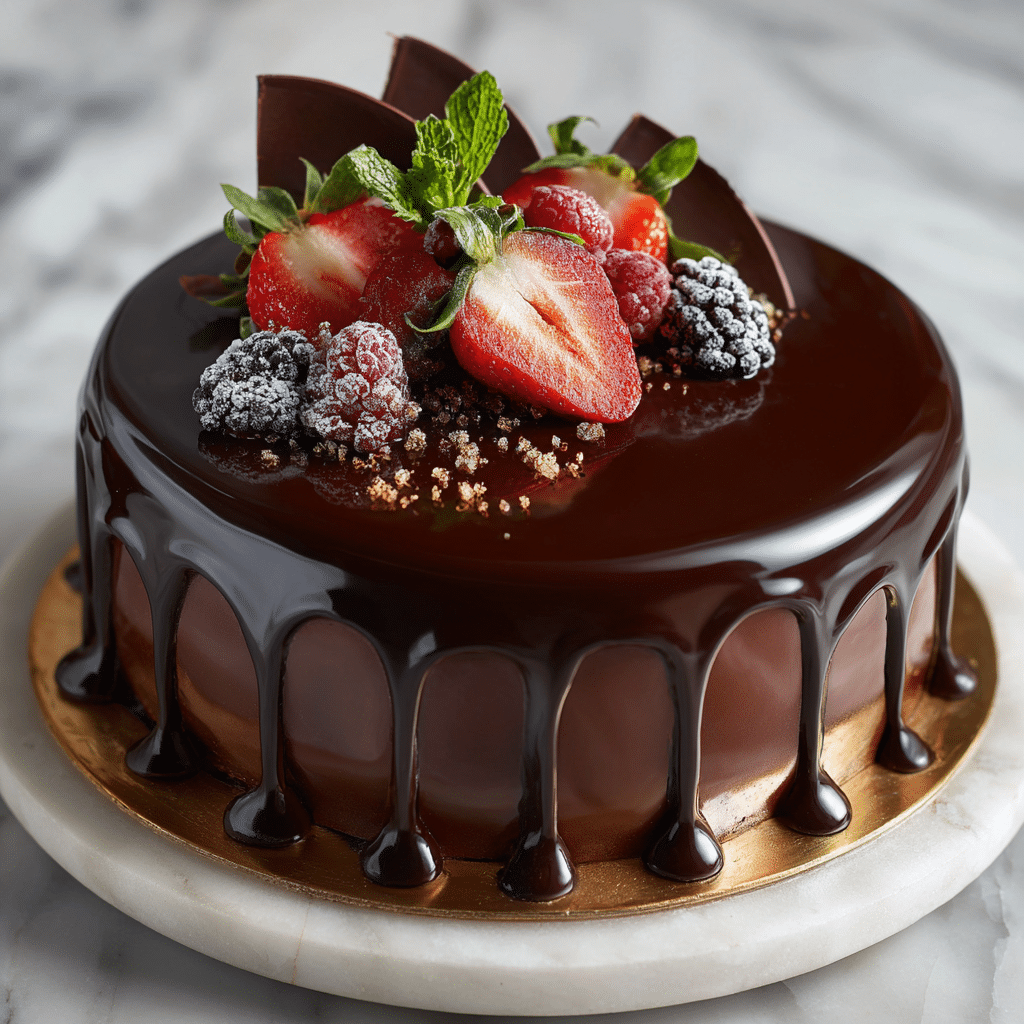
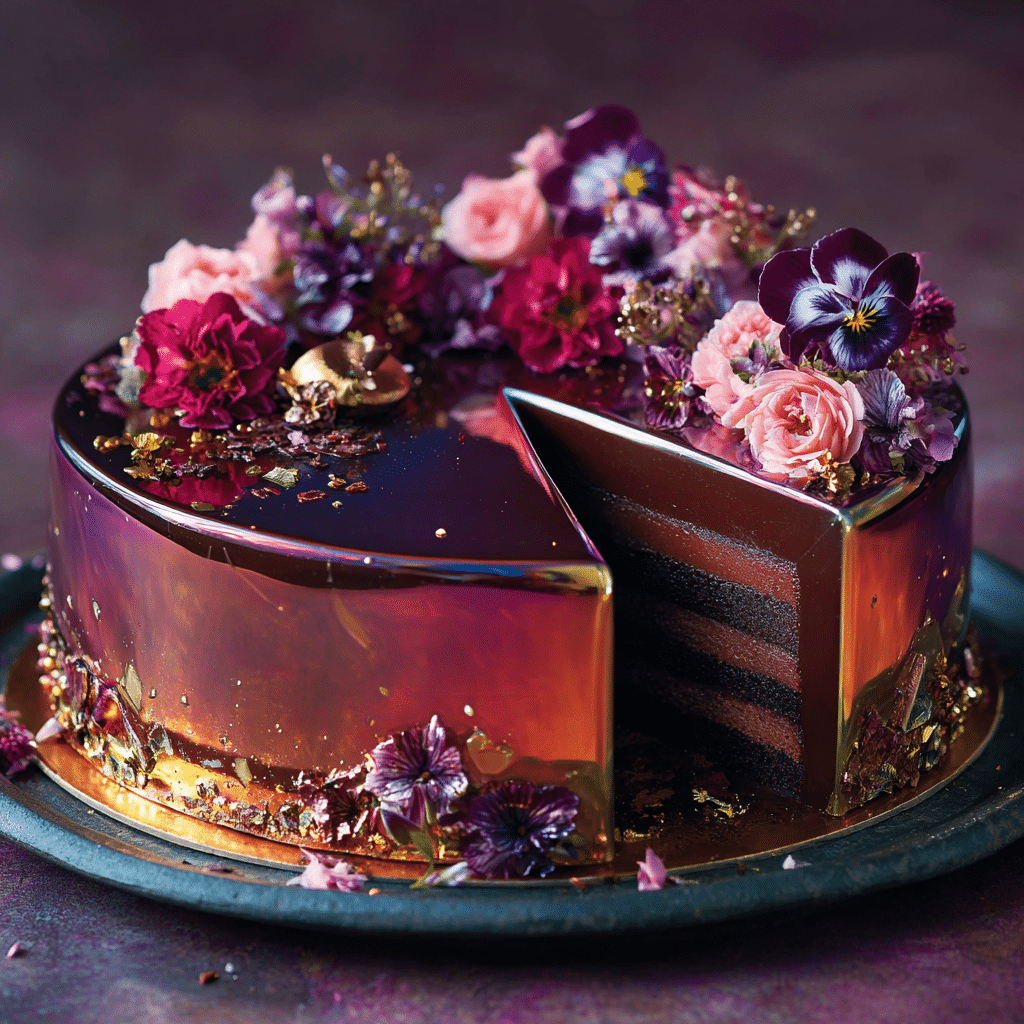
Chocolate Mirror Glaze Cake Recipe
If you love stunning desserts that taste as incredible as they look, you’re going to fall head over heels for this Chocolate Mirror Glaze Cake. This showstopper of a cake features a glossy, mirror-like finish that seems almost too perfect to eat. But once you do, you’ll discover layers of rich chocolate flavor beneath the seductive shine, blending silky textures with a subtle sweetness that’s absolutely irresistible. Whether you’re treating yourself or impressing guests, this cake turns any occasion into something truly memorable.
Ingredients You’ll Need
The magic of the Chocolate Mirror Glaze Cake lies in its simple yet purposeful ingredients. Each component plays a crucial role in delivering that vibrant color, smooth texture, and deep chocolate taste that make this glaze so special.
- Chocolate cake base: This provides the moist, flavorful foundation that all the glaze glory sits upon.
- Gelatin: Essential for giving the glaze that shiny, firm finish that looks like glass.
- Cocoa powder: Adds the rich chocolate color and intensifies the flavor to make the glaze truly shine.
- Sugar: Balances the bitterness of the cocoa while helping to create the smooth, glossy surface.
How to Make Chocolate Mirror Glaze Cake
Step 1: Prepare Your Cake Base
Start with a well-baked chocolate cake, cooled completely and ideally chilled in the fridge to firm up. The sturdier your cake, the smoother the glaze will settle on top. It’s best to work with a cake that has straight, neat edges as this will help achieve that flawless mirror effect.
Step 2: Bloom the Gelatin
Sprinkle your gelatin over a small amount of cold water and let it sit for a few minutes until it blooms. This step is crucial because properly bloomed gelatin melts evenly and sets your glaze to silky perfection without any lumps.
Step 3: Combine Cocoa Powder and Sugar
Mix cocoa powder and sugar in a saucepan, adding just enough water to create a smooth blend. Heat gently while stirring to dissolve the sugar completely and bring out the deep chocolatey gloss that will coat your cake beautifully.
Step 4: Add Gelatin to the Chocolate Mixture
Once your cocoa mixture is warm and smooth, remove it from heat and stir in the bloomed gelatin until fully melted. This is where the glaze gains its signature shiny, thicker texture that pools like liquid glass on your cake.
Step 5: Pour the Glaze over the Chilled Cake
Place your cake on a wire rack with a tray underneath to catch drips. Pour the mirror glaze slowly and evenly over the top, letting it cascade down the sides in a smooth, uninterrupted sheet. The chilled cake helps the glaze firm up instantly, showcasing that flawless reflective surface.
How to Serve Chocolate Mirror Glaze Cake
Garnishes
A simple dusting of edible gold flakes or finely chopped nuts can elevate the elegant look, adding tiny pops of sparkle or crunch without stealing the spotlight from the mirror finish. Fresh berries or delicate chocolate curls also pair wonderfully for a fresh contrast.
Side Dishes
Serve alongside a dollop of whipped cream or a scoop of vanilla ice cream to balance the rich chocolate glaze with light creaminess. Fresh fruit like raspberries or orange slices can cut through the chocolate’s density and brighten every bite.
Creative Ways to Present
For a dramatic presentation, serve the cake on a minimalist black platter that enhances the cake’s glossy finish. Alternatively, try slicing it into neat, geometric pieces and layering with gold or silver leaf accents for a modern, artistic vibe that’s sure to impress.
Make Ahead and Storage
Storing Leftovers
Once glazed, keep your Chocolate Mirror Glaze Cake covered in the refrigerator to maintain the glaze’s shine and the cake’s freshness. A dome cake cover or airtight container will prevent it from absorbing fridge odors while keeping the texture intact.
Freezing
You can freeze this cake, but be sure to wrap it tightly in plastic wrap and then foil to protect the glaze. Thaw it slowly in the refrigerator overnight before serving to preserve that gleaming finish and avoid moisture from dulling the surface.
Reheating
This cake is at its best served chilled, so reheating is generally not necessary. If you prefer a softer cake texture, bring slices to room temperature for about 15-20 minutes before enjoying to best appreciate the mirror glaze and delicate crumb.
FAQs
What makes a mirror glaze so shiny?
The secret to that signature shine is the gelatin combined with the correct ratio of cocoa and sugar. Gelatin helps the glaze set smoothly while the cocoa gives it that rich, lacquered look.
Can I use agar-agar instead of gelatin?
You can try agar-agar, but gelatin provides the best glossy, smooth finish. Agar-agar tends to set more firm and less reflective, which might alter the classic mirror glaze effect.
How thick should I pour the glaze?
Pour the glaze in a steady stream to create an even, thin layer that covers the cake completely without pooling excessively. A thickness of around 2-3 millimeters gives a perfect mirror effect.
Can the glaze be flavored?
Absolutely! While traditional chocolate is stunning, you can add a dash of espresso powder, vanilla extract, or even a liqueur to the glaze for a personalized twist without compromising its smooth shine.
How long does the mirror glaze cake stay fresh?
Stored properly in the refrigerator, your Chocolate Mirror Glaze Cake will stay moist and glossy for about 3-4 days. Beyond that, the glaze might lose some of its shine and the cake may start to dry out.
Final Thoughts
There’s something truly magical about the Chocolate Mirror Glaze Cake that captivates both eyes and taste buds alike. Its glossy perfection paired with rich chocolate flavor makes it an unforgettable dessert experience. I promise, once you try making this stunning cake, you’ll feel a burst of pride – and maybe even a little wonder – every time you see that flawless mirror finish. So go ahead, treat yourself and those you love to this dazzling chocolate delight!