Salted Caramel Pretzel Tart Recipe
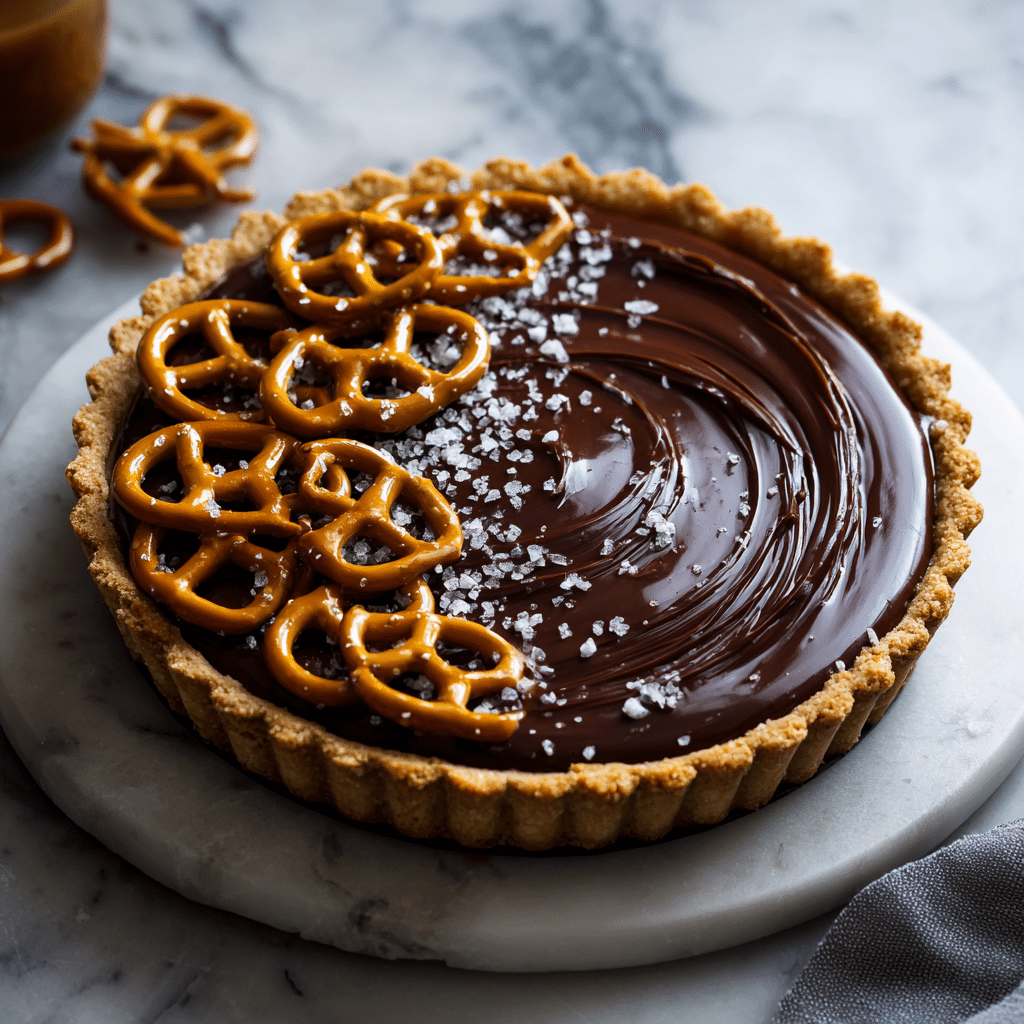
There is something irresistibly delightful about the combination of salty and sweet, and the Salted Caramel Pretzel Tart captures that magic perfectly. Imagine a crunchy pretzel crust that gives way to a luxuriously silky caramel filling, all balanced with a perfect hint of sea salt. This tart is a showstopper dessert that’s surprisingly straightforward to make, and every bite offers a harmonious blend of textures and flavors that will have you craving more. Whether you’re serving it at a dinner party or simply treating yourself, this Salted Caramel Pretzel Tart will quickly become a favorite.
Ingredients You’ll Need
The beauty of the Salted Caramel Pretzel Tart lies in its simple yet carefully chosen ingredients. Each component plays a special role in building layers of flavor and texture—from the salty crunch of the pretzel crust to the smooth caramel filling, finished with a touch of divine chocolate drizzle.
- Pretzels: They provide the essential salty crunch and act as the base of the tart crust.
- Butter: Adds richness and helps bind the pretzel crumbs for the crust.
- Caramel: The star filling, lending that luscious, sweet, and salty flavor that melts in your mouth.
- Cream: Cream brings smoothness and a velvety texture to the caramel layer.
- Chocolate drizzle: Offers a touch of bitterness and a beautiful finishing touch to balance the sweetness.
How to Make Salted Caramel Pretzel Tart
Step 1: Prepare the Pretzel Crust
Start by crushing your pretzels into fine crumbs—this will create the crisp, salty foundation for your tart. Mix the crumbs thoroughly with melted butter until everything binds well. Press this mixture evenly into your tart pan, making sure to cover the base and sides with a firm, even layer. This step ensures a crust that holds up perfectly without crumbling apart when you slice the tart.
Step 2: Make the Silky Caramel Filling
Next, gently warm the caramel along with the cream, stirring constantly so everything combines into a smooth, luscious filling. The cream lightens the caramel’s richness and makes it silky enough to pour. Once combined, allow it to cool slightly before filling the pretzel crust. Pour the caramel filling over the crust evenly, making sure to spread it gently to cover every corner.
Step 3: Chill Until Set
Place your tart in the refrigerator for a few hours. This chilling is crucial because it helps the caramel firm up and the crust set completely, resulting in that perfect slice where caramel and crust hold together but still melt on your tongue. Patience at this stage rewards you with superb texture and flavor harmony.
Step 4: Finish with a Decadent Chocolate Drizzle
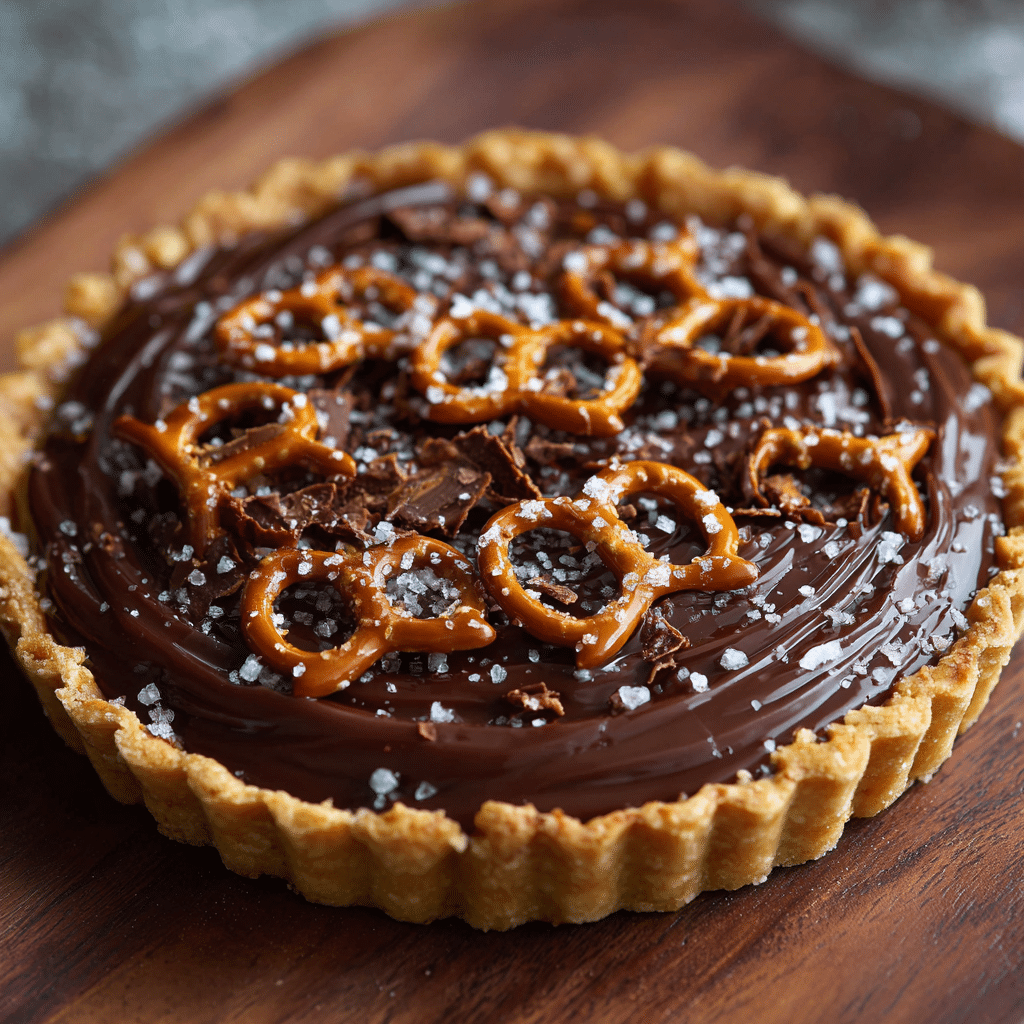
Once the caramel is set, melt your chocolate and drizzle it over the top of the tart in a decorative pattern. The chocolate adds an elegant touch and a slightly bitter balance to the sweet and salty profile. Let the chocolate set at room temperature or pop the tart back in the fridge briefly to harden the drizzle.
How to Serve Salted Caramel Pretzel Tart
Garnishes
A sprinkle of flaky sea salt over the chocolate drizzle elevates this dessert beautifully, enhancing the salted caramel notes. You can also add chopped pretzels or a few chocolate shavings for extra texture and visual appeal that’s sure to impress your guests.
Side Dishes
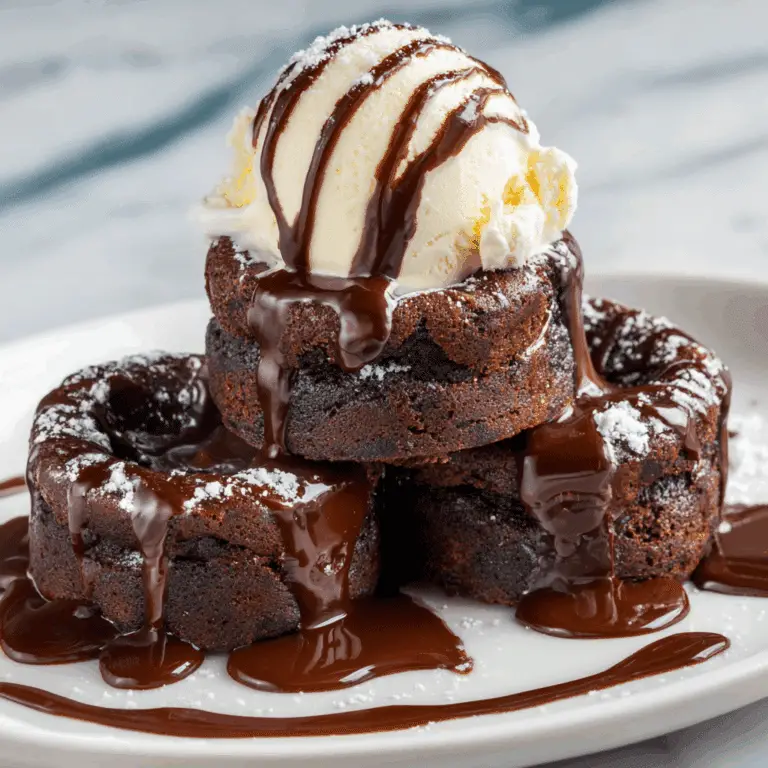
This tart pairs wonderfully with a scoop of vanilla ice cream or a dollop of whipped cream to mellow out its rich flavors. For a festive touch, fresh berries add a pop of color and a tangy contrast that brightens every bite.
Creative Ways to Present
Try serving individual tart slices alongside espresso or a dessert wine for an elevated experience. Alternatively, cut small squares for bite-sized treats at a party or incorporate the tart into a dessert platter with other sweets to create an inviting array of flavors and textures.
Make Ahead and Storage
Storing Leftovers
The Salted Caramel Pretzel Tart keeps beautifully in the fridge, covered tightly with plastic wrap or in an airtight container, for up to 4 days. Keeping it chilled ensures the caramel stays firm and the crust crunchy.
Freezing
You can freeze the tart if you want to make it ahead for special occasions. Wrap it carefully in plastic wrap and then foil to protect it from freezer burn. When ready to enjoy, thaw it overnight in the fridge for best results without compromising texture.
Reheating
Because this tart is best enjoyed chilled, reheating isn’t typically recommended. However, if you prefer a softer caramel, allow it to sit at room temperature for about 30 minutes before serving to soften the filling without melting the chocolate topping.
FAQs
Can I use store-bought caramel for this tart?
Absolutely! Using store-bought caramel can save you time and still yield delicious results. Just make sure to gently warm it with cream to achieve that smooth, pourable consistency.
What type of pretzels work best for the crust?
Use crunchy, salted pretzels rather than soft ones. The salt is key for balancing the sweetness and the crunch provides that perfect texture for the crust.
Is this tart gluten-free?
Traditional pretzels contain gluten, so this recipe is not gluten-free as written. However, you can substitute gluten-free pretzels to make a gluten-free version without sacrificing flavor.
Can I make individual tartlets instead of one large tart?
Yes! Individual tartlets are a fun and elegant way to present this dessert. Simply press the pretzel mixture into mini tart pans and follow the same filling and chilling process.
How long does the tart need to chill?
Chilling for at least 3 to 4 hours is ideal, but overnight is even better. This ensures the caramel sets firmly and the crust stays crisp and stable for slicing.
Final Thoughts
If you’re looking for a dessert that effortlessly combines sweet and salty with amazing textures and a touch of sophistication, the Salted Caramel Pretzel Tart is a must-try. It’s a dessert that feels special but is surprisingly simple to make, making it perfect for both everyday treats and special occasions. Once you take that first bite, you’ll understand exactly why this tart is so beloved, and I’m sure it will soon become a favorite in your recipe collection too.