Tiramisu Recipe
If you have a soft spot for luscious, layered desserts, then this Tiramisu recipe is your new best friend. This classic Italian dessert combines the rich, bold flavors of coffee-soaked ladyfingers with the dreamy creaminess of mascarpone cheese, all crowned with a dusting of cocoa powder. Every bite feels like a little celebration, mixing sweetness and a hint of coffee bitterness that is just irresistible. It’s the perfect treat to impress your guests or indulge yourself after a long day.
Ingredients You’ll Need
Ingredients You’ll Need
Crafting an authentic Tiramisu is surprisingly simple, relying on just a few key ingredients that each play an essential role in building this dessert’s signature taste and texture. From the delicate crunch of ladyfingers to the creamy mascarpone that brings everything together, every component is important.
- Ladyfingers: These light, crisp biscuits soak up the coffee beautifully, giving the dessert its unique layered structure.
- Strong brewed coffee: Use freshly brewed espresso or strong coffee to infuse a bold, aromatic flavor into the ladyfingers.
- Mascarpone cheese: This creamy Italian cheese adds richness and a velvety texture that defines tiramisu.
- Cocoa powder: Dusting the top with cocoa adds a slightly bitter finish, balancing the sweetness perfectly.
How to Make Tiramisu
Step 1: Prepare the Coffee Soak
Start by brewing a strong pot of coffee or espresso. Let it cool to room temperature; this will prevent the ladyfingers from becoming soggy too quickly. The coffee soak is what gives tiramisu its unforgettable, deep coffee flavor, so don’t skimp on this step.
Step 2: Layer the Ladyfingers
Dip each ladyfinger briefly into the cooled coffee — just enough to soak them slightly but not enough to saturate them—and arrange a single layer at the bottom of your dish. The right balance here keeps the texture perfect: tender but with a gentle bite.
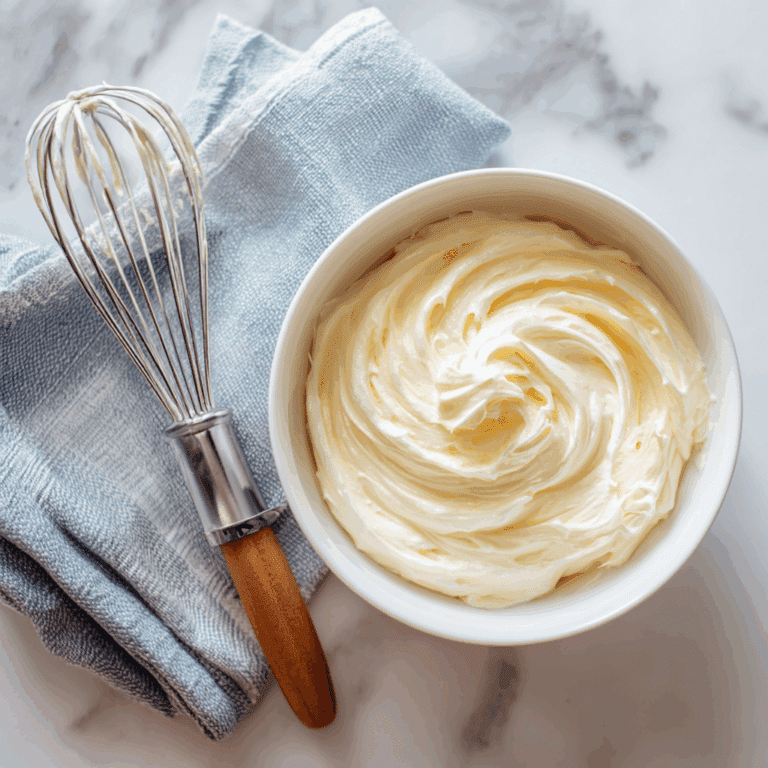
Step 3: Spread the Mascarpone Cream
Mix the mascarpone until smooth (you can lightly whip it if you want an airier feel). Spread an even layer over the soaked ladyfingers. This creamy layer is what contrasts beautifully against the coffee-soaked biscuits, creating the iconic tandem of tiramisu.
Step 4: Repeat Layers and Chill
Repeat the coffee-dipped ladyfinger layer and mascarpone cream layer once more or until you’ve used all your ingredients. Cover the dish and refrigerate for at least 4 hours, or overnight if you can—the chilling allows the flavors to marry and the textures to meld into perfection.
Step 5: Dust with Cocoa Powder
Just before serving, generously dust the top of your tiramisu with cocoa powder through a fine sieve. This adds that final touch of bitterness and makes the dessert look as beautiful as it tastes.
How to Serve Tiramisu
Garnishes
A simple dusting of cocoa powder is classic, but you can also add a few chocolate shavings or even a sprinkle of finely chopped dark chocolate for extra texture and flavor. Fresh mint leaves can add a lovely pop of color and freshness, too.
Side Dishes
Tiramisu is rich and decadent, so pairing it with something light and fresh can be delightful. Consider serving with fresh berries or a crisp fruit salad to balance the creamy sweetness. A small glass of dessert wine or espresso alongside makes a lovely companion as well.
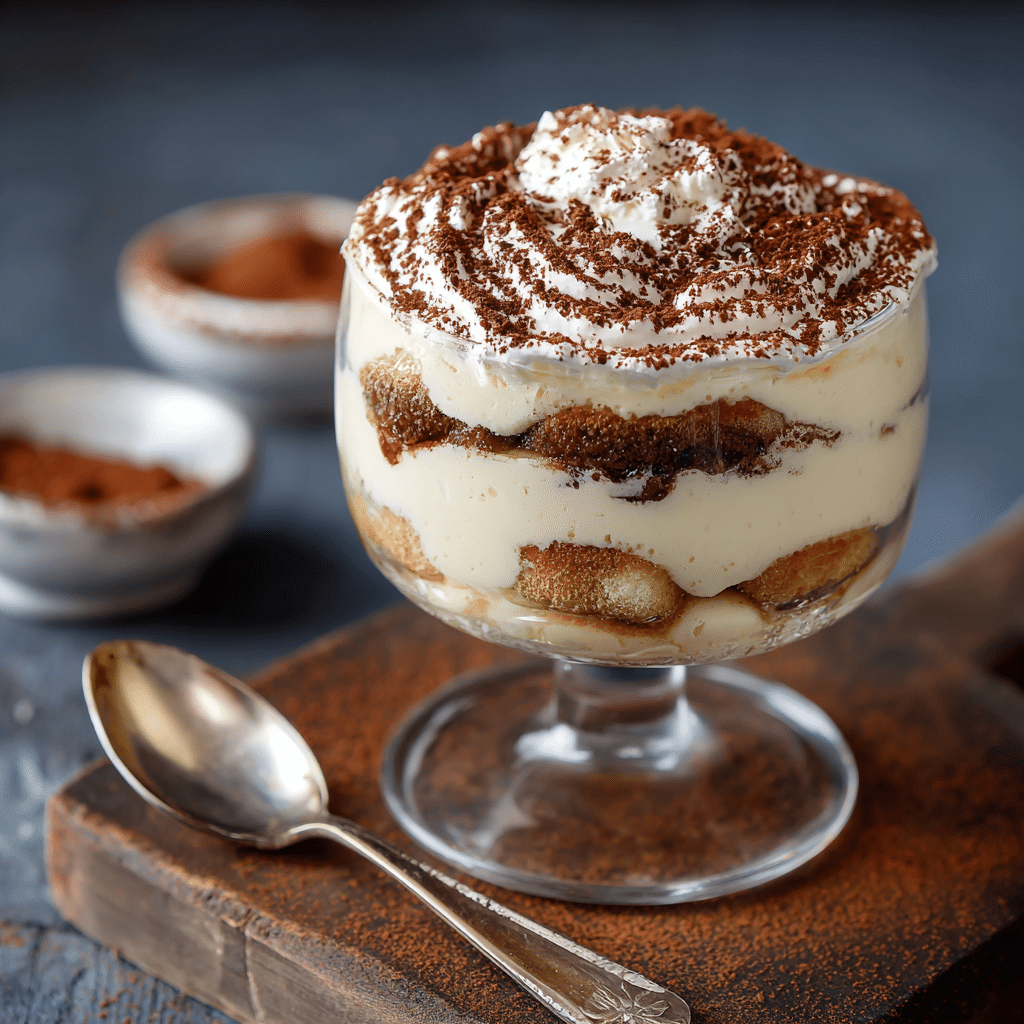
Creative Ways to Present
Instead of the traditional dish, try assembling individual tiramisu portions in small glasses or mason jars. Layering the ingredients in clear vessels makes for an elegant presentation that lets the beautiful layers shine through. You could also add a splash of liqueur like coffee or hazelnut flavor for a grown-up twist.
Make Ahead and Storage
Storing Leftovers
Tiramisu actually benefits from resting, so store any leftovers in an airtight container in the fridge. It will keep well for up to 3 days, during which the flavors will deepen, making every bite even more delicious.
Freezing
You can freeze tiramisu, but it’s best done before dusting with cocoa powder. Wrap tightly with plastic wrap and then foil to prevent freezer burn. When ready to eat, thaw overnight in the refrigerator. Keep in mind the texture might shift a little, but the flavors remain wonderful.
Reheating
Tiramisu is meant to be served cold, so it’s best enjoyed straight from the fridge. Warming it could cause the mascarpone cream to lose its luxurious texture. If you want a slight softness, letting it sit at room temperature for about 15 minutes before serving works perfectly.
FAQs
Can I use regular biscuits instead of ladyfingers?
While ladyfingers are traditional and ideal for soaking coffee well, you can experiment with sponge cake or even thin cookies. Just be mindful of soaking times so they don’t become too soggy.
Is mascarpone cheese essential for tiramisu?
Mascarpone is key to authentic tiramisu’s creamy texture and mild flavor. Substituting can change the experience, so if mascarpone isn’t available, try a mixture of cream cheese and heavy cream, but it won’t be quite the same.
Can tiramisu be made without alcohol?
Absolutely! Traditional tiramisu sometimes includes coffee liqueur, but many recipes—including this one—skip alcohol entirely and still taste heavenly without it.
How long should tiramisu chill before serving?
For the best texture and flavor melding, refrigerate tiramisu for at least 4 hours, but overnight chilling is even better. The resting time lets the ladyfingers soak fully and the flavors marry beautifully.
Why does my tiramisu turn out too wet?
Make sure not to soak your ladyfingers too long in the coffee. A quick dip is enough. Also, avoid using overly watery coffee or espresso. Proper soaking keeps the structure intact while allowing moisture to seep nicely through.
Final Thoughts
Making tiramisu at home is such a joyful experience because it brings a little taste of Italy right to your table. This dessert is all about comfort and celebration wrapped into one elegant dish. I truly encourage you to try this recipe soon—you might just find it becoming a staple in your dessert rotation, cherished by family and friends alike!